이 안내서에는 최근 변경 사항이 더 있습니다. 최신 비검증 버전으로 전환하십시오.
소개
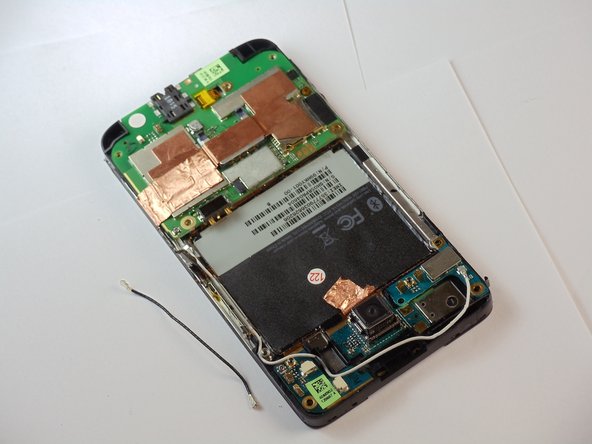
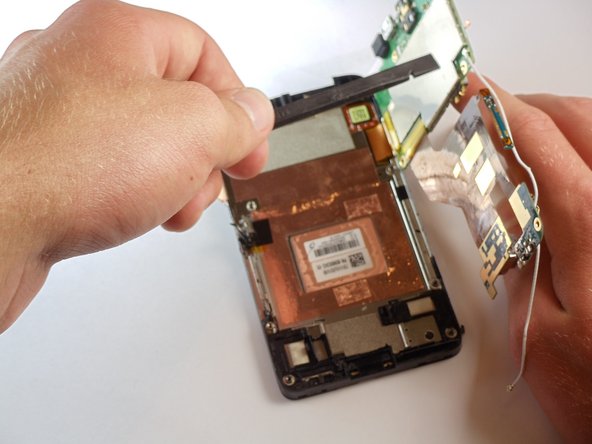
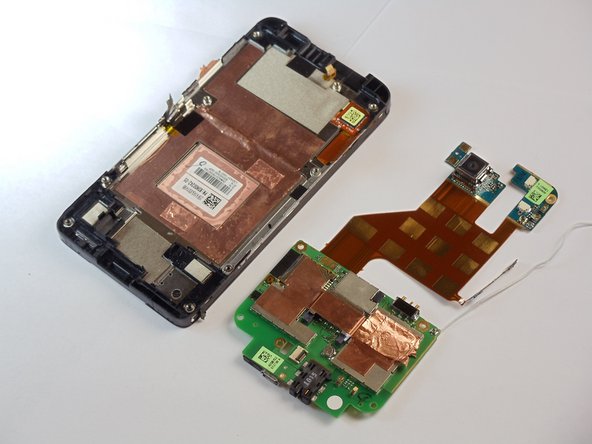
This guide will assist you in removing the motherboard and rigid flex board in the HTC HD2.
필요한 것
-
-
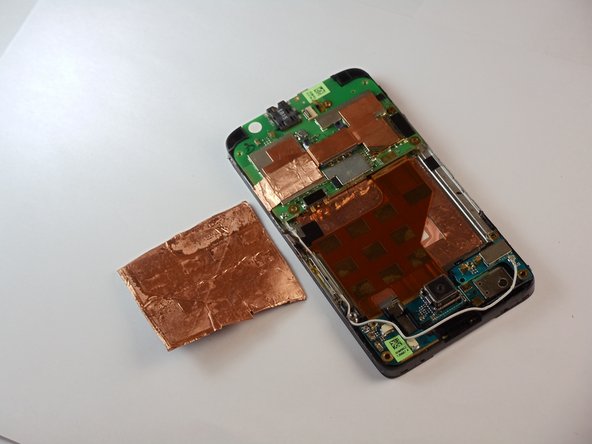
Carefully pull the rear cover from the back of the phone.
-
Place a finger beneath the small lip on the left side of the battery.
-
-
-
Set the phone down on its screen.
-
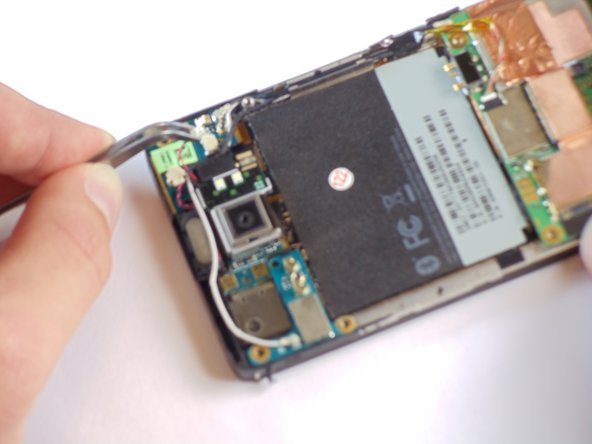
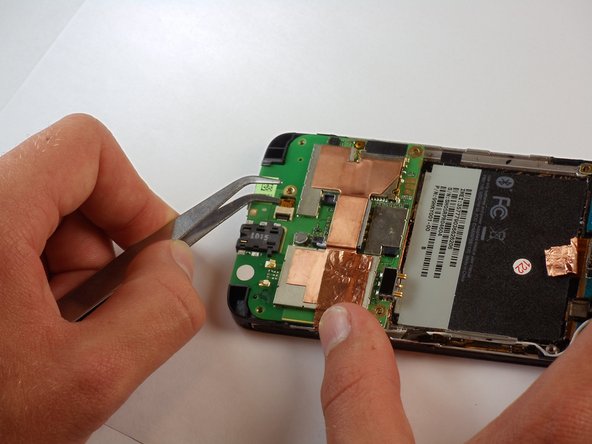
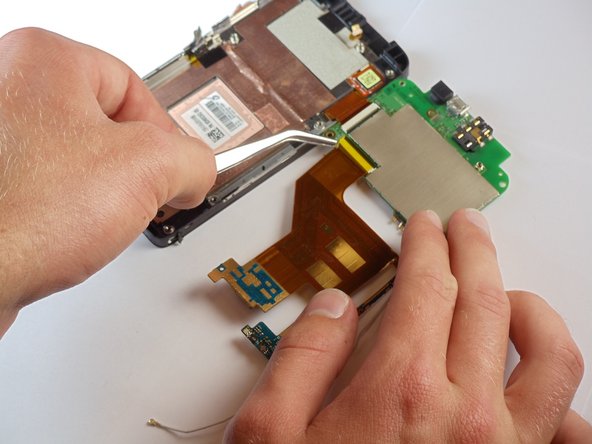
Using tweezers, unplug the small vibrator connector from its socket on the motherboard.
-
-
-
-
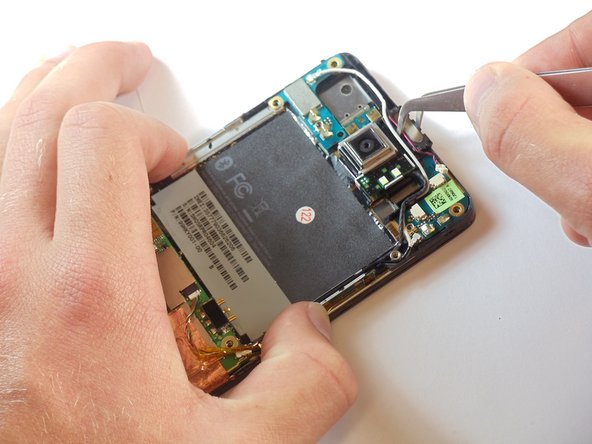
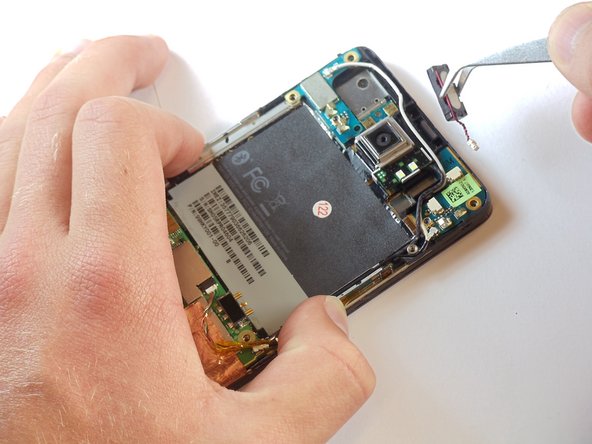
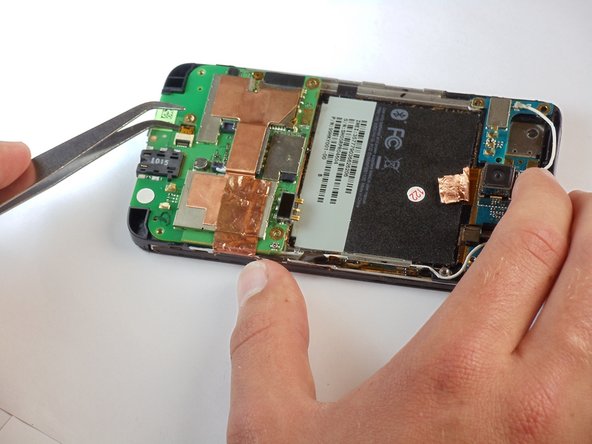
Disconnect the small speaker cable from its socket on the motherboard.
-
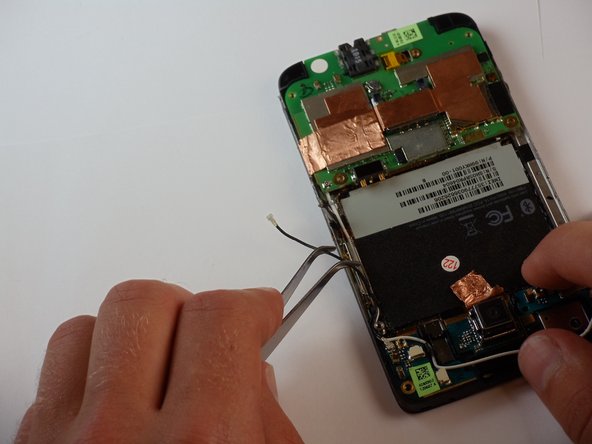
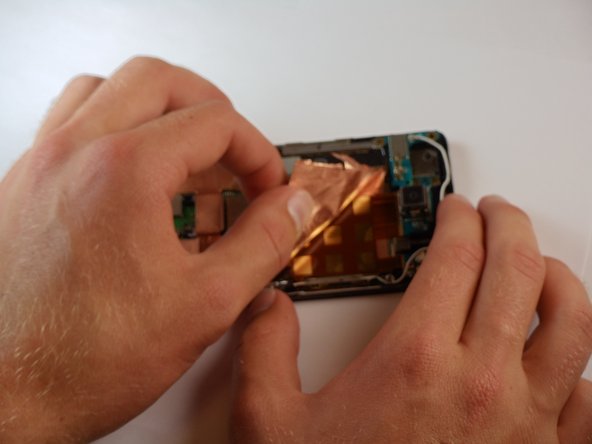
Remove the earpiece speaker from the phone.
-


To reassemble your device, follow these instructions in reverse order.
To reassemble your device, follow these instructions in reverse order.
다른 4명이 해당 안내서를 완성하였습니다.
팀

Cal Poly, Team 24-55, Amido Spring 2011 Cal Poly, Team 24-55, Amido Spring 2011 회원
CPSU-AMIDO-S11S24G55
5 회원들
안내서 16개 작성하였습니다