이 버전에는 잘못된 편집 사항이 있을 수 있습니다. 최신 확인된 스냅샷으로 전환하십시오.
필요한 것
-
-
냄비나 팬에 iOpener가 완전히 잠길 정도로 충분한 물을 채우세요.
-
물이 끓을 때까지 가열하세요. 불을 끄세요.
-
iOpener를 뜨거운 물에 2~3분간 담그세요. iOpener가 물에 완전히 잠겼는지 확인합니다.
-
집게를 사용하여 뜨거운 물에서 가열된 아이오페너를 꺼내세요.
-
수건으로 iOpener를 완전히 말리세요.
-
iOpener를 사용할 준비가 되었습니다! iOpener를 재가열해야 한다면 물을 끓인 후 불을 끄고 2~3분 동안 iOpener를 물에 담가 두세요.
-
-
-
이 단계는 번역되지 않았습니다. 번역을 도와주십시오
-
Handling it by the tag, place the heated iOpener across the bottom casing.
-
-
이 단계는 번역되지 않았습니다. 번역을 도와주십시오
-
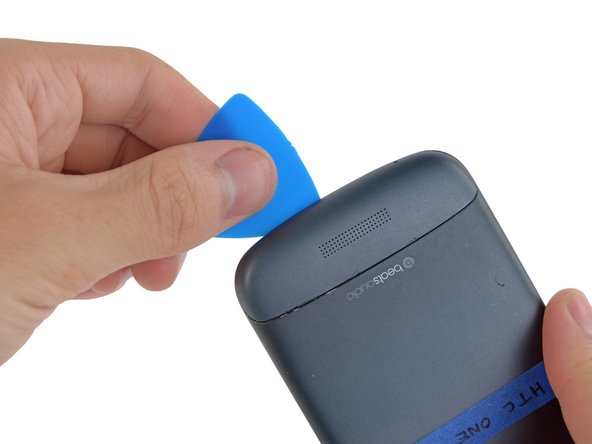
Gently place an opening pick in the corner of the gap between the bottom casing and rear case.
-
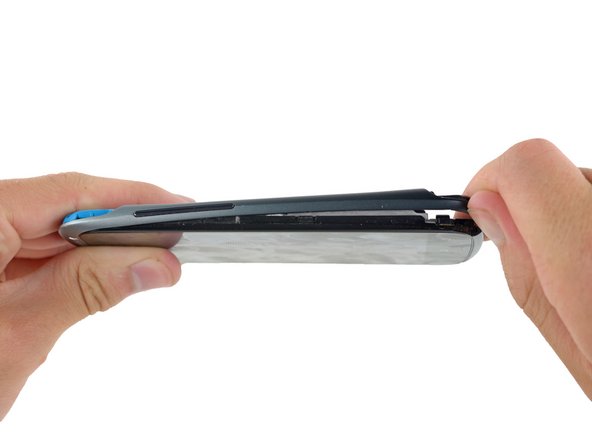
Slide the opening pick along the side of the casing, prying it away from the adhesive as you go.
-
-
이 단계는 번역되지 않았습니다. 번역을 도와주십시오
-
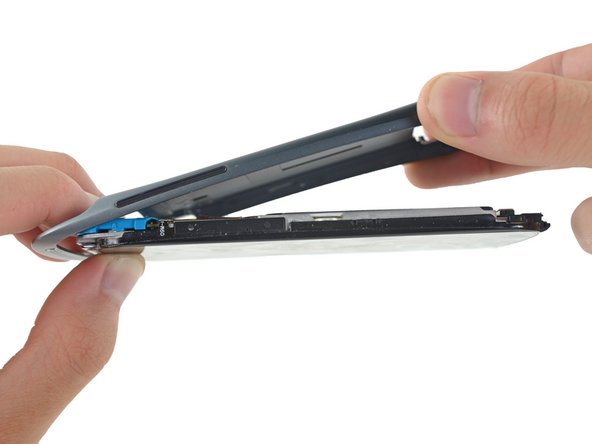
Starting at the groove near the headphone jack, use a plastic opening tool to lift the top casing.
-
-
이 단계는 번역되지 않았습니다. 번역을 도와주십시오
-
Remove the following screws holding the rear case to the rest of the phone:
-
Two 3.15 mm Phillips #00 screws
-
One 4.15 Torx T5 screw
-
One 4 mm Torx T5 screw
-
-
이 단계는 번역되지 않았습니다. 번역을 도와주십시오
-
Place your fingers on either side of the phone and gently push up on the rear case.
-