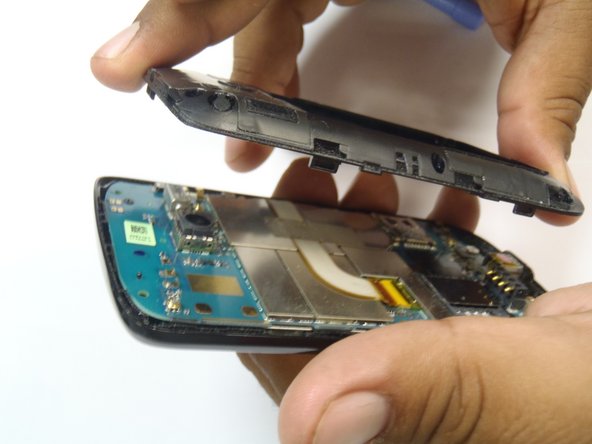
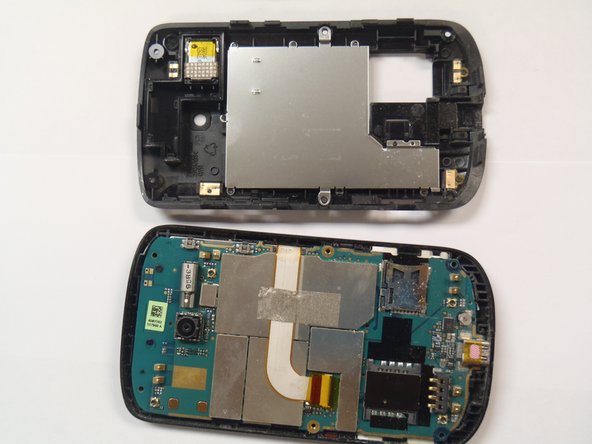
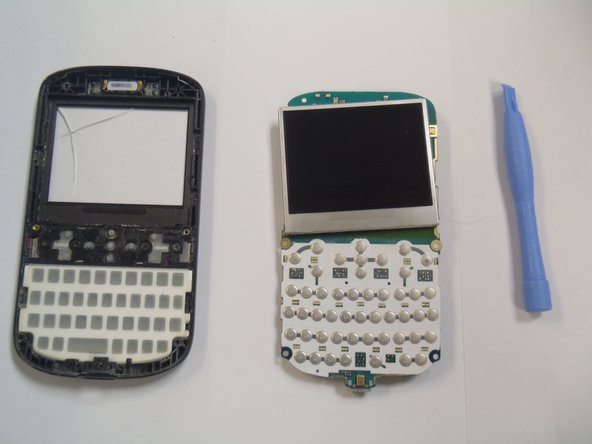
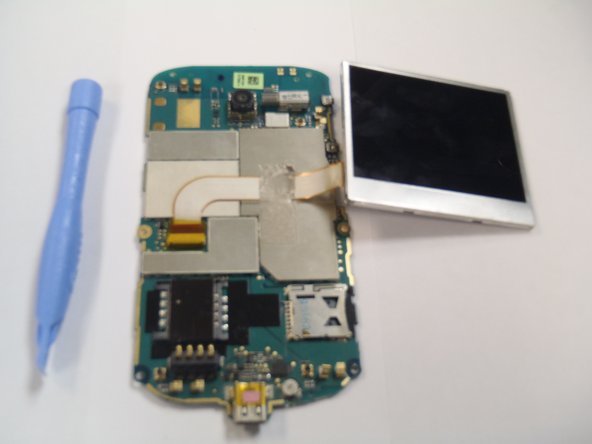
주요 콘텐츠로 건너뛰기

HTC Ozone Motherboard Replacement

필요한 것

  1. HTC Ozone Motherboard Replacement, Rear Battery Cover: 1 단계, 이미지 1/1
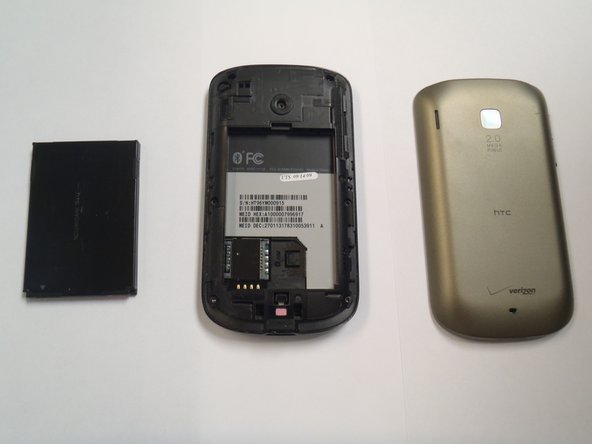
    • Flip the phone over to have the rear cover facing up.

    • The camera lens should be towards the top of the phone.

  2. HTC Ozone Motherboard Replacement: 2 단계, 이미지 1/2 HTC Ozone Motherboard Replacement: 2 단계, 이미지 2/2
    • Slide the cover up, towards the top of phone, to unlock the battery cover.

    • Lift the cover off phone and remove it.

  3. HTC Ozone Motherboard Replacement, Battery: 3 단계, 이미지 1/3 HTC Ozone Motherboard Replacement, Battery: 3 단계, 이미지 2/3 HTC Ozone Motherboard Replacement, Battery: 3 단계, 이미지 3/3
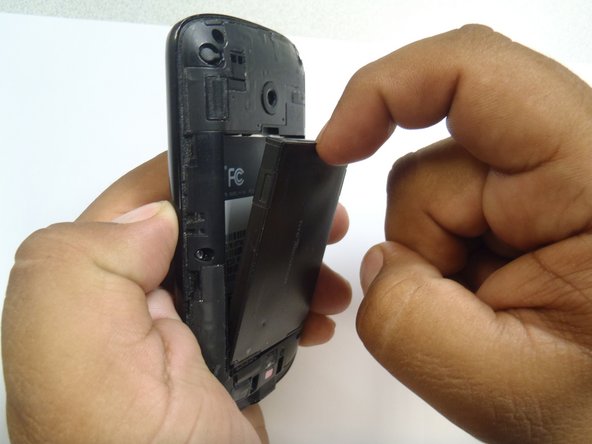
    • Use your finger to push the top of the battery downwards and lift the battery out of the phone.

  4. HTC Ozone Motherboard Replacement, Frame: 4 단계, 이미지 1/3 HTC Ozone Motherboard Replacement, Frame: 4 단계, 이미지 2/3 HTC Ozone Motherboard Replacement, Frame: 4 단계, 이미지 3/3
    • Remove the six Torx #5 screws that are securing the rear frame.

  5. HTC Ozone Motherboard Replacement: 5 단계, 이미지 1/3 HTC Ozone Motherboard Replacement: 5 단계, 이미지 2/3 HTC Ozone Motherboard Replacement: 5 단계, 이미지 3/3
    이 단계에 사용된 도구:
    Plastic Cards
    $2.99
    구매
    • Pry the frame open, releasing the eight plastic tabs around the edge of the frame, using the plastic opening tool.

    • A plastic card can be used instead of the plastic opening tool.

  6. HTC Ozone Motherboard Replacement, Motherboard: 6 단계, 이미지 1/2 HTC Ozone Motherboard Replacement, Motherboard: 6 단계, 이미지 2/2
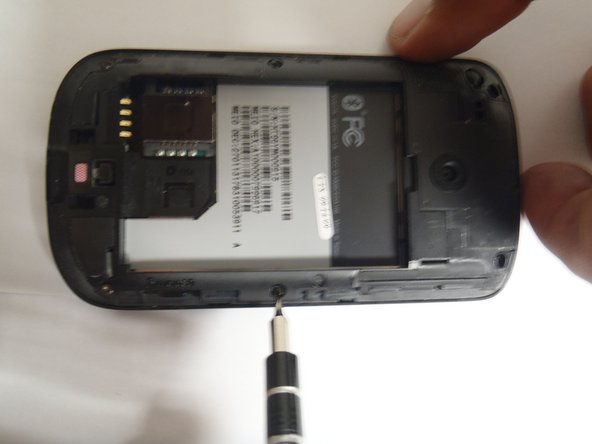
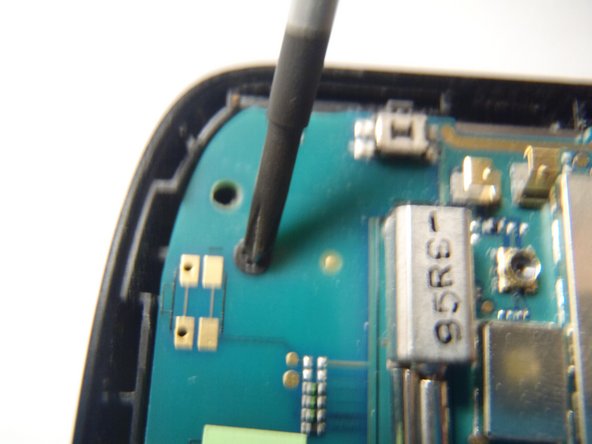
    • Remove the single Phillips #0 screw that is securing the motherboard to the front case of the phone.

  7. HTC Ozone Motherboard Replacement: 7 단계, 이미지 1/2 HTC Ozone Motherboard Replacement: 7 단계, 이미지 2/2
    • Pry the motherboard away from the front of the plastic case using a plastic opening tool.

    • Be careful not to break the ribbon cable when prying away the motherboard.

  8. HTC Ozone Motherboard Replacement: 8 단계, 이미지 1/3 HTC Ozone Motherboard Replacement: 8 단계, 이미지 2/3 HTC Ozone Motherboard Replacement: 8 단계, 이미지 3/3
    • Remove the plastic cover from the LCD display and the motherboard.

    • The Motherboard and the LCD are still attached together.

결론

To reassemble your device, follow these instructions in reverse order.

다른 한 분이 해당 안내서를 완성하였습니다.

Marco Jokada

회원 가입일: 04/28/11

247 평판

안내서 6개 작성하였습니다

CSU Los Angeles, Team 1-2, Nelson Spring 2011 CSU Los Angeles, Team 1-2, Nelson Spring 2011 회원

CSULA-NELSON-S11S1G2

5 회원들

안내서 12개 작성하였습니다

댓글 한 개

Where can I buy/find/get this motherboard? I have been looking for one for over a year now, thanks

Walt - 답글

댓글 쓰기

조회 통계:

24 시간 전: 0

7일 전: 0

30일 전: 3

전체 시간: 1,529