이 안내서에는 최근 변경 사항이 더 있습니다. 최신 비검증 버전으로 전환하십시오.
소개
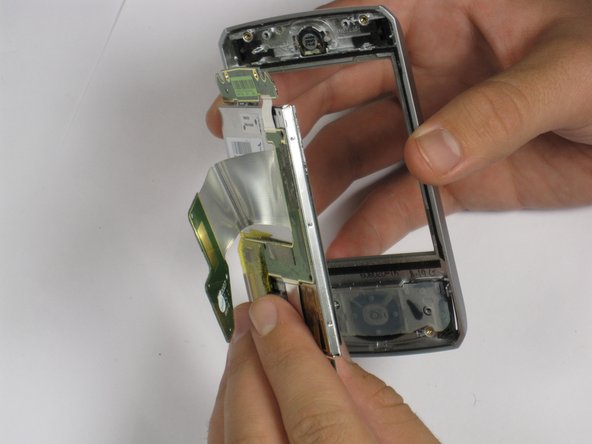
This guide will teach you how to take apart your phone so that you can remove/replace the screen.
필요한 것
-
-
Power the phone off.
-
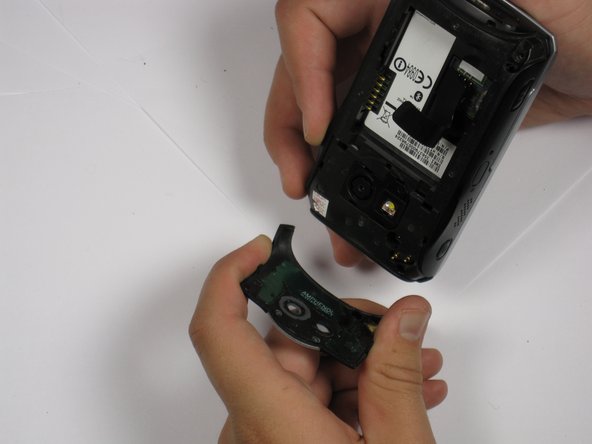
Use your thumb to gently press downward and away from the camera to remove the battery cover.
-
-
-
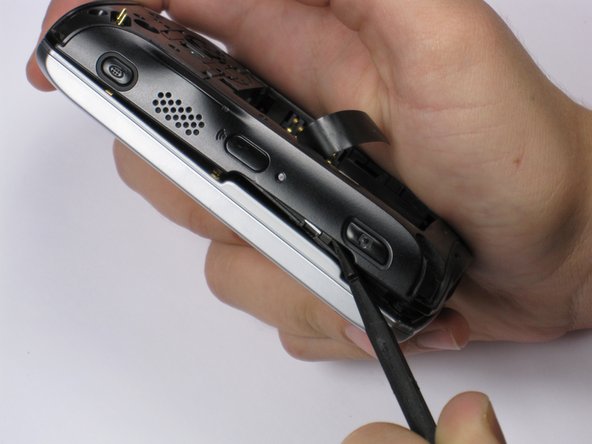
Use a plastic opening tool to remove the camera cover.
-
Lift the camera cover off of the phone.
-
-
-
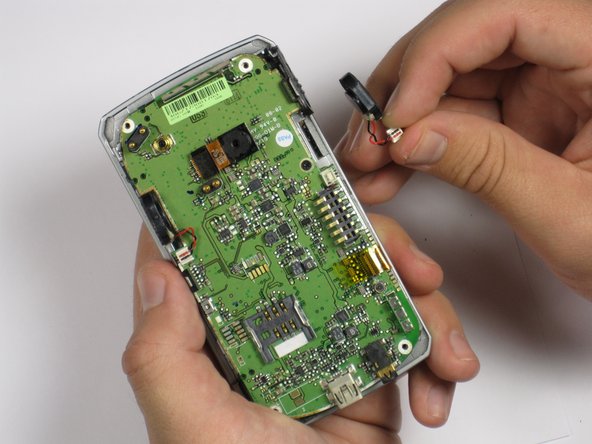
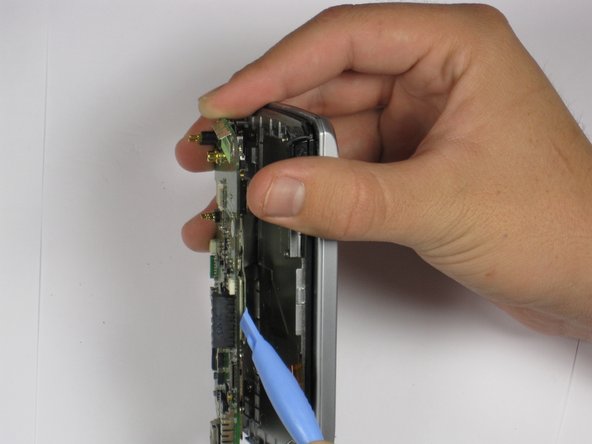
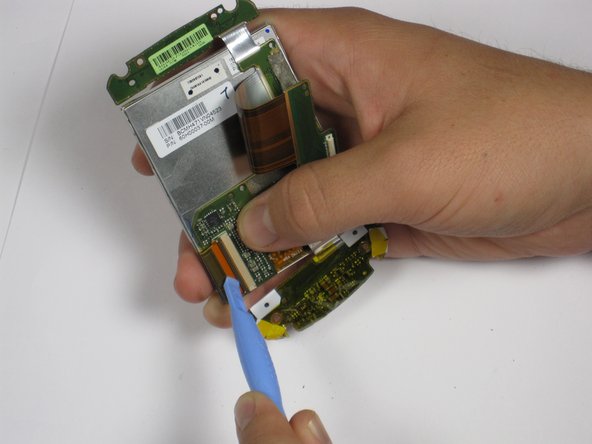
Grip the speaker connector with your thumb and finger and gently pull up.
-
Repeat for 2nd speaker.
-
-
-
-
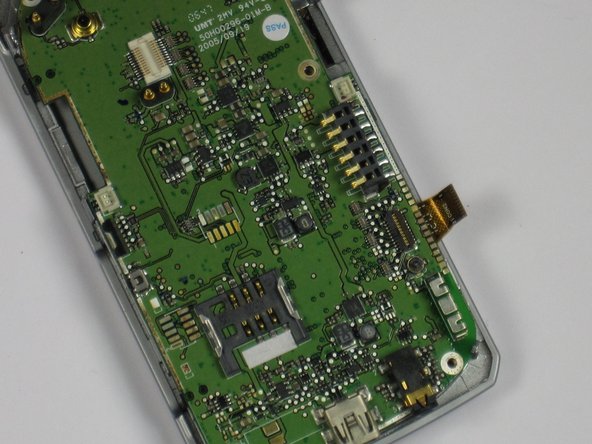
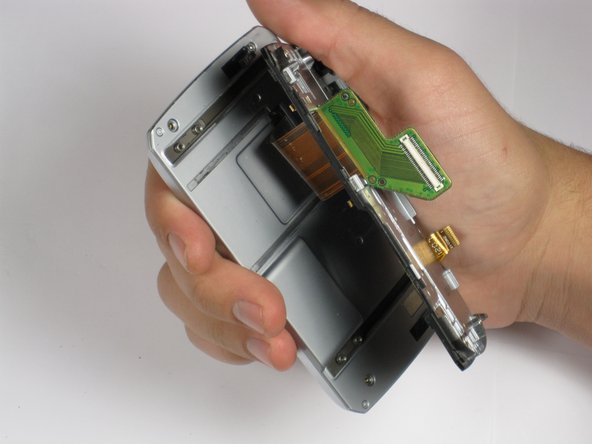
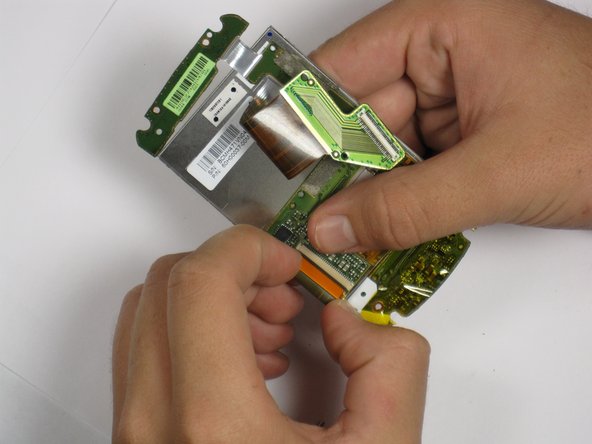
Use the plastic opening tool to carefully lift the motherboard off one corner at a time.
-
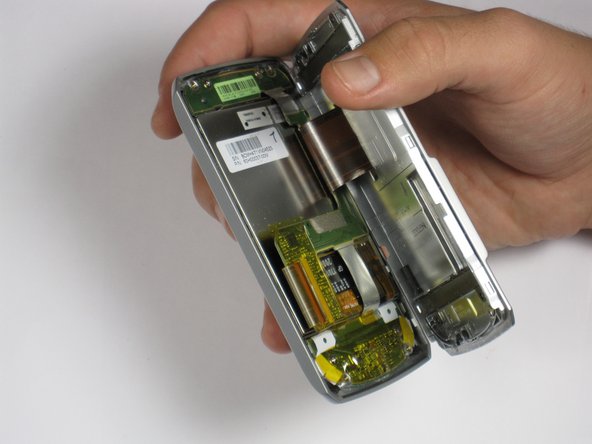
If the motherboard is not easily removed by pulling, then lift one side of the motherboard until you can see the attached cable. Then use the plastic opening tool to detach the cable from the motherboard.
-
-
-
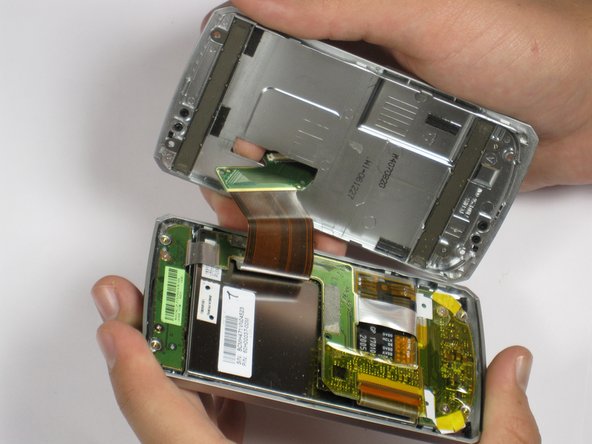
Using the Phillips Screwdriver #000 remove the four 3.3 mm screws.
-
Carefully lift the keyboard from the plastic plate by allowing the ribbon cable to slip through the opening of the plastic plate.
-


To reassemble your device, follow these instructions in reverse order.
To reassemble your device, follow these instructions in reverse order.
다른 한 분이 해당 안내서를 완성하였습니다.

팀

Cal Poly, Team 20-28, Maness Fall 2011 Cal Poly, Team 20-28, Maness Fall 2011 회원
CPSU-MANESS-F11S20G28
4 회원들
안내서 15개 작성하였습니다