주요 콘텐츠로 건너뛰기

Handheld Shower Head Replacement

필요한 것

  1. Handheld Shower Head Replacement, Shower Head: 1 단계, 이미지 1/1
    • Obtain a replacement showerhead.

    • Modern shower heads and arms are usually compatible with any shower located in the US and Canada. Restrictions may include antique (older than 1994) and other uncommon showers.

  2. Handheld Shower Head Replacement: 2 단계, 이미지 1/1
    • Unscrew the nut attached to the shower head connected to the wall using a wrench.

  3. Handheld Shower Head Replacement: 3 단계, 이미지 1/3 Handheld Shower Head Replacement: 3 단계, 이미지 2/3 Handheld Shower Head Replacement: 3 단계, 이미지 3/3
    • Unpack the new showerhead. Take note of the type of attachment and what tool you might need to tighten it.

    • Be sure to check with the included manual whether or not you will need thread seal tape, as some showers do not require it.

    • If you need to use Thread Seal Tape, make sure to wrap it with the direction of the threading, so it stays smooth and aligned as you thread the ends together.

  4. Handheld Shower Head Replacement: 4 단계, 이미지 1/2 Handheld Shower Head Replacement: 4 단계, 이미지 2/2
    • Attach the nut that threads to the arm of the pipe in the wall loosely; hand-tightening everything for now is fine.

  5. Handheld Shower Head Replacement: 5 단계, 이미지 1/2 Handheld Shower Head Replacement: 5 단계, 이미지 2/2
    • Attach the ball jointed segment to the attaching nut, with the nut’s threaded end towards the shower head, facing away from where the ball component was screwed onto the pipe.

    • Ensure that the rubber or plastic washer is in place to prevent leaks in the future.

  6. Handheld Shower Head Replacement: 6 단계, 이미지 1/2 Handheld Shower Head Replacement: 6 단계, 이미지 2/2
    • Attach the piece that holds the shower head and attaches to the pipe to the threaded nut over the ball joint.

  7. Handheld Shower Head Replacement: 7 단계, 이미지 1/1
    • Attach the water hose to the ball joint component, and then to the base of the showerhead.

    • You can place the showerhead in its holding slot for convenience as you attach the line.

  8. Handheld Shower Head Replacement: 8 단계, 이미지 1/1
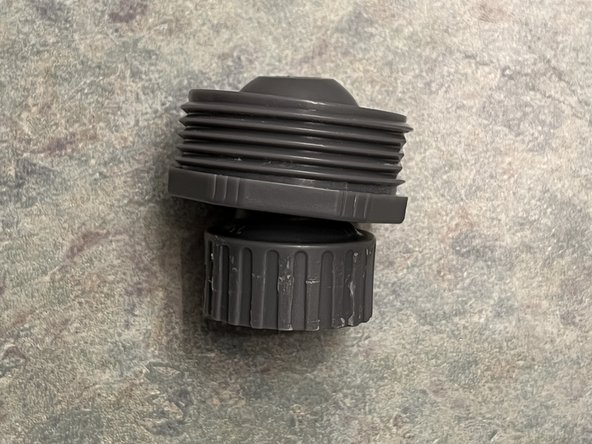
    • Finish tightening all components properly with your wrench (do not over-tighten).

    • Tighten down the nut encasing the ball-jointed segment until it will not move or slip on its own, but is loose enough to be gently adjusted with minimal force. This component will most likely not require the wrench, as it is built to be adjusted.

  9. Handheld Shower Head Replacement: 9 단계, 이미지 1/1
    • Run the water through the showerhead to test for leaks, and tighten or loosen components as necessary.

    • Ensure the ball joint pivots easily in the socket. If it does not, loosen the nut around the ball until it can move (without adjusting the other components).

결승점

Aaliyah Kahoohanohano-Davis

회원 가입일: 02/20/24

169 평판

안내서 1개 작성함

University of Arizona, Team 2-6, Cools Stephens Spring 2024 University of Arizona, Team 2-6, Cools Stephens Spring 2024 회원

ARIZONA-COOLS STEPHENS-S24S2G6

2 회원들

안내서 1개 작성하였습니다

댓글 0개

댓글 쓰기

조회 통계:

24 시간 전: 0

7일 전: 3

30일 전: 23

전체 시간: 44