주요 콘텐츠로 건너뛰기

Handspring Visor Deluxe PDA Back Cover Replacement

필요한 것

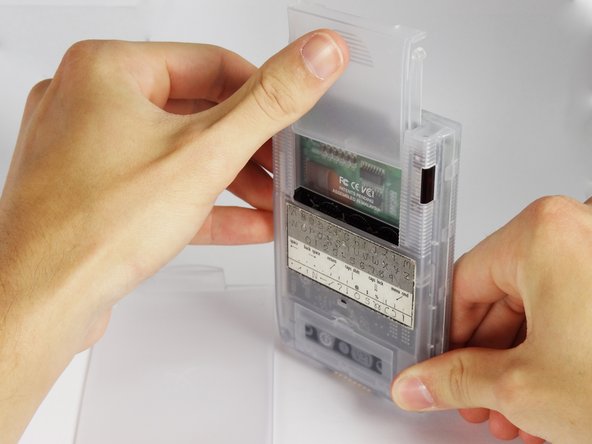
  1. Handspring Visor Deluxe PDA Back Cover Replacement, Outside cover and stylus: 1 단계, 이미지 1/2 Handspring Visor Deluxe PDA Back Cover Replacement, Outside cover and stylus: 1 단계, 이미지 2/2
    • Remove the outer screen cover by releasing the top clip from the main body of the device.

  2. Handspring Visor Deluxe PDA Back Cover Replacement: 2 단계, 이미지 1/3 Handspring Visor Deluxe PDA Back Cover Replacement: 2 단계, 이미지 2/3 Handspring Visor Deluxe PDA Back Cover Replacement: 2 단계, 이미지 3/3
    • Pull out the stylus from the top right corner of the device.

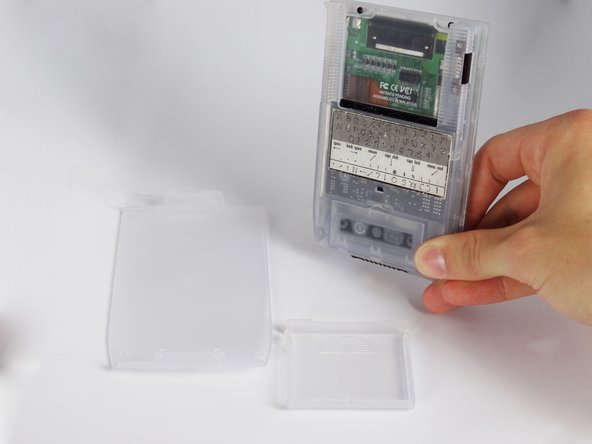
  3. Handspring Visor Deluxe PDA Back Cover Replacement: 3 단계, 이미지 1/3 Handspring Visor Deluxe PDA Back Cover Replacement: 3 단계, 이미지 2/3 Handspring Visor Deluxe PDA Back Cover Replacement: 3 단계, 이미지 3/3
    • Slide the memory cartridge cover up and off the device.

  4. Handspring Visor Deluxe PDA Back Cover Replacement, Batteries: 4 단계, 이미지 1/2 Handspring Visor Deluxe PDA Back Cover Replacement, Batteries: 4 단계, 이미지 2/2
    • Remove the battery cover by releasing the clip from the main body of the device.

  5. Handspring Visor Deluxe PDA Back Cover Replacement: 5 단계, 이미지 1/1
    • Remove the batteries from the device.

  6. Handspring Visor Deluxe PDA Back Cover Replacement, Back Cover: 6 단계, 이미지 1/1
    • Unscrew the four 2.94mm screws with a #00 Phillips screwdriver.

    • One end of the OEM stylus can unscrew and contains a mini #00 Phillips screwdriver.

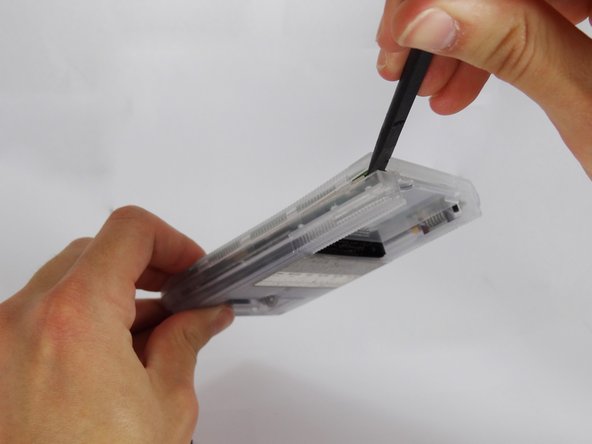
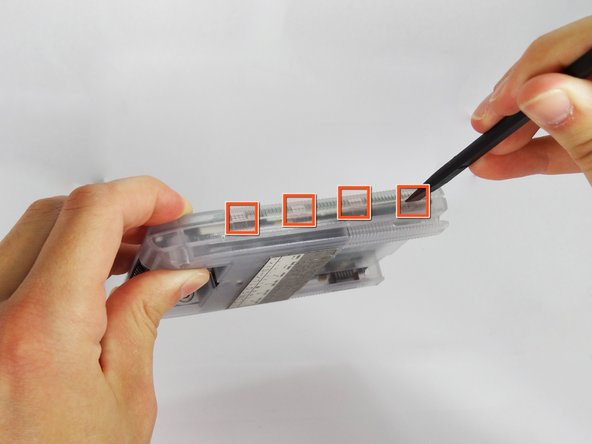
  7. Handspring Visor Deluxe PDA Back Cover Replacement: 7 단계, 이미지 1/3 Handspring Visor Deluxe PDA Back Cover Replacement: 7 단계, 이미지 2/3 Handspring Visor Deluxe PDA Back Cover Replacement: 7 단계, 이미지 3/3
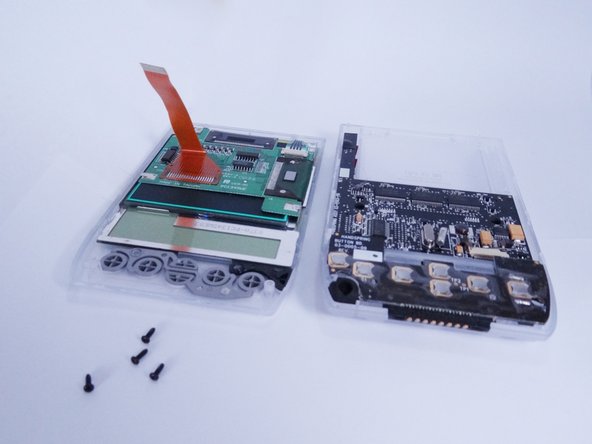
    • Use the spudger to pry open the casing by applying pressure at 4 clips on both sides of the device.

    • Be careful while opening the casing as there is a flex strip connecting the two halves.

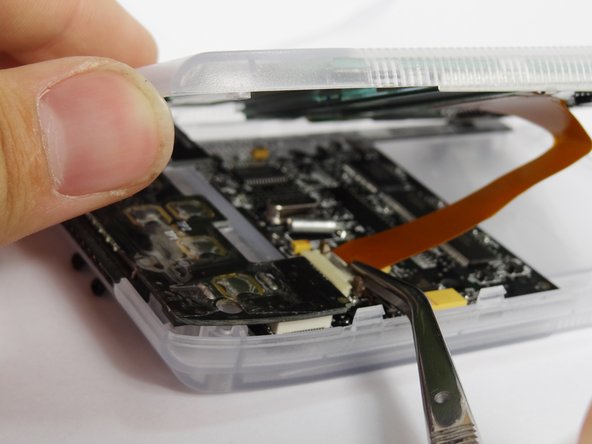
  8. Handspring Visor Deluxe PDA Back Cover Replacement: 8 단계, 이미지 1/3 Handspring Visor Deluxe PDA Back Cover Replacement: 8 단계, 이미지 2/3 Handspring Visor Deluxe PDA Back Cover Replacement: 8 단계, 이미지 3/3
    • Disconnect the flex strip from the motherboard with tweezers.

결론

To reassemble your device, follow these instructions in reverse order.

다른 한 분이 해당 안내서를 완성하였습니다.

Robert

회원 가입일: 07/07/12

23 평판

안내서 1개 작성함

Cal Poly, Team 1-2, Regan SU 2012 Cal Poly, Team 1-2, Regan SU 2012 회원

CPSU-REGAN-SU12S1G2

4 회원들

안내서 6개 작성하였습니다

댓글 0개

댓글 쓰기

조회 통계:

24 시간 전: 0

7일 전: 2

30일 전: 7

전체 시간: 575