소개
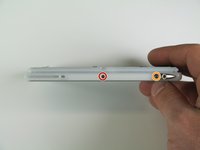
If you have a Handspring Visor Edge Battery that needs to be replaced, then this guide will help you understand how with included safety tips. What is a Handspring Visor Edge? It is a device from the Handspring Visor series that allows you to organize important information such as contacts, schedules and notes. Since the type of battery it uses are known to last around a month, it is important to understand how you would replace one once it is no longer usable. Depending on your repair experience, this guide is for people who are either experienced or just starting out. You do however need to be very careful when dealing with this device as it can easily break if you put too much force onto it, such as breaking the flip cover or screen. The battery itself can also be considered a fire risk if it is damaged, so make sure you take note on if the battery is damaged or not before starting.
필요한 것
-
-
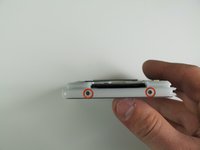
Open the Visor Edge placing the screen and the inner part of the flip cover face down on a flat surface such as a table
-
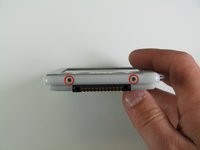
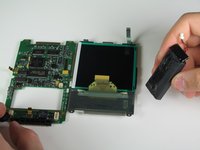
On the back of the PDA there is a tab connecting the flip cover to the device. Push gently on this tab trying to slide the cover upwards along the surface then lift the pieces apart to fully detach them
-
-
-
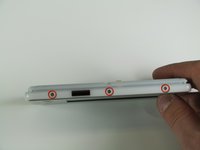
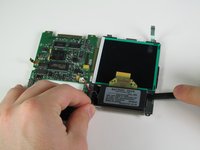
Remove the six 4.1 mm Phillips screws from the back plate using the #00 Phillips Scewdriver.
-


To reassemble your device, follow these instructions in reverse order. Take your e-waste to an R2 or e-Stewards certified recycler.
다른 한 분이 해당 안내서를 완성하였습니다.
팀

Cal Poly, Team 11-28, Maness Winter 2011 Cal Poly, Team 11-28, Maness Winter 2011 회원
CPSU-MANESS-W11S11G28
4 회원들
안내서 7개를 작성함