주요 콘텐츠로 건너뛰기

Hasee Z7M-i78172D1 CPU Fan Replacement

필요한 것

  1. Hasee Z7M-i78172D1 CPU Fan Replacement, Rear Panel: 1 단계, 이미지 1/1
    • Use a #0 Phillips head screwdriver and unscrew the sixteen 7mm screws on the back of the device.

  2. Hasee Z7M-i78172D1 CPU Fan Replacement: 2 단계, 이미지 1/3 Hasee Z7M-i78172D1 CPU Fan Replacement: 2 단계, 이미지 2/3 Hasee Z7M-i78172D1 CPU Fan Replacement: 2 단계, 이미지 3/3
    • Use a plastic opening tool to take off the back plastic panel.

  3. Hasee Z7M-i78172D1 CPU Fan Replacement, CPU Fan: 3 단계, 이미지 1/3 Hasee Z7M-i78172D1 CPU Fan Replacement, CPU Fan: 3 단계, 이미지 2/3 Hasee Z7M-i78172D1 CPU Fan Replacement, CPU Fan: 3 단계, 이미지 3/3
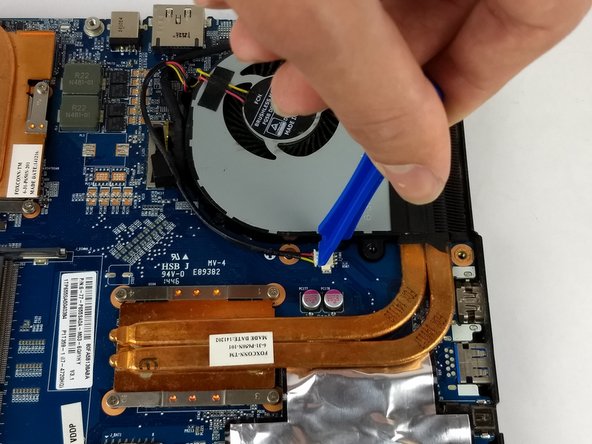
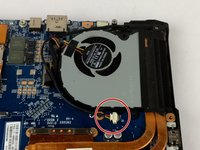
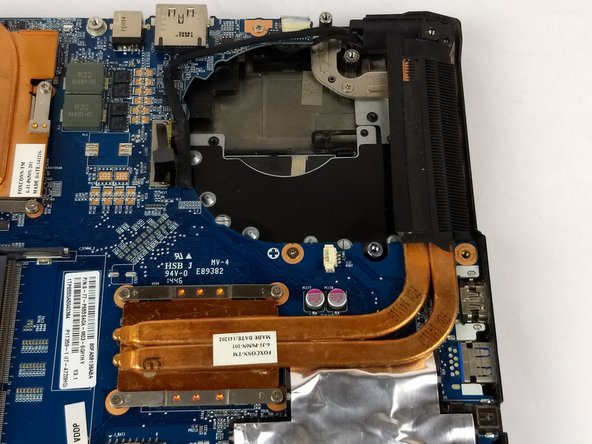
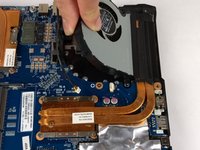
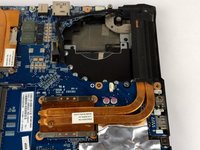
    • To take out the CPU fan it is necessary to disconnect the CPU fan cable. Use a plastic opening tool to remove the cable.

  4. Hasee Z7M-i78172D1 CPU Fan Replacement: 4 단계, 이미지 1/1
    • Use a #0 Phillips head screwdriver to remove the two 7mm screws holding the fan to the motherboard.

  5. Hasee Z7M-i78172D1 CPU Fan Replacement: 5 단계, 이미지 1/2 Hasee Z7M-i78172D1 CPU Fan Replacement: 5 단계, 이미지 2/2
    • Lift the CPU fan out and replace with the replacement fan.

결론

To reassemble your device, follow these instructions in reverse order.

다른 한 분이 해당 안내서를 완성하였습니다.

Jake Decker

회원 가입일: 02/14/18

311 평판

안내서 2개 작성하였습니다

USF Tampa, Team S6-G6, Eyestone Spring 2018 USF Tampa, Team S6-G6, Eyestone Spring 2018 회원

USFT-EYESTONE-S18S6G6

3 회원들

안내서 12개 작성하였습니다

댓글 0개

댓글 쓰기

조회 통계:

24 시간 전: 0

7일 전: 1

30일 전: 7

전체 시간: 324