소개
Is your Hayward SharkVac W3RC9740CUB Robotic Pool Cleaner not picking up dirt and debris from your pool as well as it used to? Have you had your cleaner more than 2 years? Then it's time you change your filter panels!
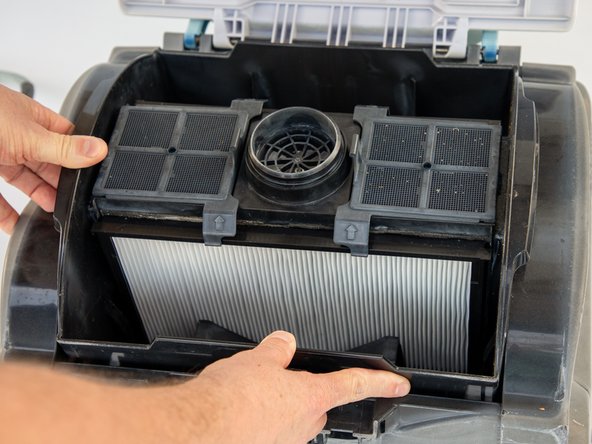
Replacing the filter panels will help ensure that the robot will effectively filter dirt and debris from the water. This keeps the robot performing at its best to help keep it from breaking down, thereby extending the life of the robotic unit.
This guide demonstrates how to replace the filter panels with step-by-step instructions.
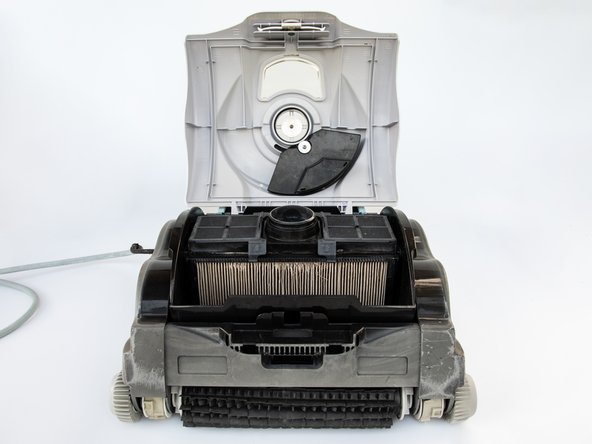
Before you begin the repair, make sure the vacuum is powered off and unplugged.
필요한 것
-
-
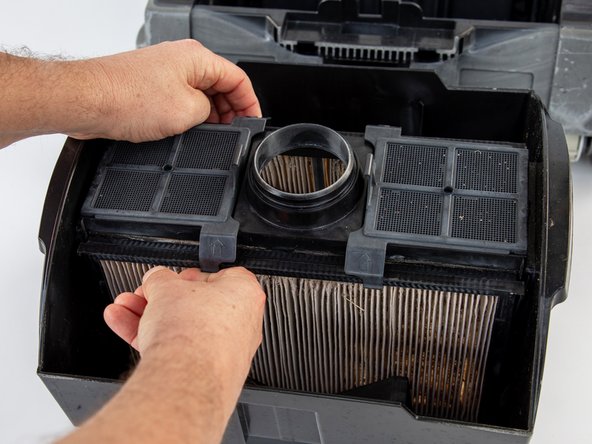
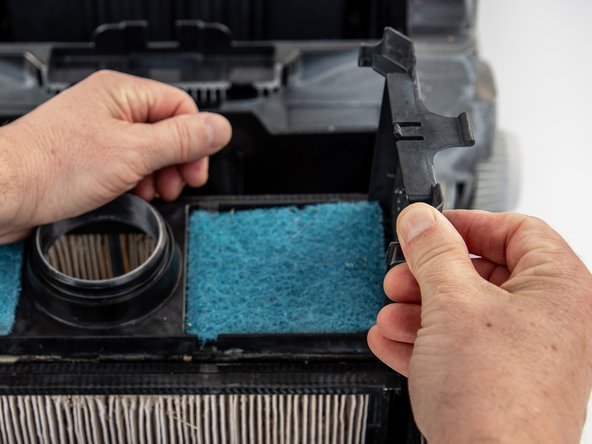
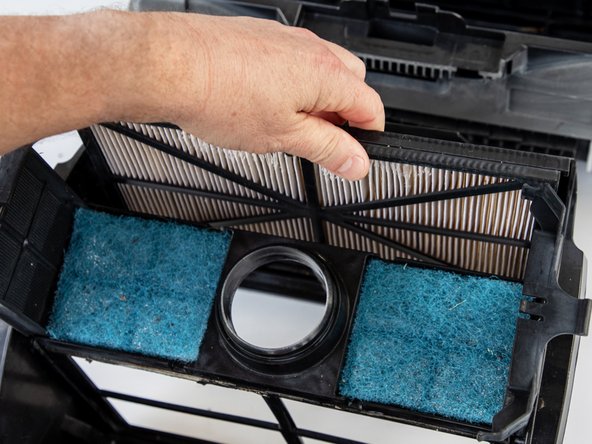
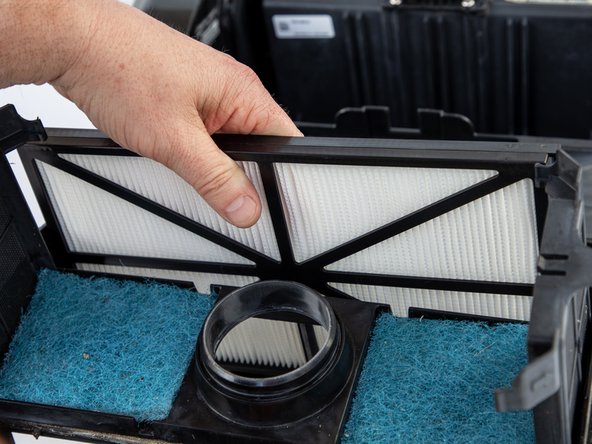
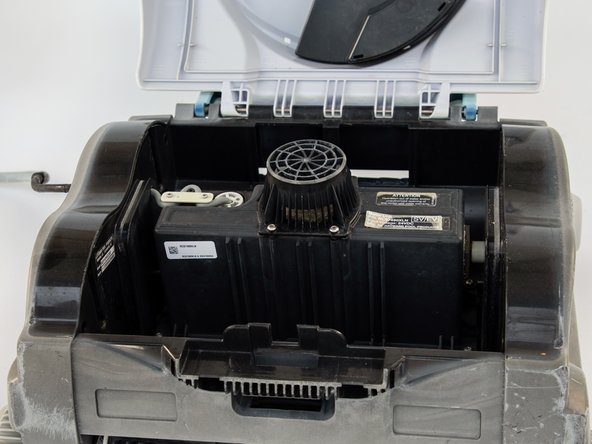
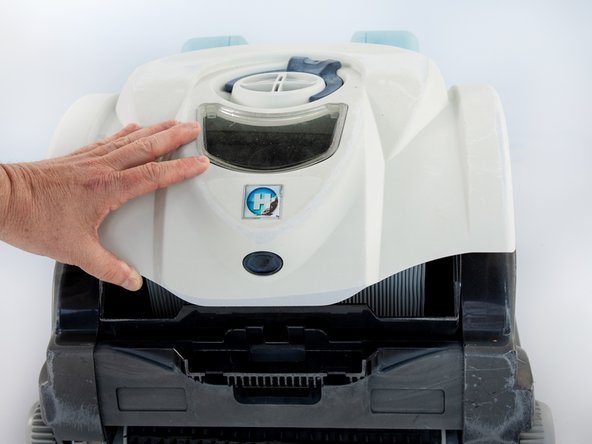
Unplug the robotic unit and set it on a flat surface.
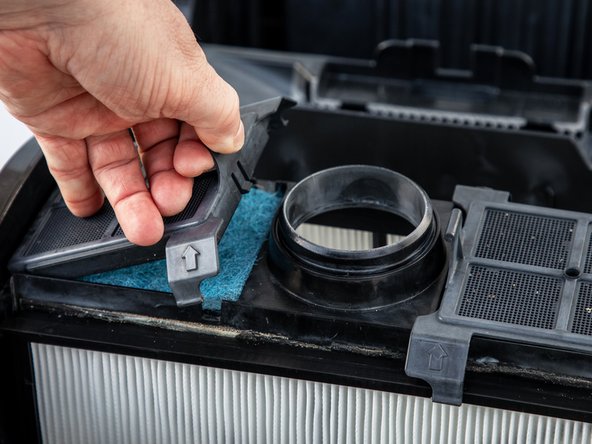
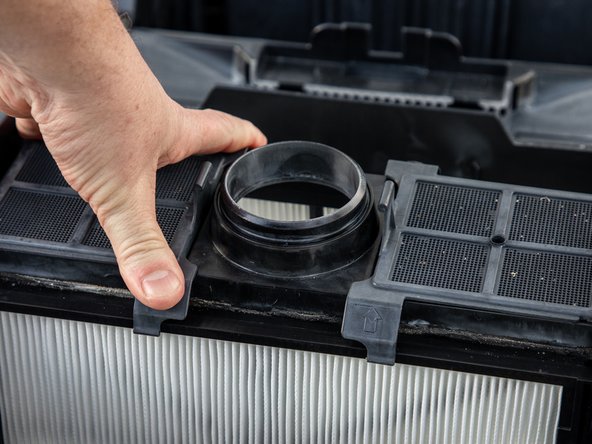
-
-


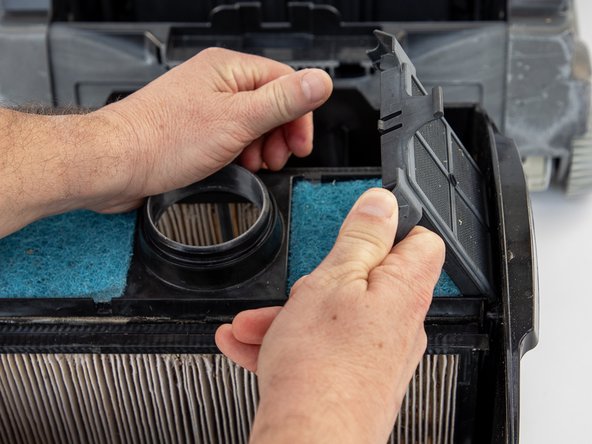

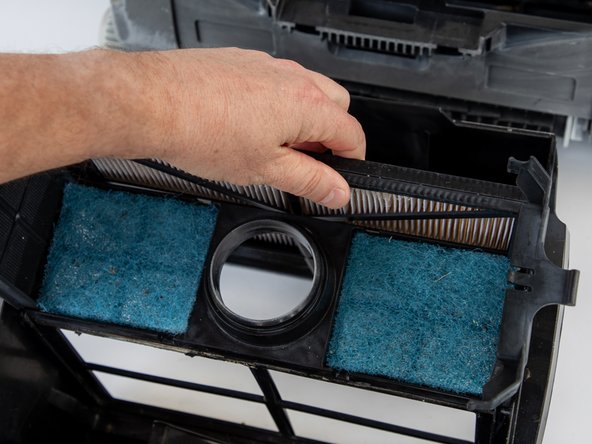
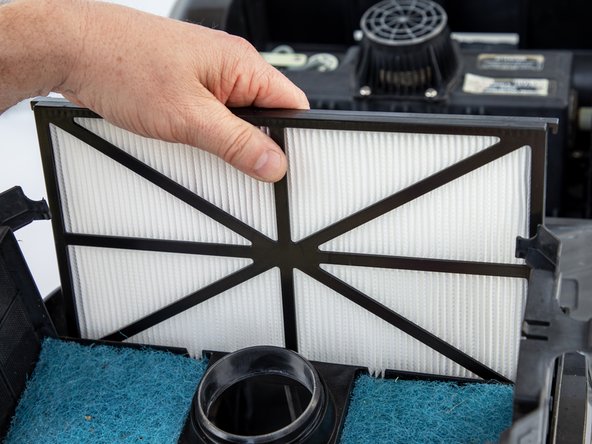
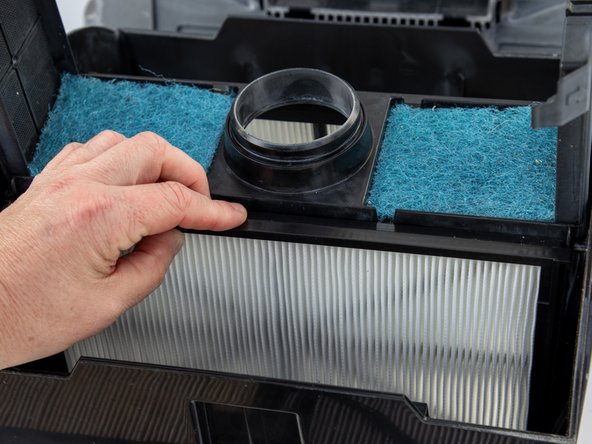

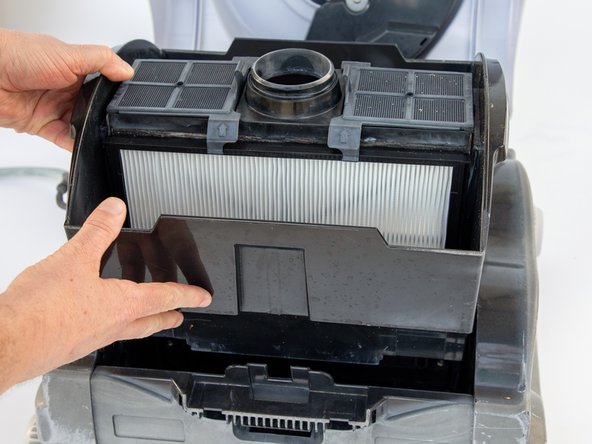


Now you have successfully changed the filter panels in your robotic vacuum pool cleaner. Happy swimming!
Now you have successfully changed the filter panels in your robotic vacuum pool cleaner. Happy swimming!
다른 한 분이 해당 안내서를 완성하였습니다.

팀

Austin Community College, Team 52-8, Watkins Spring 2024 Austin Community College, Team 52-8, Watkins Spring 2024 회원
AUSTINCC-WATKINS-S24S52G8
1 회원
안내서 1개 작성하였습니다