주요 콘텐츠로 건너뛰기

Honda CRF250L Exhaust Replacement

필요한 것

  1. Honda CRF250L Exhaust Replacement, Honda CRF250L Exhaust: 1 단계, 이미지 1/3 Honda CRF250L Exhaust Replacement, Honda CRF250L Exhaust: 1 단계, 이미지 2/3 Honda CRF250L Exhaust Replacement, Honda CRF250L Exhaust: 1 단계, 이미지 3/3
    • Take off the existing exhaust.

    • Remove the external hex bolt by the header with the 1/2" socket.

    • Then, remove the internal hex socket bolt by the exhaust with the 6mm Allen wrench.

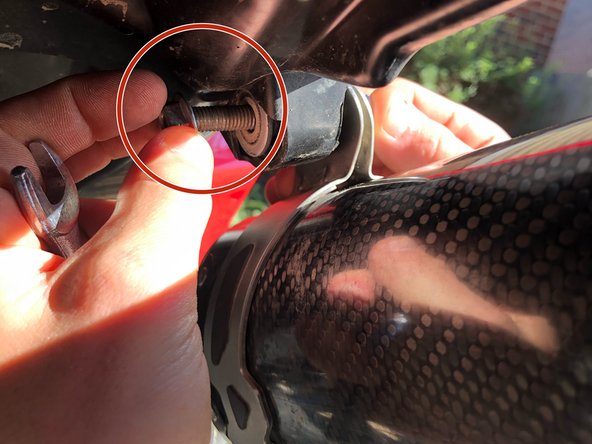
    • When unscrewing the bolt by the exhaust, make sure to hold the nut stationary with the 1/2" open-ended wrench.

  2. Honda CRF250L Exhaust Replacement: 2 단계, 이미지 1/1
    • Slide the pipe into the the exhaust.

    • The pipe should curve downward.

  3. Honda CRF250L Exhaust Replacement: 3 단계, 이미지 1/2 Honda CRF250L Exhaust Replacement: 3 단계, 이미지 2/2
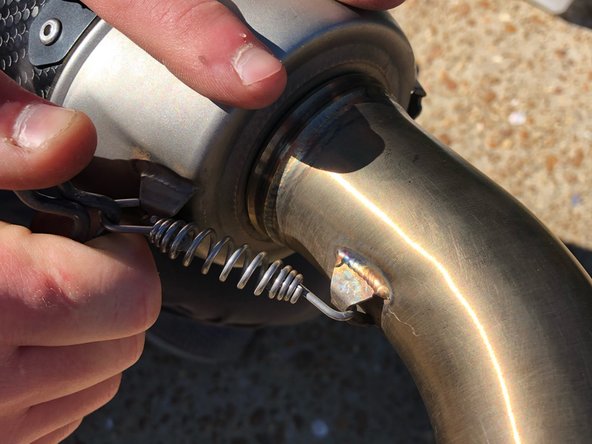
    • Hook the spring on to one of the slots that is welded on the pipe and exhaust.

    • Then, expand the spring to hook around the opposing slot using the spring hook.

  4. Honda CRF250L Exhaust Replacement: 4 단계, 이미지 1/1
    • Slide the clamp over the end of the pipe.

    • Make sure the bolt is stationed on top to tighten later.

  5. Honda CRF250L Exhaust Replacement: 5 단계, 이미지 1/1
    • Slide the mount over the exhaust.

  6. Honda CRF250L Exhaust Replacement: 6 단계, 이미지 1/1
    • Slide the new exhaust onto the header.

    • The exhaust should curve upward.

  7. Honda CRF250L Exhaust Replacement: 7 단계, 이미지 1/2 Honda CRF250L Exhaust Replacement: 7 단계, 이미지 2/2
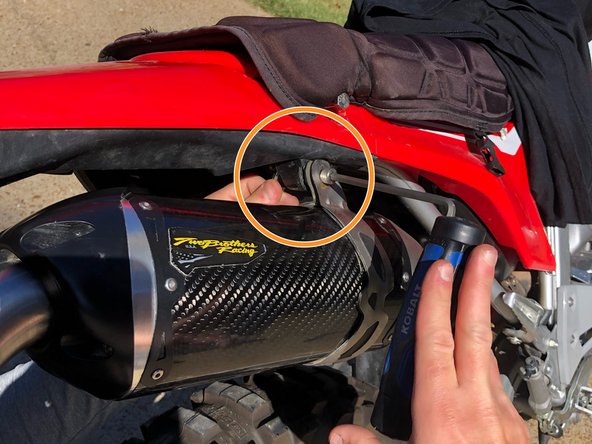
    • Make sure that the mount is positioned to allow all holes to line up.

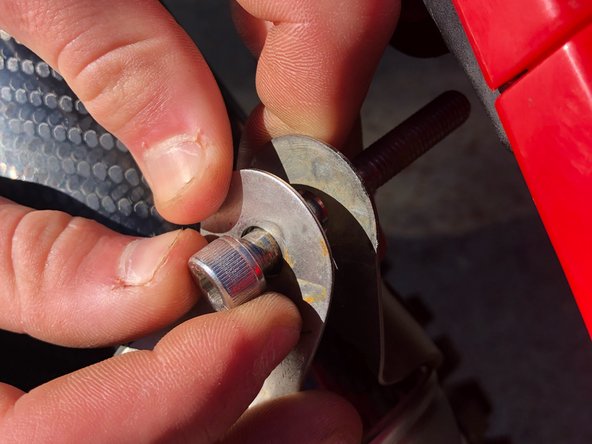
    • Insert the internal hex socket bolt.

  8. Honda CRF250L Exhaust Replacement: 8 단계, 이미지 1/3 Honda CRF250L Exhaust Replacement: 8 단계, 이미지 2/3 Honda CRF250L Exhaust Replacement: 8 단계, 이미지 3/3
    • Insert the bolt attached to the mount.

    • Install the nut to the backside of the internal hex socket bolt.

    • Tighten the internal hex socket bolt using the 6mm Allen wrench.

    • Keep the nut stationary using the 1/2" open-ended wrench.

  9. Honda CRF250L Exhaust Replacement: 9 단계, 이미지 1/1
    • Tighten the clamp.

    • Tighten the internal hex socket bolt on the clamp using the 6mm Allen wrench.

결론

To reassemble your stock exhaust, follow these instructions in reverse order.

다른 한 분이 해당 안내서를 완성하였습니다.

Brennen Ashford

회원 가입일: 09/15/20

196 평판

안내서 1개 작성함

University of Memphis, Team S2-G8, Willis Fall 2020 University of Memphis, Team S2-G8, Willis Fall 2020 회원

UM-WILLIS-F20S2G8

1 회원

안내서 1개 작성하였습니다

댓글 0개

댓글 쓰기

조회 통계:

24 시간 전: 2

7일 전: 18

30일 전: 67

전체 시간: 1,287