주요 콘텐츠로 건너뛰기

Honda Prelude Headlight Replacement

필요한 것

  1. Honda Prelude Headlight Replacement, Preparing Workspace: 1 단계, 이미지 1/1
    • Make sure that your car is parked on a level surface with the emergency brake on. A common workplace for anyone without a garage is a driveway or carport.

    • It is helpful to place a tarp underneath your car as it provides a contrasting background to locate fallen screws and parts. The tarp also provides a smooth, non-abrasive surface to place parts and tools.

  2. Honda Prelude Headlight Replacement, Disconnect Battery: 2 단계, 이미지 1/1
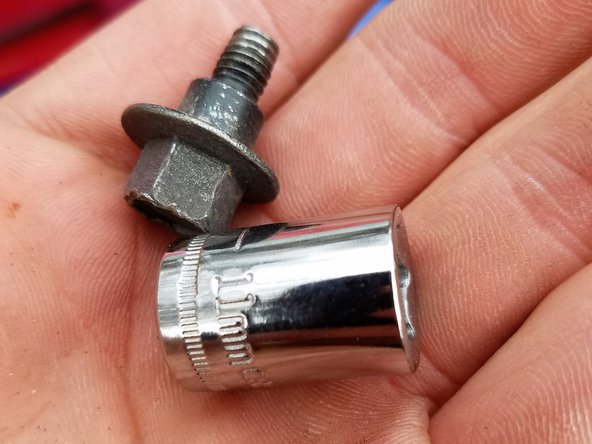
    • Locate the positive and negative leads on the battery and remove them with a 10mm socket.

    • If you have an aftermarket air intake, it is also helpful to remove the filter to allow for more space to reach the wires and screws for the headlights.

  3. Honda Prelude Headlight Replacement, Removing the Front Bumper- Part 1: 3 단계, 이미지 1/3 Honda Prelude Headlight Replacement, Removing the Front Bumper- Part 1: 3 단계, 이미지 2/3 Honda Prelude Headlight Replacement, Removing the Front Bumper- Part 1: 3 단계, 이미지 3/3
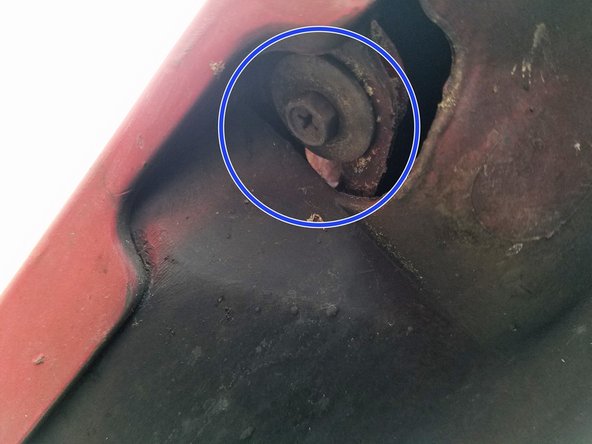
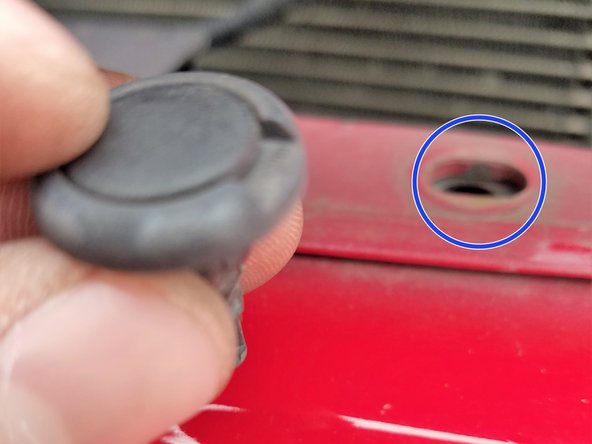
    • There are 7 body screws to be removed that attach the front bumper to the frame of the car. The first 5 screws are all on the same eye level as the underskirt of the car whereas screws 6 & 7 are above the passenger and driver side tires.

    • It is very common for body screws to have been replaced, especially on older cars. When replaced, bolts will always have the same size diameter, but the size of the bolt head may very.

  4. Honda Prelude Headlight Replacement, Removing the Front Bumper Part 2: 4 단계, 이미지 1/3 Honda Prelude Headlight Replacement, Removing the Front Bumper Part 2: 4 단계, 이미지 2/3 Honda Prelude Headlight Replacement, Removing the Front Bumper Part 2: 4 단계, 이미지 3/3
    • There are 2 screws which attach the grille and the front bumper to the frame which are located directly next to either headlight. Once the grille is removed, there are five plastic tabs which must also be removed before taking off the bumper.

    • The plastic tabs are commonly missing or break when removing them. Replacements are found at most auto parts store.

  5. Honda Prelude Headlight Replacement, Removing the Front Bumper - Part 3: 5 단계, 이미지 1/3 Honda Prelude Headlight Replacement, Removing the Front Bumper - Part 3: 5 단계, 이미지 2/3 Honda Prelude Headlight Replacement, Removing the Front Bumper - Part 3: 5 단계, 이미지 3/3
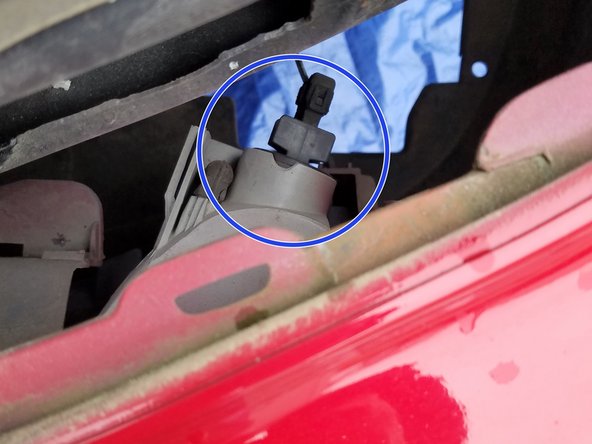
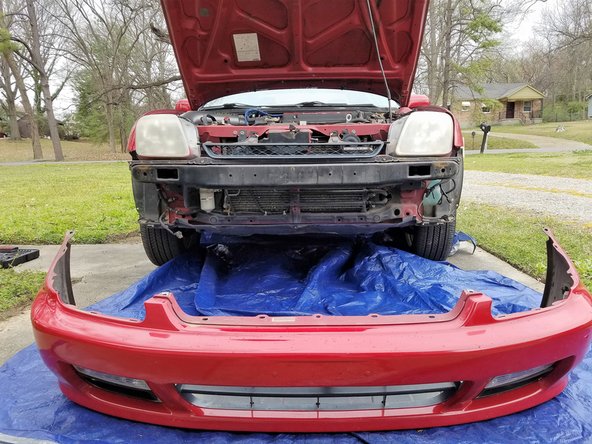
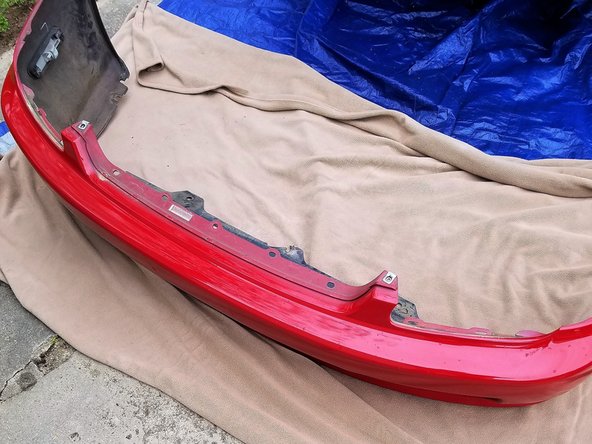
    • Now as you remove the front bumper, be sure to only pull it off far enough to reach down and unplug the wires to the passenger and driver side blinkers and running lights. Alternatively to freeing the wire, the bulb and wire harness may both be freed by twisting counterclockwise. Once everything is unplugged, pull gently until the bumper is free.

    • If there is any significant resistance when trying to free the bumper, then check to see if any bolts or wire connections have been missed to prevent damages.

    • It is optional to place the removed bumper on a blanket to prevent damage.

  6. Honda Prelude Headlight Replacement, Disconnect Wires to Headlights: 6 단계, 이미지 1/2 Honda Prelude Headlight Replacement, Disconnect Wires to Headlights: 6 단계, 이미지 2/2
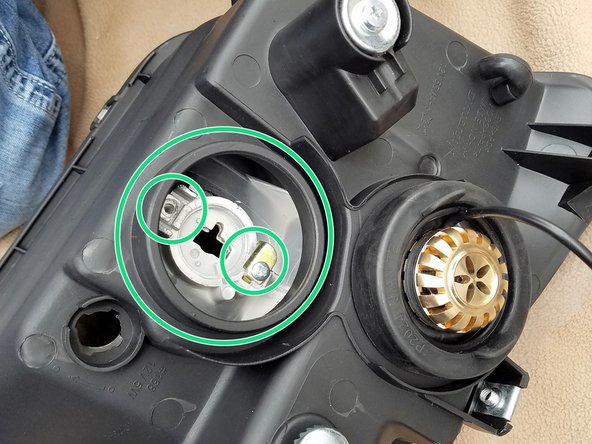
    • There is a wire harness for the high beam and low beam which may be freed by twisting counterclockwise. This should be done for passenger and driver side before attempting to remove the screws that secure the headlights.

    • If you have LEDs installed, then there is a ballast connected to the wire harness which has three wires that must be disconnected. Wires on the ballast are held in by clips that simply pull apart.

  7. Honda Prelude Headlight Replacement, Removing Headlight Screws: 7 단계, 이미지 1/3 Honda Prelude Headlight Replacement, Removing Headlight Screws: 7 단계, 이미지 2/3 Honda Prelude Headlight Replacement, Removing Headlight Screws: 7 단계, 이미지 3/3
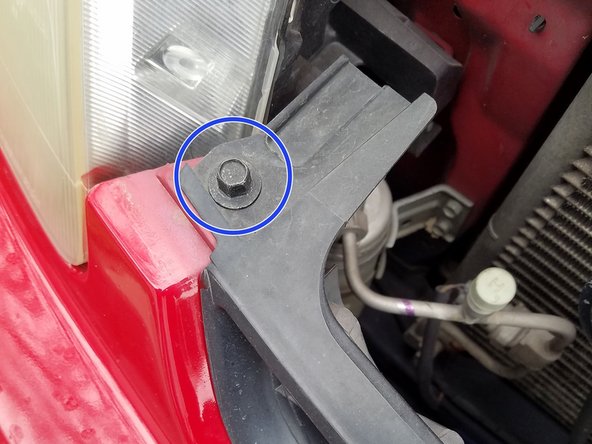
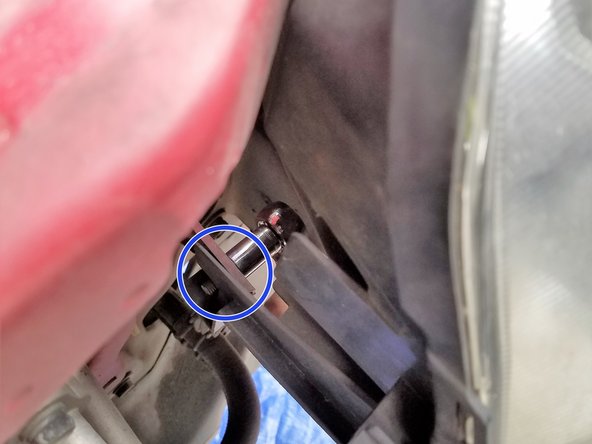
    • There are 3 screws securing each headlight. The top screw is the easiest to get to and can be removed in plain sight before even taking the front bumper off. The screws on the sides, however, are seen only after the bumper is removed and are still difficult to get to.

    • Do not over tighten these screws when reassembling or you will strip the hole in the headlight housing as the threading is plastic.

    • If you are having trouble locating these screws, then refer to the replacement part to get a better idea.

  8. Honda Prelude Headlight Replacement, Removing Headlight: 8 단계, 이미지 1/2 Honda Prelude Headlight Replacement, Removing Headlight: 8 단계, 이미지 2/2
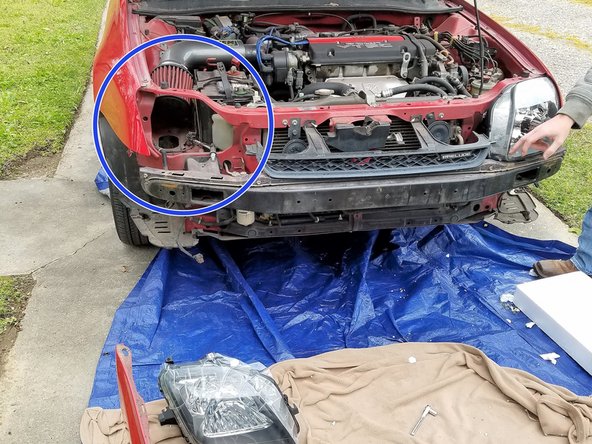
    • When removing the headlight, take care to avoid touching any bulbs with your hands or wear a latex glove. Furthermore, do not force the assembly to come out. If the assembly does not come free with a gentle pull then something is likely still attached.

  9. Honda Prelude Headlight Replacement, Installing HIDs: 9 단계, 이미지 1/3 Honda Prelude Headlight Replacement, Installing HIDs: 9 단계, 이미지 2/3 Honda Prelude Headlight Replacement, Installing HIDs: 9 단계, 이미지 3/3
    • The HIDs are not designed to fit into the factory housing which holds the stock bulbs in with a simple locking mechanism highlighted in green. To account for this, use a strong adhesive to glue the HID into the rubber moisture barrier which will also be glued to the assembly.

    • It is recommended to follow the instructions for your choice of adhesive for drying, but this process may be sped up with a blow dryer if running short on time. It should also be noticed that since adhesive is being used, the moisture barrier will also have to be replaced if the HID needs to be replaced.

  10. Honda Prelude Headlight Replacement, Wiring the HIDs: 10 단계, 이미지 1/3 Honda Prelude Headlight Replacement, Wiring the HIDs: 10 단계, 이미지 2/3 Honda Prelude Headlight Replacement, Wiring the HIDs: 10 단계, 이미지 3/3
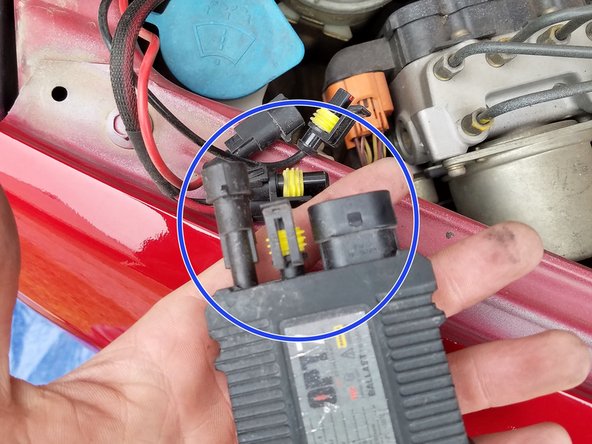
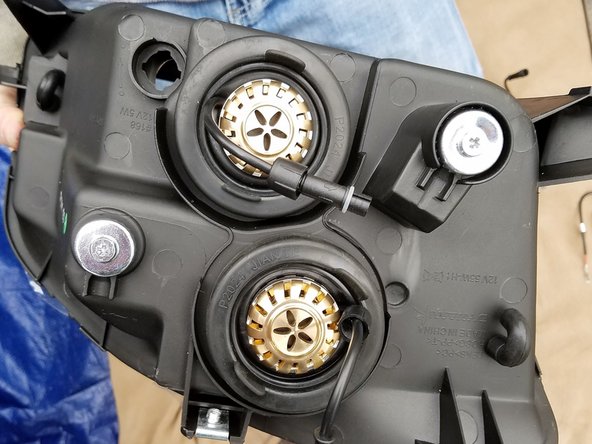
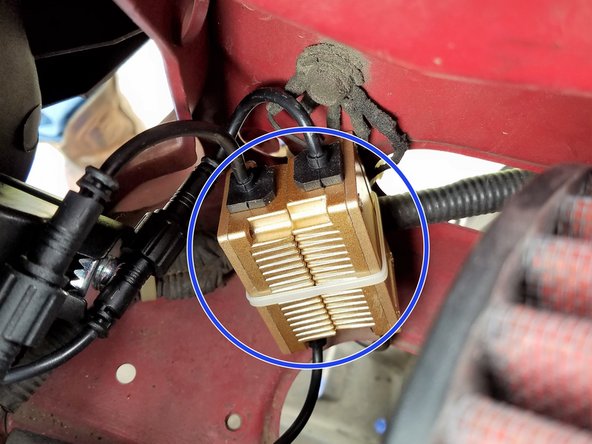
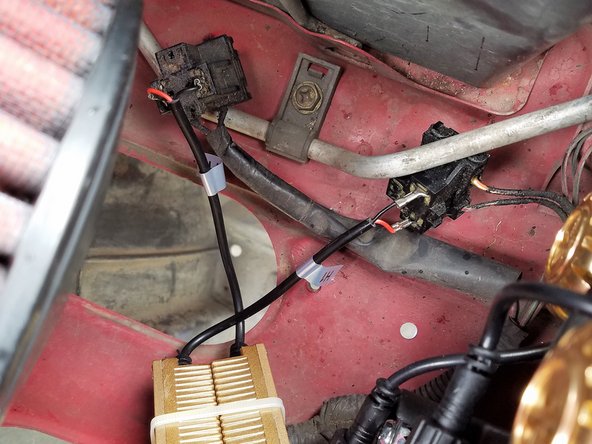
    • If HIDs are installed, then the factory wire harness no longer clips in. Now, you will need to place the positive and negative leads from the HID into the wire harness. Following, secure the connection with electrical tape. Furthermore, you may secure the ballasts for the HIDs to the frame of your car with zip ties.

    • If your turn your lights on and they do not work, reverse the order in which you placed these leads. Finally, be sure to place any warranties or receipts in your glove box in case the replacement parts malfunction.

  11. Honda Prelude Headlight Replacement, Reassembly: 11 단계, 이미지 1/3 Honda Prelude Headlight Replacement, Reassembly: 11 단계, 이미지 2/3 Honda Prelude Headlight Replacement, Reassembly: 11 단계, 이미지 3/3
    • Follow the disassembly steps in reverse to secure the new headlight assembly. Take care to use the same bolts that were removed and replace any missing bolts with stock body screws from an auto parts store.

결론

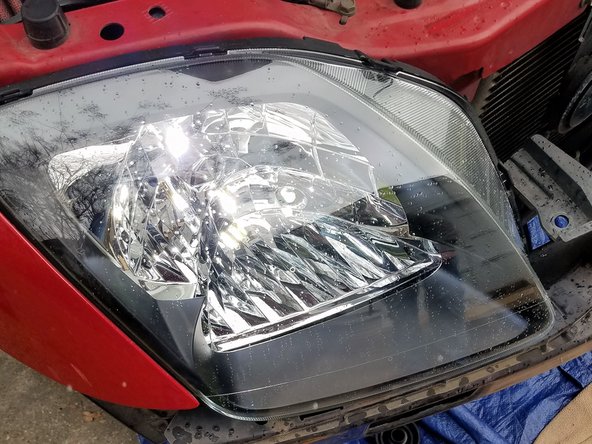
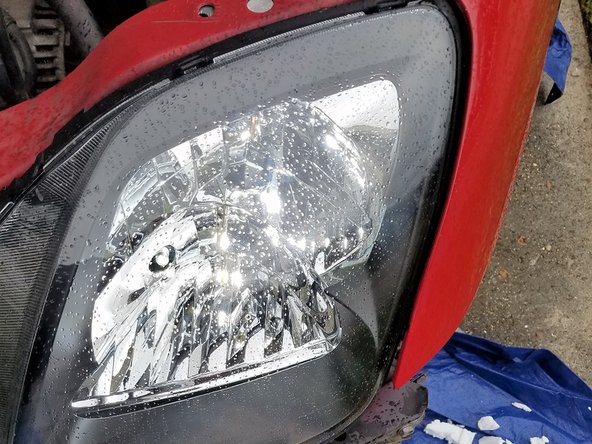
Enjoy your new Headlights!

다른 3명이 해당 안내서를 완성하였습니다.

Memphis Engineering Solution

회원 가입일: 03/13/17

171 평판

안내서 1개 작성함

댓글 0개

댓글 쓰기

조회 통계:

24 시간 전: 5

7일 전: 18

30일 전: 90

전체 시간: 10,189