주요 콘텐츠로 건너뛰기

Honeywell Turbo Force Air Circulator Fan Disassembly

필요한 것

  1. Honeywell Turbo Force Air Circulator Fan Disassembly, Overview: 1 단계, 이미지 1/2 Honeywell Turbo Force Air Circulator Fan Disassembly, Overview: 1 단계, 이미지 2/2
    • Honeywell Turbo Force 12" Air Circulator.

    • Dimensions - 11.22" x 9.8" x 13.98", 5.7 lbs.

  2. Honeywell Turbo Force Air Circulator Fan Disassembly, Removing Scews: 2 단계, 이미지 1/3 Honeywell Turbo Force Air Circulator Fan Disassembly, Removing Scews: 2 단계, 이미지 2/3 Honeywell Turbo Force Air Circulator Fan Disassembly, Removing Scews: 2 단계, 이미지 3/3
    • Remove the 6 screws from the backside of the fan.

  3. Honeywell Turbo Force Air Circulator Fan Disassembly, Removing the grill: 3 단계, 이미지 1/2 Honeywell Turbo Force Air Circulator Fan Disassembly, Removing the grill: 3 단계, 이미지 2/2
    • Remove the front grill cover.

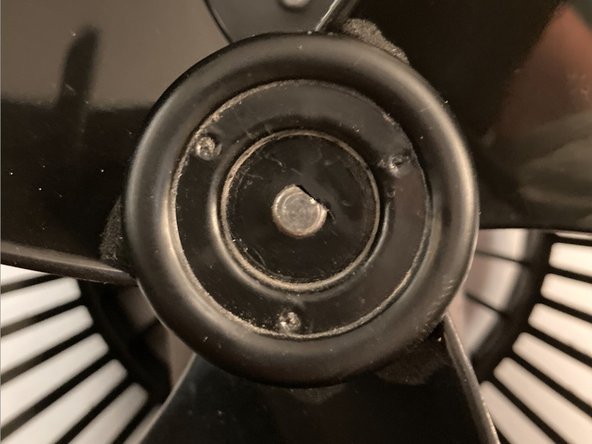
  4. Honeywell Turbo Force Air Circulator Fan Disassembly, Removing the plastic ring: 4 단계, 이미지 1/2 Honeywell Turbo Force Air Circulator Fan Disassembly, Removing the plastic ring: 4 단계, 이미지 2/2
    • Remove the inside plastic ring around center shaft.

    • Enables the fan blades to be removed.

    • Use a flat head screwdriver to remove the plastic ring.

  5. Honeywell Turbo Force Air Circulator Fan Disassembly, Removing Fan blades: 5 단계, 이미지 1/2 Honeywell Turbo Force Air Circulator Fan Disassembly, Removing Fan blades: 5 단계, 이미지 2/2
    • Remove the fan blades by pulling.

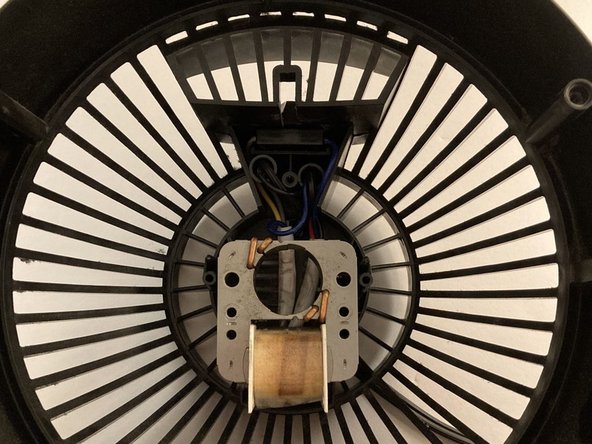
  6. Honeywell Turbo Force Air Circulator Fan Disassembly, Detaching wire covering: 6 단계, 이미지 1/2 Honeywell Turbo Force Air Circulator Fan Disassembly, Detaching wire covering: 6 단계, 이미지 2/2
    • Remove 1 screw inside to detach the plastic wire covering.

  7. Honeywell Turbo Force Air Circulator Fan Disassembly, Removing the wire protector piece: 7 단계, 이미지 1/1
    • Remove the plastic covering.

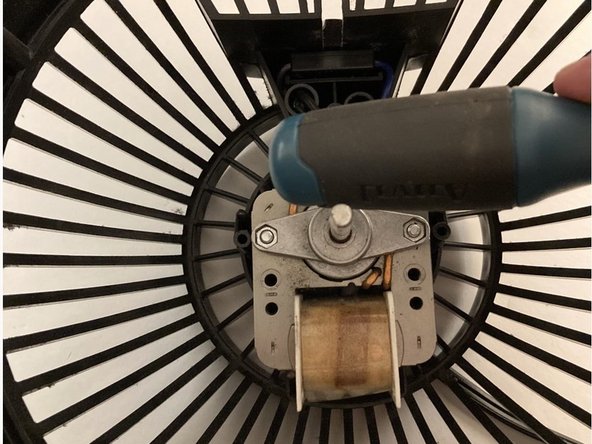
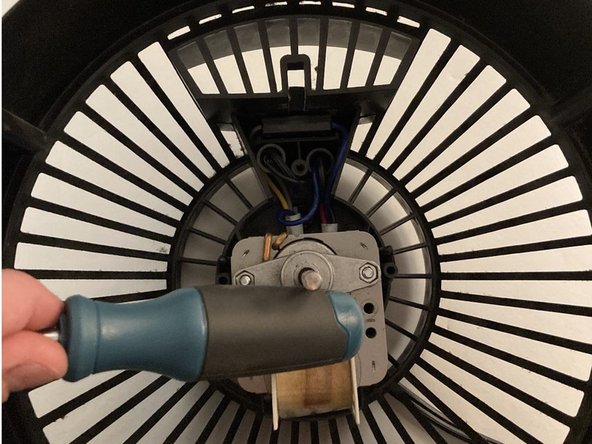
  8. Honeywell Turbo Force Air Circulator Fan Disassembly, Unscrewing the motor: 8 단계, 이미지 1/3 Honeywell Turbo Force Air Circulator Fan Disassembly, Unscrewing the motor: 8 단계, 이미지 2/3 Honeywell Turbo Force Air Circulator Fan Disassembly, Unscrewing the motor: 8 단계, 이미지 3/3
    • Remove the 2 screws on the motor.

    • This allows the motor to pull away from the housing.

  9. Honeywell Turbo Force Air Circulator Fan Disassembly, Pulling the Motor from the Housing: 9 단계, 이미지 1/1
    • Pull the motor away from the housing to expose wiring.

    • Use caution to not detach the wiring from the back.

  10. Honeywell Turbo Force Air Circulator Fan Disassembly, Unscrewing the Rotor: 10 단계, 이미지 1/2 Honeywell Turbo Force Air Circulator Fan Disassembly, Unscrewing the Rotor: 10 단계, 이미지 2/2
    • Remove the two screws from the back of the motor.

    • Allows the rotor and front/back bearings to be removed.

  11. Honeywell Turbo Force Air Circulator Fan Disassembly, Removing the Rotor: 11 단계, 이미지 1/2 Honeywell Turbo Force Air Circulator Fan Disassembly, Removing the Rotor: 11 단계, 이미지 2/2
    • Remove the rotor and front bearings by pulling.

  12. Honeywell Turbo Force Air Circulator Fan Disassembly, Realigning the Bearings: 12 단계, 이미지 1/3 Honeywell Turbo Force Air Circulator Fan Disassembly, Realigning the Bearings: 12 단계, 이미지 2/3 Honeywell Turbo Force Air Circulator Fan Disassembly, Realigning the Bearings: 12 단계, 이미지 3/3
    • During reassembly, re-align the bearings by tapping on the shaft.

결론

To reassemble the fan, follow these instructions in reverse order. Note that Step 12 is an extra step in the reassembly process to follow.

다른 2명이 해당 안내서를 완성하였습니다.

Donovan Williams

회원 가입일: 04/12/22

262 평판

안내서 1개 작성함

댓글 2개

Thank you for the good guide, I saved my fan in the middle of hot weather!

Noah - 답글

I have a Honeywell HF910. I have taken the cover off but there are no screws behind the fan blades. Any suggestions on how to remove the fan blades? Thank you.

Nancy Alexander - 답글

댓글 쓰기

조회 통계:

24 시간 전: 22

7일 전: 115

30일 전: 569

전체 시간: 6,949