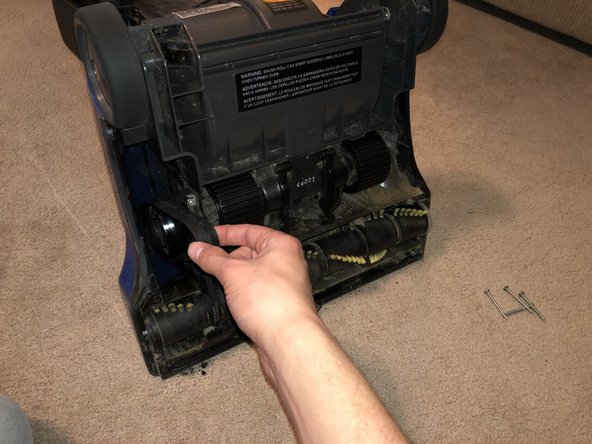
주요 콘텐츠로 건너뛰기

Hoover Windtunnel U6485900 Belt Replacement

필요한 것

  1. Hoover Windtunnel U6485900 Belt Replacement, Belt: 1 단계, 이미지 1/2 Hoover Windtunnel U6485900 Belt Replacement, Belt: 1 단계, 이미지 2/2
    • Turn off and unplug the vacuum, if necessary.

    • Lay the vacuum on its side, so you can see the bottom plate of the vacuum.

  2. Hoover Windtunnel U6485900 Belt Replacement: 2 단계, 이미지 1/3 Hoover Windtunnel U6485900 Belt Replacement: 2 단계, 이미지 2/3 Hoover Windtunnel U6485900 Belt Replacement: 2 단계, 이미지 3/3
    • Using your Phillips #2 screwdriver, remove all four 42 mm long screws from the bottom plate of the vacuum.

  3. Hoover Windtunnel U6485900 Belt Replacement: 3 단계, 이미지 1/2 Hoover Windtunnel U6485900 Belt Replacement: 3 단계, 이미지 2/2
    • Remove the old vacuum belt by sliding the belt off the brush roller (the bottom roller), and then remove the belt from the motor shaft (the thin metal tube above the brush roller where the belt is attached to).

  4. Hoover Windtunnel U6485900 Belt Replacement: 4 단계, 이미지 1/3 Hoover Windtunnel U6485900 Belt Replacement: 4 단계, 이미지 2/3 Hoover Windtunnel U6485900 Belt Replacement: 4 단계, 이미지 3/3
    • Install the new vacuum belt by placing it on the brush roller, and stretching it up to place it on the motor shaft.

    • Pulling the belt up to the motor shaft can require some force. It may help to turn the motor shaft while placing the belt on it to reduce the amount of force needed.

  5. Hoover Windtunnel U6485900 Belt Replacement: 5 단계, 이미지 1/3 Hoover Windtunnel U6485900 Belt Replacement: 5 단계, 이미지 2/3 Hoover Windtunnel U6485900 Belt Replacement: 5 단계, 이미지 3/3
    • Place the bottom plate back on the vacuum by screwing in the four 42 mm screws with the Phillips #2 screwdriver.

  6. Hoover Windtunnel U6485900 Belt Replacement: 6 단계, 이미지 1/1
    • Plug in the vacuum and turn it on. If it is abnormally loud or the brush roller is not spinning, turn the vacuum back off and check the belt to see if it is loose.

    • If the belt is loose, adjust the belt's position until it is firmly on both the brush roller and the motor shaft.

결론

The reattachment of the bottom plate of the vacuum is included in this guide.

Jerry Jenkins

회원 가입일: 02/28/21

133 평판

안내서 1개 작성함

댓글 0개

댓글 쓰기

조회 통계:

24 시간 전: 5

7일 전: 35

30일 전: 117

전체 시간: 2,705