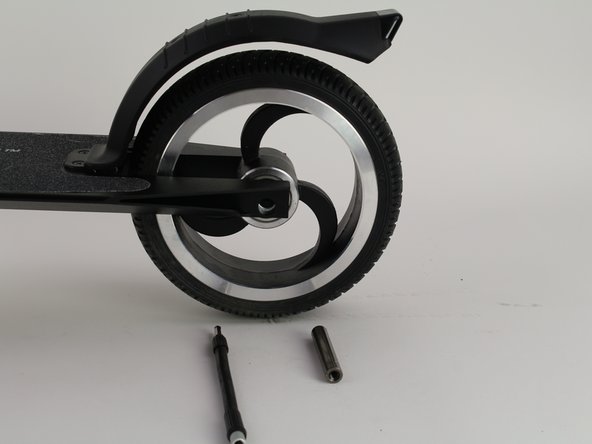
주요 콘텐츠로 건너뛰기

Hover-1 Rally Brake Pad Replacement

필요한 것

  1. Hover-1 Rally Brake Pad Replacement, Rear Wheel: 1 단계, 이미지 1/1
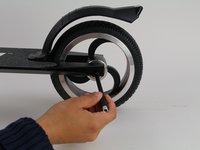
    • Remove the 4 mm screw in center of the wheel with a 4 mm hex key.

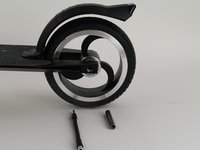
    • Flip the scooter and remove the same size screw from the opposite side of the wheel.

  2. Hover-1 Rally Brake Pad Replacement: 2 단계, 이미지 1/1
    • Slide the plastic side piece off from both sides of the scooter.

    • Two 4 mm screws and 2 side panels are taken out.

  3. Hover-1 Rally Brake Pad Replacement: 3 단계, 이미지 1/2 Hover-1 Rally Brake Pad Replacement: 3 단계, 이미지 2/2
    • Use a 4 mm bit extension to push the axle out of the wheel’s center.

  4. Hover-1 Rally Brake Pad Replacement: 4 단계, 이미지 1/1
    • Grab the deck of the scooter, and pull the wheel downwards.

    • 2 washers will fall out with the wheel.

  5. Hover-1 Rally Brake Pad Replacement, Brake Pad: 5 단계, 이미지 1/1
    • Begin by removing the two 8.0 mm screws from the deck using the Phillips #2 screwdriver.

    • Two screw caps will come off with the screws

  6. Hover-1 Rally Brake Pad Replacement: 6 단계, 이미지 1/1
    • Pull the foot brake/ wheel cover away from the deck and downwards.

  7. Hover-1 Rally Brake Pad Replacement: 7 단계, 이미지 1/1
    • On the foot brake, remove the two 8.0 mm screws using the Phillips #2 screwdriver.

  8. Hover-1 Rally Brake Pad Replacement: 8 단계, 이미지 1/1
    • On the opposite side of the brake, remove the silver brake pad.

    • If this is your first time replacing this part, the removal might require more force. You may need to use the flat end of a spudger to pry it off.

결론

To reassemble your device, follow these instructions in reverse order.

다른 한 분이 해당 안내서를 완성하였습니다.

Elizabeth Picazo

회원 가입일: 02/12/20

189 평판

안내서 1개 작성함

Cal Poly, Team S7-G2, Regan Winter 2020 Cal Poly, Team S7-G2, Regan Winter 2020 회원

CPSU-REGAN-W20S7G2

6 회원들

안내서 7개 작성하였습니다

댓글 0개

댓글 쓰기

조회 통계:

24 시간 전: 0

7일 전: 1

30일 전: 10

전체 시간: 510