주요 콘텐츠로 건너뛰기

Hover-1 XLS LCD Screen Replacement

필요한 것

  1. Hover-1 XLS LCD Screen Replacement, Ignition: 1 단계, 이미지 1/1
    • Remove the six 16mm #3 Hex head screws located on the front panel.

    • The screws are held in with Teflon tape, so use a chemical remover like B'laster to loosen the screws.

  2. Hover-1 XLS LCD Screen Replacement: 2 단계, 이미지 1/3 Hover-1 XLS LCD Screen Replacement: 2 단계, 이미지 2/3 Hover-1 XLS LCD Screen Replacement: 2 단계, 이미지 3/3
    • Grab the front panel and gently lift it up to the side.

    • The front panel is connected to the ignition, so don't pull too hard or the wires will get damaged.

  3. Hover-1 XLS LCD Screen Replacement: 3 단계, 이미지 1/1
    • Remove the two, 19 mm Phillips #2 screws holding the ignition.

    • Remove the yellow and red wires that are connected to the ignition. To remove them, look at the soldering guide provided by iFixit.

  4. Hover-1 XLS LCD Screen Replacement, LCD Screen: 4 단계, 이미지 1/3 Hover-1 XLS LCD Screen Replacement, LCD Screen: 4 단계, 이미지 2/3 Hover-1 XLS LCD Screen Replacement, LCD Screen: 4 단계, 이미지 3/3
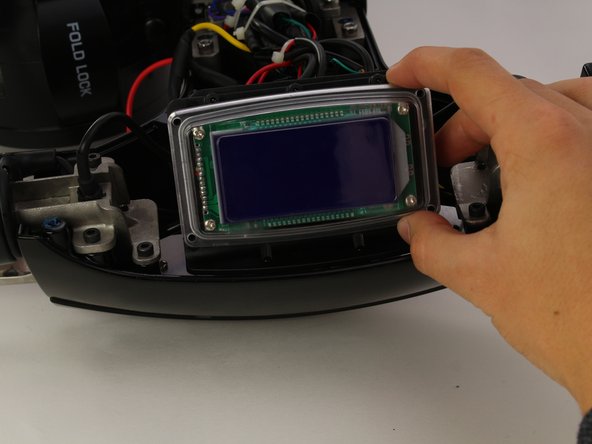
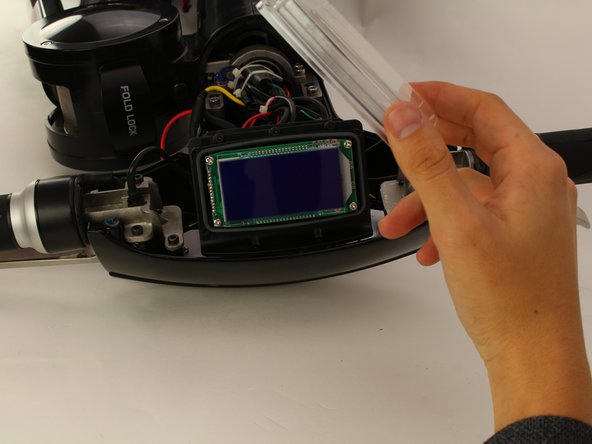
    • Remove the four 10mm Phillips #2 screws holding the casing of the LCD.

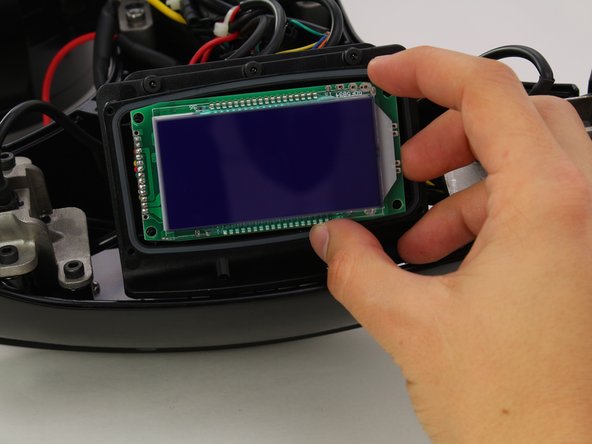
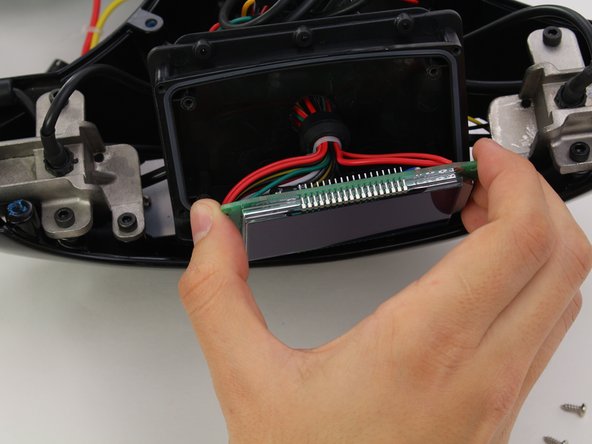
    • Remove the casing on the LCD.

  5. Hover-1 XLS LCD Screen Replacement: 5 단계, 이미지 1/3 Hover-1 XLS LCD Screen Replacement: 5 단계, 이미지 2/3 Hover-1 XLS LCD Screen Replacement: 5 단계, 이미지 3/3
    • Remove the four 10mm Phillips #2 screws holding the LCD onto the bike.

    • Gently lift off the LCD screen.

    • Follow iFixit's soldering guide to remove the LCD screen.

결론

To reassemble your device, follow these instructions in reverse order.

Jonathan Hidalgo

회원 가입일: 01/24/19

575 평판

안내서 5개 작성하였습니다

Cal Poly, Team S1-G2, White Winter 2019 Cal Poly, Team S1-G2, White Winter 2019 회원

CPSU-WHITE-W19S1G2

3 회원들

안내서 6개 작성하였습니다

댓글 0개

댓글 쓰기

조회 통계:

24 시간 전: 0

7일 전: 7

30일 전: 29

전체 시간: 1,220