소개
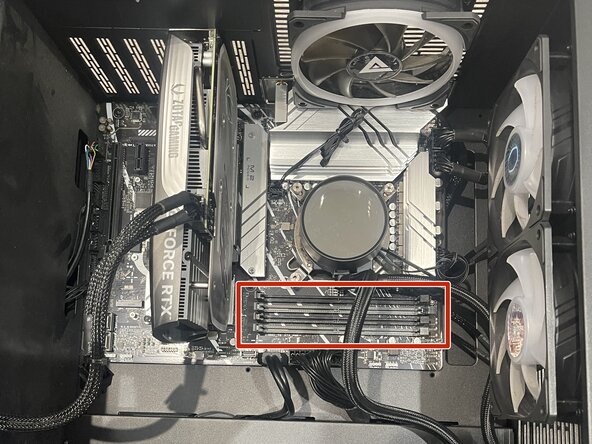
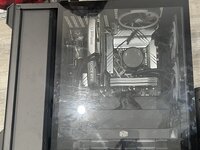
This PC has an ASUS PRIME Z790-P motherboard. It is currently experiencing slowdowns and crashes when performing non-demanding tasks. When investigating the internal components of the PC, it has a single RAM stick and an almost full SSD. So, to fix this problem, we will add a new SSD and new RAM sticks to allow for more storage space and better speeds.
Before you begin this repair, turn off your PC fully and disconnect all peripherals from the device. Hold the power button one more time for 15 seconds to discharge all electricity. Then, place the PC on its side and remove the glass panel to begin this repair.
****Note:*** This repair begins after the PC has been opened to access the internals. Follow the instructions for opening your PC tower before you begin.
필요한 것
-
-
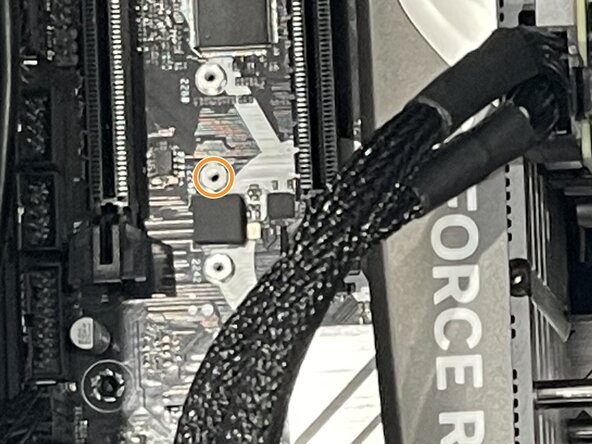
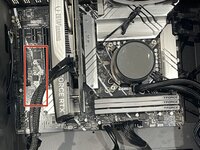
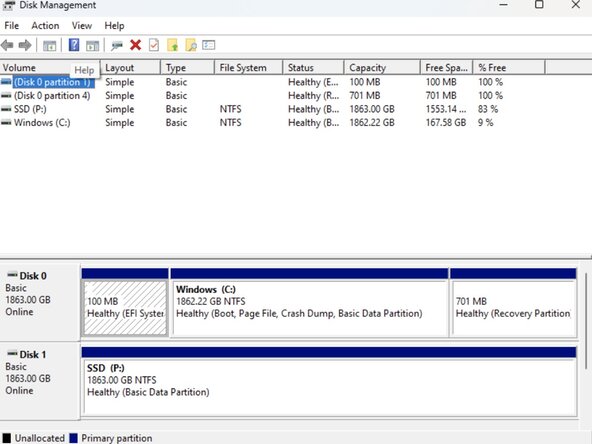
The ASUS Prime Z790-P motherboard manual shows that there is another M.2 socket available.
-
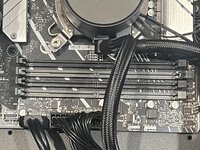
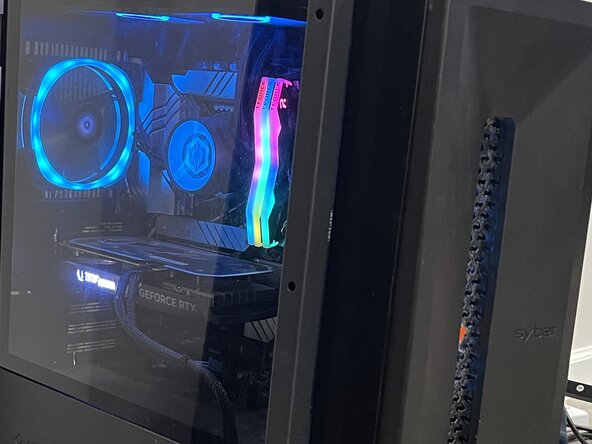
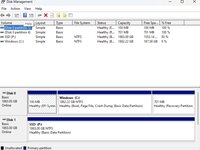
There is also only one RAM stick slotted in, so we will be adding more.
-
-
-
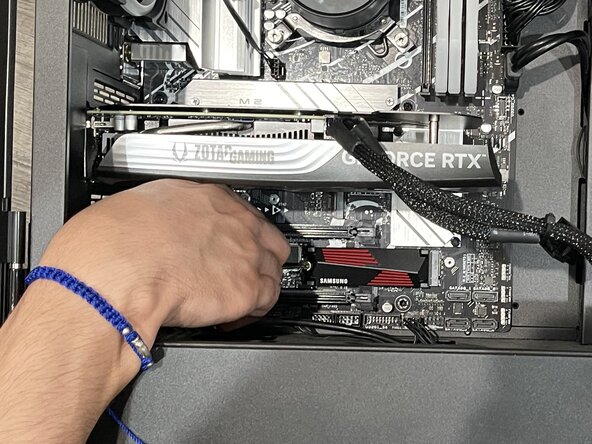
Now, we will use our tools to insert the new SSD into the available slot. The tools we need are the magnetic screwdriver, one M2 mounting screw, and one M2 screw.
-
There are empty slots, as circled in the second photo; place an M2 mounting screw into the slot.
-
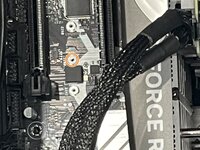
After that, place the SSD into its slot and align the head to the mounting screw. Properly screw the SSD into place.
-


After following this guide, your PC should be fully functional again, and it should no longer experience crashes and slowdowns. It is important not to waste functional technology, which is why we kept the RAM stick in the PC. When upgrading your ASUS PRIME Z790-P motherboard, or any other motherboard, please reference your user manual to ensure the best outcome.
다른 한 분이 해당 안내서를 완성하였습니다.
팀

CSU Los Angeles, Team 5-60, Harris Spring 2025 CSU Los Angeles, Team 5-60, Harris Spring 2025 회원
CSULA-HARRIS-S25S5G60
1 회원
안내서 1개 작성