이 버전에는 잘못된 편집 사항이 있을 수 있습니다. 최신 확인된 스냅샷으로 전환하십시오.
필요한 것
-
이 단계는 번역되지 않았습니다. 번역을 도와주십시오
-
Use a pry bar to remove the pre-existing damaged wood pieces.
-
Start with the riser first.
-
-
이 단계는 번역되지 않았습니다. 번역을 도와주십시오
-
Use a pry bar to remove the pre-existing damaged wood pieces.
-
Remove the treads on the stairs.
-
-
이 단계는 번역되지 않았습니다. 번역을 도와주십시오
-
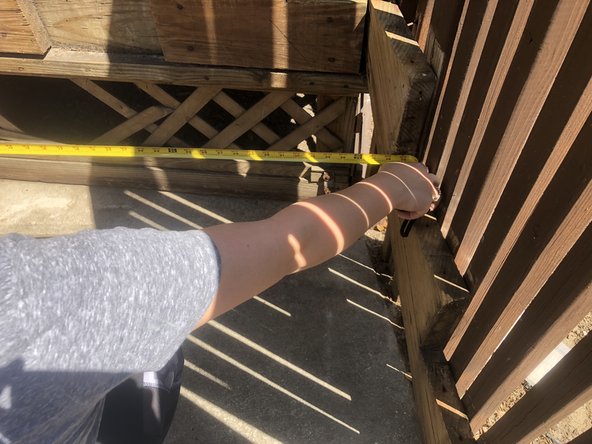
Use a measuring tape to measure the foundation where the new steps will be placed.
-
-
이 단계는 번역되지 않았습니다. 번역을 도와주십시오
-
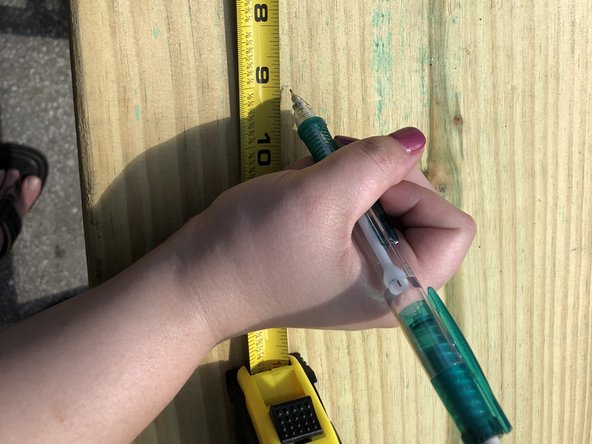
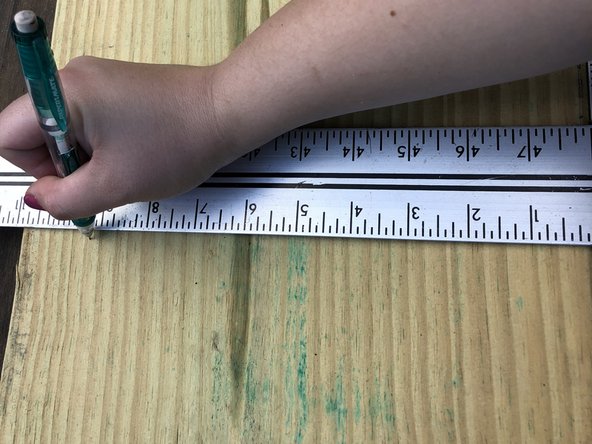
Mark your measurements on both ends of your new weather treated wood using a measuring tape and a pencil.
-
-
-
이 단계는 번역되지 않았습니다. 번역을 도와주십시오
-
Use a circular saw to cut across the straight line marked on the new piece of wood.
-
-
이 단계는 번역되지 않았습니다. 번역을 도와주십시오
-
Place the new piece of wood (riser) on the steps to ensure that it fits.
-
Use a leveler to make sure that it is level.
-
-
이 단계는 번역되지 않았습니다. 번역을 도와주십시오
-
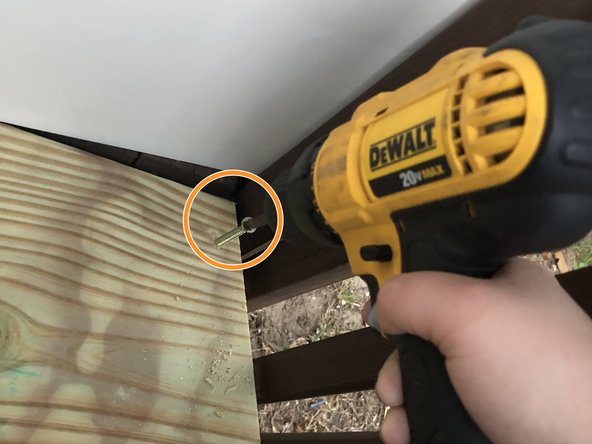
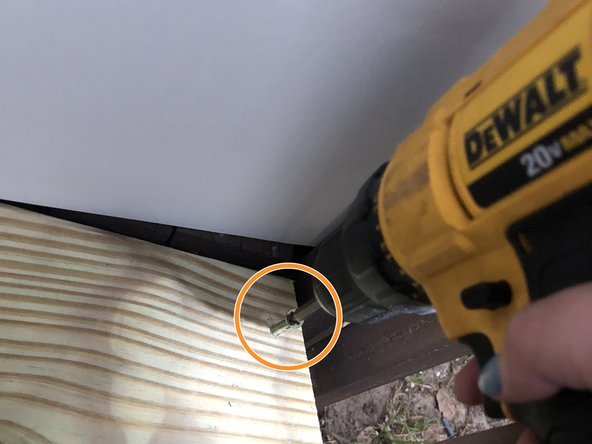
Secure your wood piece (riser) into place using a drill and galvanized screws.
-
Create two pilot holes with the correct drill bit.
-
Secure the wood (riser) into place by drilling 2" galvanized Phillips head screws into the pilot holes.
-
-
이 단계는 번역되지 않았습니다. 번역을 도와주십시오
-
Secure your wood piece (tread) into place using a drill and galvanized screws.
-
Create three pilot holes with the correct drill bit.
-
Secure the wood (tread) into place by drilling 2" galvanized Phillips head screws into the pilot holes.
-


다른 한 분이 해당 안내서를 완성하였습니다.
팀

USF Sarasota-Manatee, Team S1-G1, Stewart Spring 2018 USF Sarasota-Manatee, Team S1-G1, Stewart Spring 2018 회원
USFSM-STEWART-S18S1G1
15 회원들
안내서 25개 작성하였습니다