소개
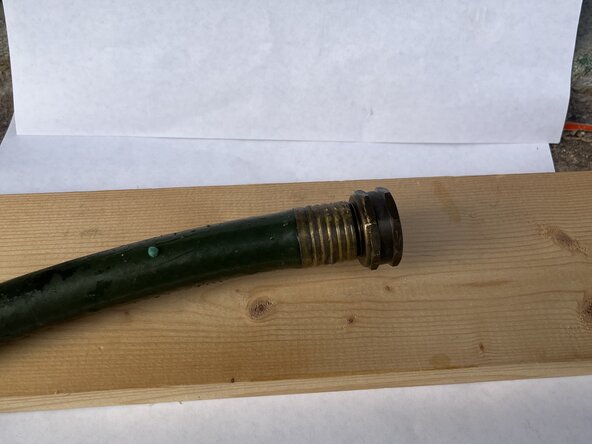
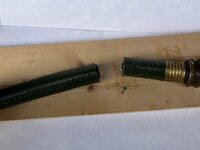
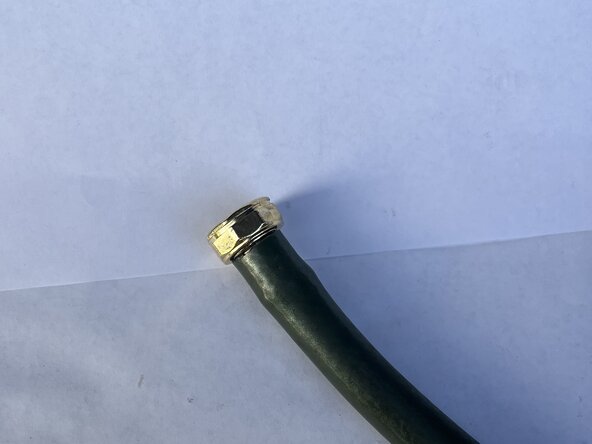
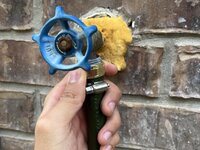
This guide should be used to replace a male garden hose connector if it is broken or leaking. A male hose connector is a fitting with external threads that screws onto the female end of a hose connector. It was designed to create a leak-free connection and is often made of brass or plastic.
The male hose connector attaches a 5/8-inch hose to the water source, allowing water to flow through the hose. If this connector is leaking, replace it to prevent water waste.
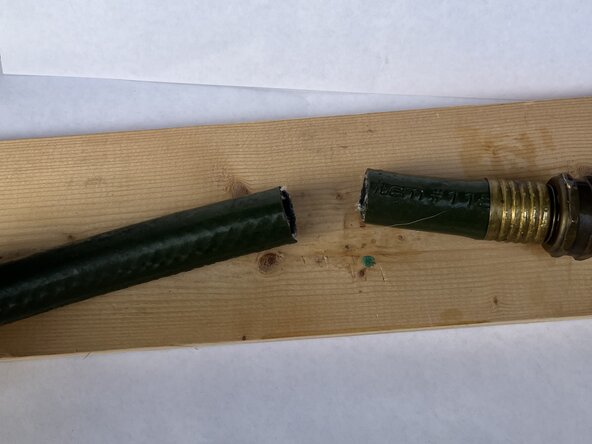
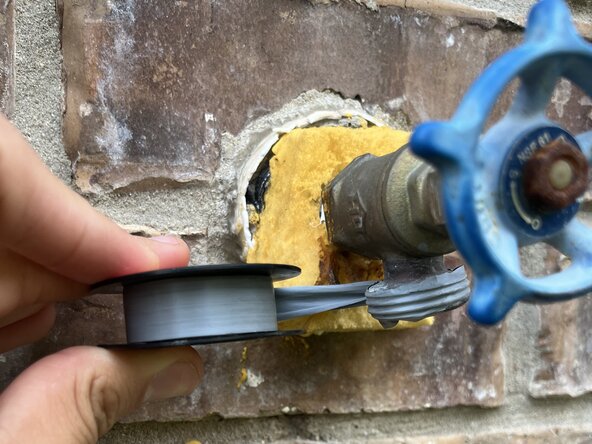
Before replacing this part, check the connection of the hose and the water source to make sure it is on correctly and that there is no debris interfering. Next, make sure that there are no cuts or cracks in the hose that are causing the leak near the connector.
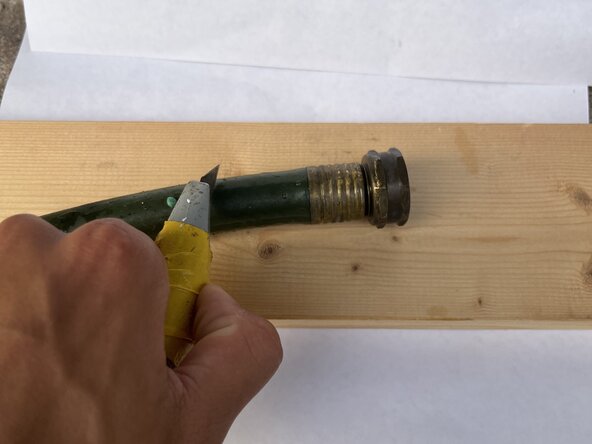
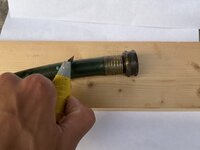
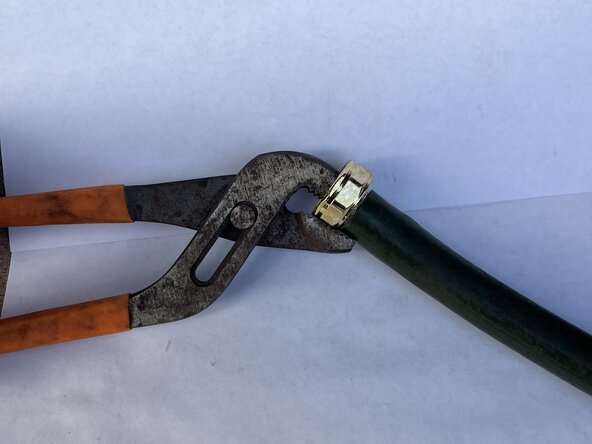
In step 2 of this guide, you will need to use a sharp utility knife or other kind of blade to cut the end of the hose. Do this step carefully on a solid and secure surface to prevent injury.
필요한 것


팀

Austin Community College, Team 1-11, Kapoor Summer 2025 Austin Community College, Team 1-11, Kapoor Summer 2025 회원
AUSTINCC-KAPOOR-SU25S1G11
1 회원
안내서 1개 작성