Did you notice a loose string hanging from the bottom of your favorite shirt, only to realize that the hem ripped? If so, this is the perfect guide to fix your problem.
Turn your shirt inside out.
Find your shirt's ripped hem.
If the shirt has any loose strings, trim them.
Iron the area of the shirt where the hem is ripped.
If the hem is ripped several inches, you might want to insert sewing pins to keep the fabric in place.
It's important to iron because it allows for easier sewing when the shirt stays folded the same way as the non-ripped part of the hem.
The iron will be very hot. Be careful as to not burn yourself.
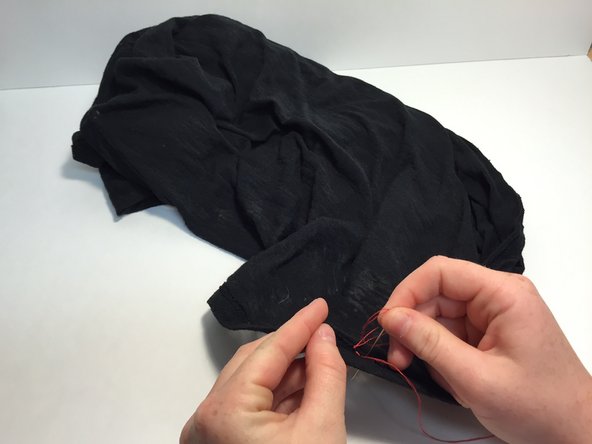
Acquire a sewing needle and thread.
Take your thread and loop it through the eye of the needle, the hole at the end of the needle.
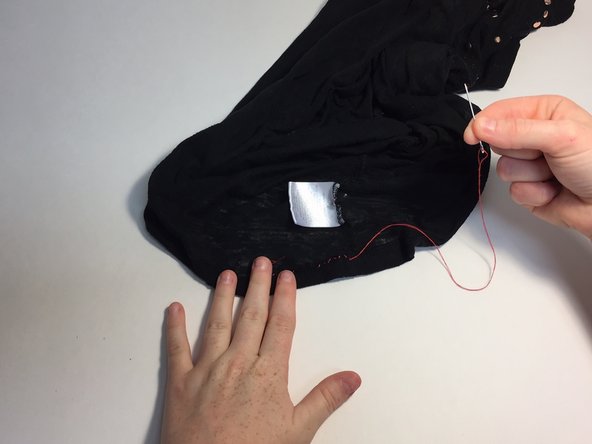
You'll want the thread to be the same color and shade as the original thread. For visual purposes, I will use red in place of black.
The needle is sharp.
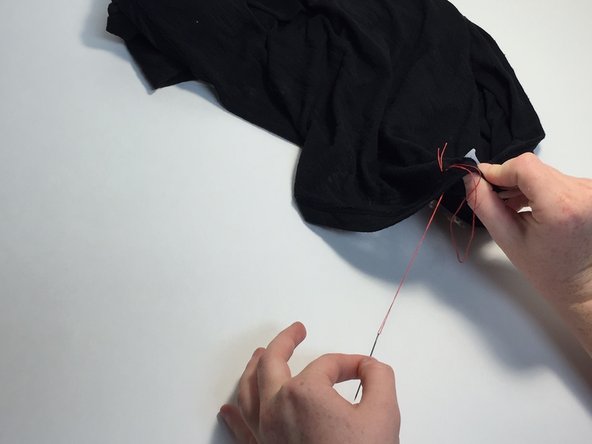
Pull the thread through the needle so that there is an equal length on each side of the needle.
Tie the end of the thread together by making a knot.
Making an additional knot over the first makes it more secure.
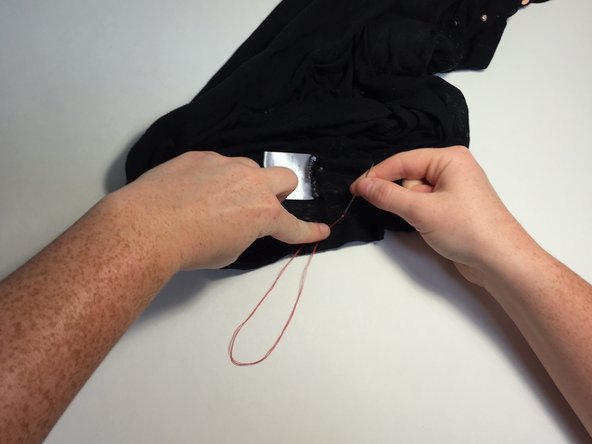
Starting on the inside of the shirt, poke the needle through toward the side that is right-side-out.
Sew over the original thread for about half an inch to ensure that it's thread won't rip again.
Once the needle and thread is pulled through the side that is right-side-out, you will push it back through as close to the original hole as you can.
Doing this will make the visible hem as hidden as possible.
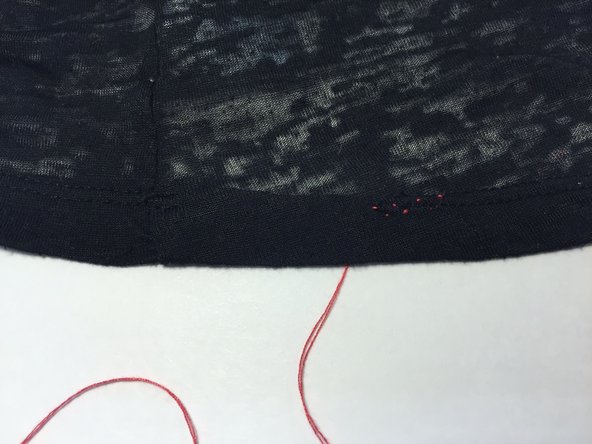
Finish sewing the hem. Make sure the last stitch is on the inside of the shirt.
Make a knot where you intend for the pattern to stop.
It's important to tie the knot as close to the fabric as possible. Doing this secures the stitching.
해당 안내서 넣기
해당 안내서를 사이트/포럼에 작은 위젯으로 포함하려면 크기를 선택하고 아래 코드를 복사하십시오.
단일 단계
전체 안내서
소형 - 600px
중형 - 800px
대형 - 1200px
미리보기