동영상 개요
-
-
Today we will share how to repair iPad touch jumping. The touch screen of the iPad is still jumping after touch screen replacement.
-
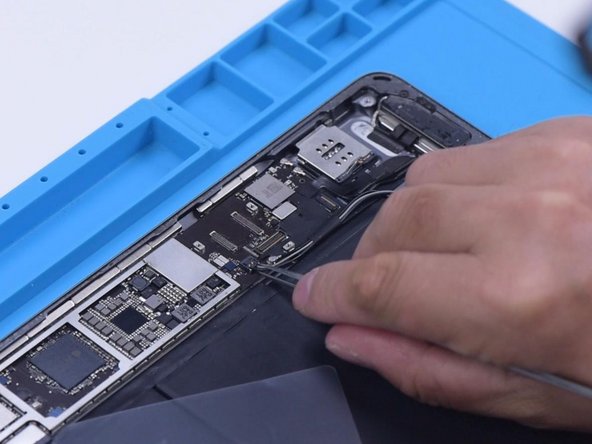
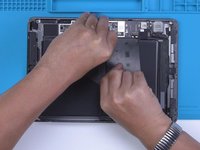
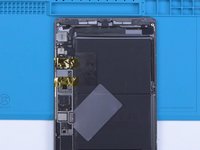
It can be preliminarily judged that the problem is caused by a motherboard fault. Next, we need to check the motherboard. Detach the touch screen and display.
-
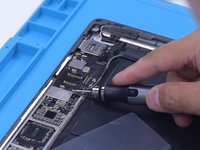
Remove the screw on the motherboard and insert a Pry Piece to disconnect the battery.
-
-
-
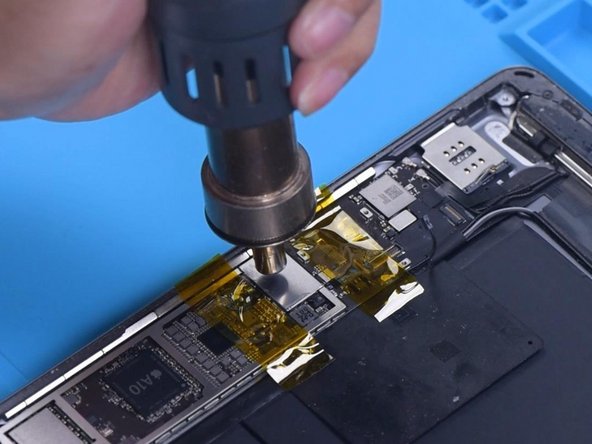
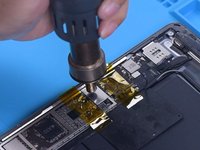
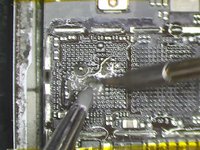
Then we try to replace the touch IC. Remove the shielding cover on the motherboard. Since there is another soldered shielding cover on the touch IC, we need to grind the shielding cover and then heat to remove. Grind the shielding cover with a Grinding Pen. Please pay attention not to damage surrounding components while grinding.
-
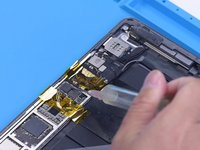
Tear off the tape after grinding. Disconnect the flex cable. To prevent hard desoldering due to fast heat dissipation, pry up the motherboard with a metal blade.
-
-
-
-
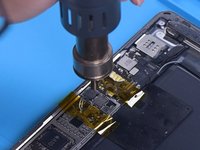
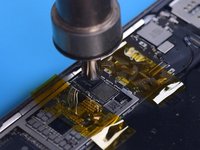
Apply some Paste Flux. Put a new touch IC in position. Heat with Hot Air Gun to solder.
-
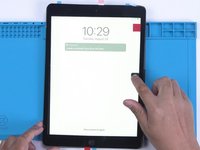
After the motherboard has cooled, remove the high-temperature tape. Connect the flex cable. Install the screw. Then install the touch screen and display. Turn on the iPad. The touch screen has returned to normal. The touch jumping problem has disappeared.
-


To reassemble your device, follow these instructions in reverse order.
다른 2명이 해당 안내서를 완성하였습니다.
