소개
An easy to follow guide on how to stitch a hole in your clothing back together. This will show you how to repair your damaged clothing without having to throw it out.
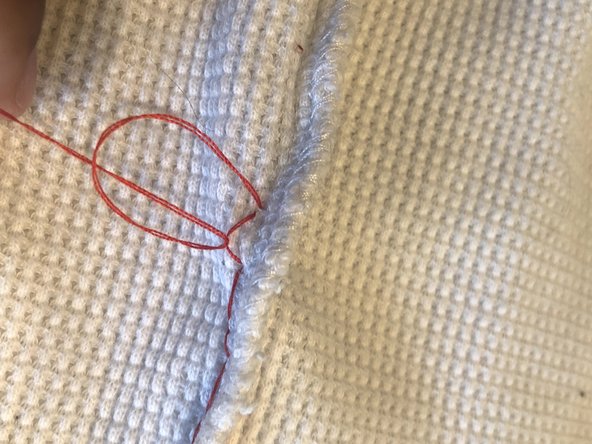
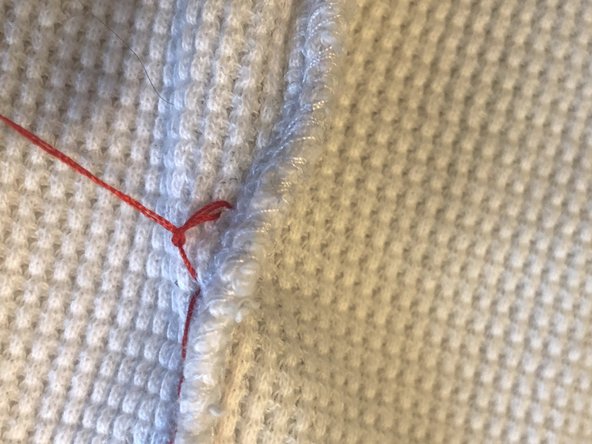
This specific guide uses the “backstitch” method in order to repair your clothing and does not require a sewing machine.
필요한 것
-
-
Obtain a roll of thread that matches the color of the clothing and a threading needle.
-
-


거의 끝나갑니다!
Flip garment right side out again and now you’re ready to wear!
결론
Flip garment right side out again and now you’re ready to wear!

팀

UW Tacoma, Team S1-G24, Cardinal Spring 2020 UW Tacoma, Team S1-G24, Cardinal Spring 2020 회원
UWT-CARDINAL-S20S1G24
1 회원
안내서 1개 작성하였습니다