이 버전에는 잘못된 편집 사항이 있을 수 있습니다. 최신 확인된 스냅샷으로 전환하십시오.
필요한 것
-
이 단계는 번역되지 않았습니다. 번역을 도와주십시오
-
Locate the desired hard drive bay after opening the case .
-
This is usually the drive closest to the front of the case.
-
-
-
이 단계는 번역되지 않았습니다. 번역을 도와주십시오
-
Pull the Hard Drive straight out by grabbing the metal sled from the bottom. It may be hard to pull out at first, but after it gets released the sled shouldn't take a lot of effort to remove.
-
-
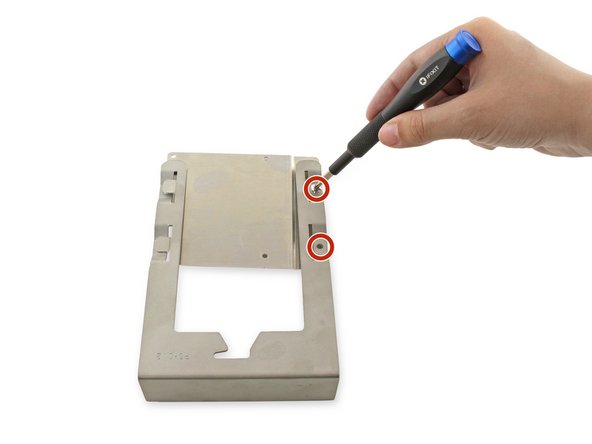
이 단계는 번역되지 않았습니다. 번역을 도와주십시오
-
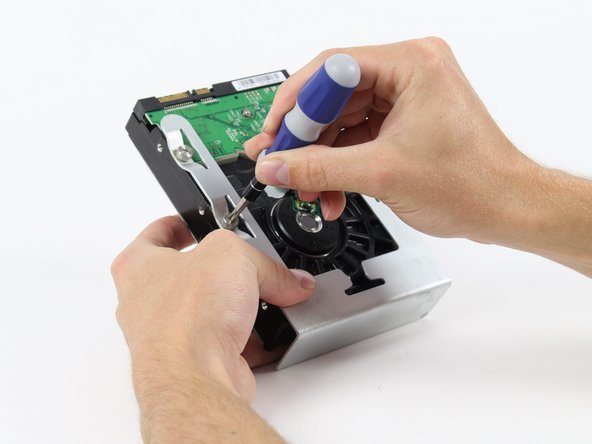
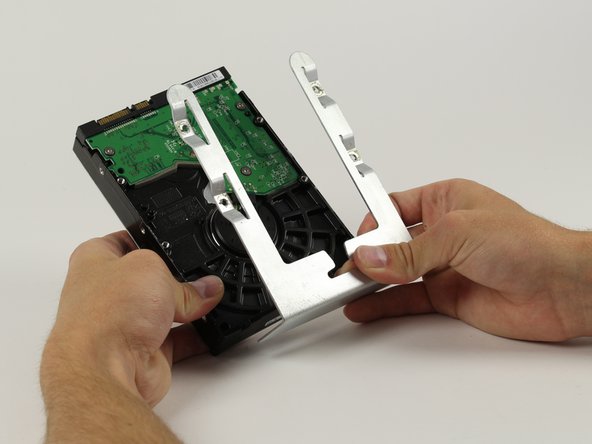
Locate the four 6-32 type screws on the Hard Drive sled.
-
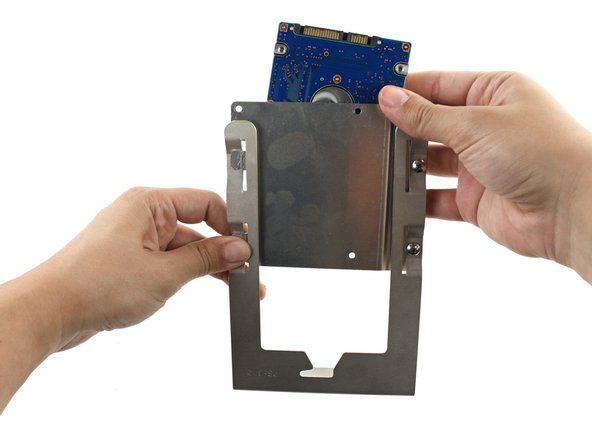
Using a Phillips head screw driver remove the four screws and separate the metal sled from the Hard Drive
-
-
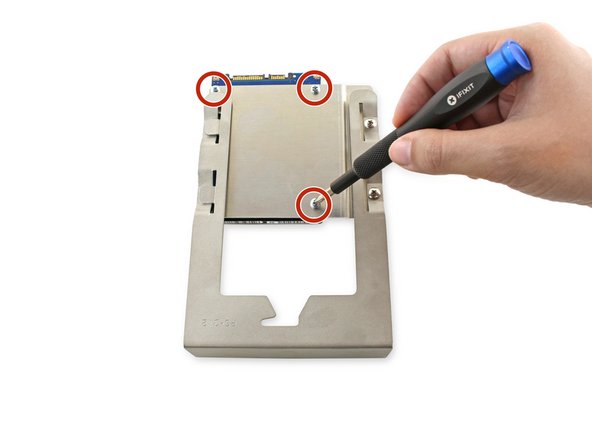
이 단계는 번역되지 않았습니다. 번역을 도와주십시오
-
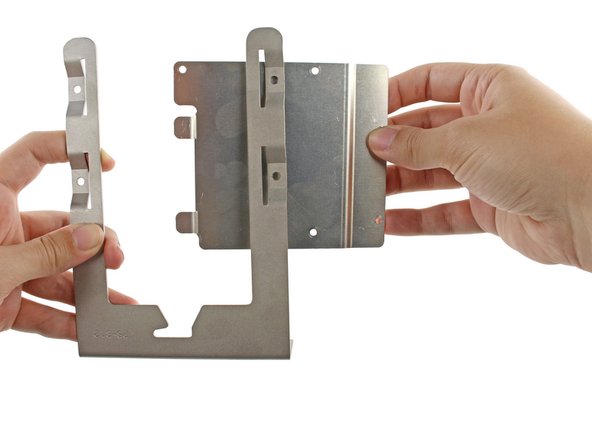
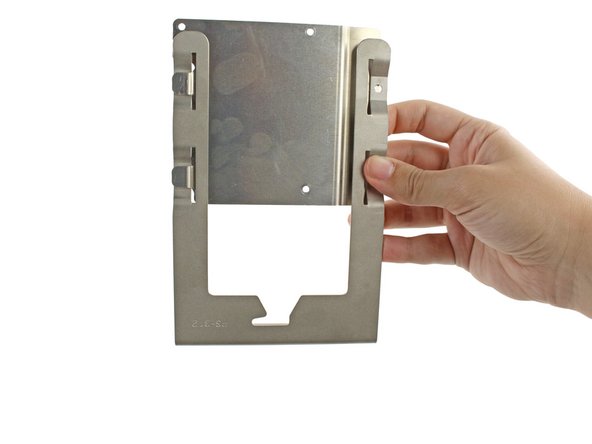
Insert the two tabs on the left side of the metal adapter bracket into the slots on the left side of the hard drive bay sled.
-
Align the holes on the right side.
-
-
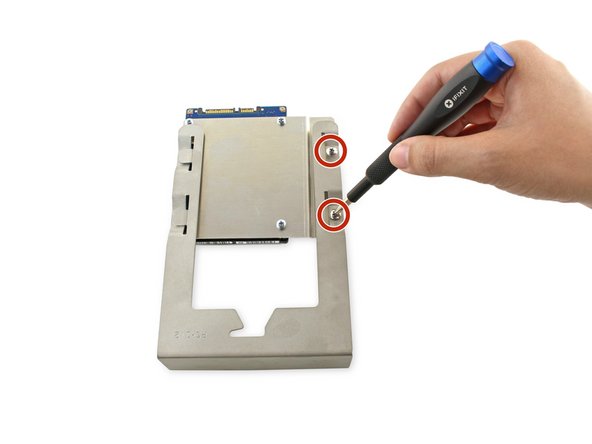
이 단계는 번역되지 않았습니다. 번역을 도와주십시오
-
Align the holes in the hard drive with the three holes on the bracket.
-
Screw the three 6.1mm PH0 screws into the bracket and hard drive.
-


다른 5명이 해당 안내서를 완성하였습니다.

