소개
The lightweight performance fabrics on sleeping bags can easily snag or tear a hole during use. If not fixed, the insulation can leak out, and slowly reduce the product's performance.
This guide will show how to use a self-adhesive patch to repair a tear in the middle of the sleeping bag. Sewing the hole is not recommended.
➡️Before you get started, please check the safety disclaimer at the bottom of the page.
필요한 것
-
-
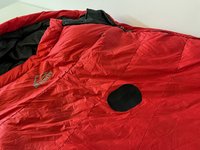
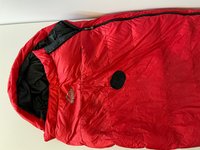
Lay the sleeping bag on a flat and clean space.
-
Locate the torn area, and clean away any lose pieces of stuffing or down.
-
Prepare the sleeping bag for repair, by putting the broken area in the middle of your work space.
-
-
-
Prepare the self-adhesive patch.
-
Ensure that the repair patch is large enough to cover the hole. As an approximate guide, the patch should be 10mm wider than the hole on all sides, but the bigger the patch, the better. It may be tempting to cut the patch into a small size, but this is normally not recommended.
-
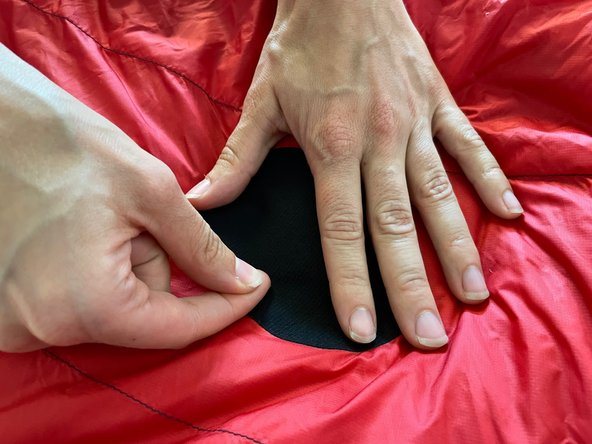
Start to peel away on the corner of the patch to be prepared for the next step.
-
-
-
-
Note: this step is much easier with two people!
-
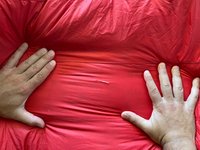
Flatten the area around the hole by pulling the material to each side, and pushing down on the stuffing. The goal is to make this area as flat and smooth as possible, and with the tear hole as closed as possible.
-
Tip: when flattening, down/stuffing may come out. Make sure to remove this from the repair area before attaching the patch.
-
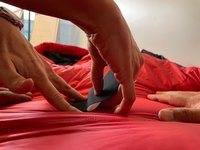
While one person keeps the area flat, the other person places the first side of the patch onto the sleeping bag. Keeping even pressure and with a slow and careful movement, peel off the backing paper at the same time as pressing the patch onto the product. This is very similar to applying a first-aid plaster.
-
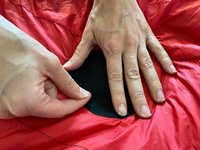
When the patch is fully applied, smooth out any wrinkles or bubbles with the back of your nail. The goal is to have a fully flat patch, with no creases or spaces for dust to get in, or down/stuffing to leak out.
-


In need of another repair? Don't worry! Check out our other guides to find quick solutions for your favourite clothing, footwear and equipment!
----------------------------------------
🚨🛠️🩹 IMPORTANT SAFETY NOTICE:
The repair guides provided on this site are intended to help you repair products on your own. While we have put a lot of care into them, all repair work carries some risk:
- Safety Precautions: When repairing your product, take all necessary precautions to ensure your safety. Use appropriate tools and follow the instructions carefully.
- Product Condition: Once your product has been repaired, it may not meet original compliance guidelines anymore and could potentially have issues.
- Liability: We are not responsible for any damage or injury that may occur during the repair process or as a result of using a repaired product. You, as the repairer, assume all risks and responsibilities associated with the repair.
By using these repair guides, you fully acknowledge and accept the potential risks and responsibilities involved.

팀
