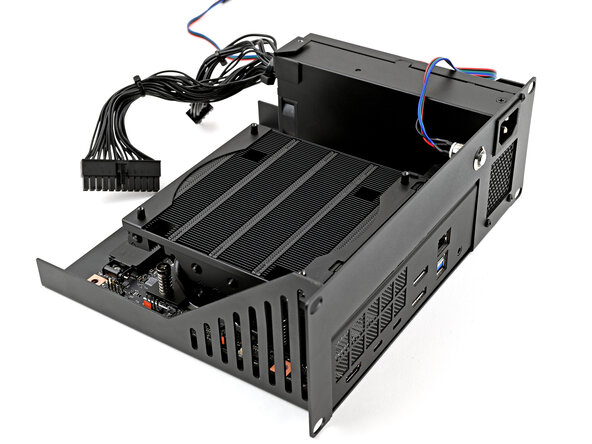
주요 콘텐츠로 건너뛰기

How to Rack Mount your Framework Desktop

필요한 것

  1. How to Rack Mount your Framework Desktop, Place the power supply: 1 단계, 이미지 3개 중 1개 How to Rack Mount your Framework Desktop, Place the power supply: 1 단계, 이미지 3개 중 2개 How to Rack Mount your Framework Desktop, Place the power supply: 1 단계, 이미지 3개 중 3개
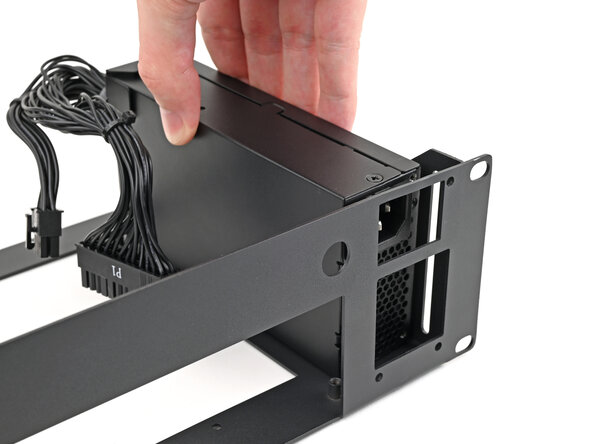
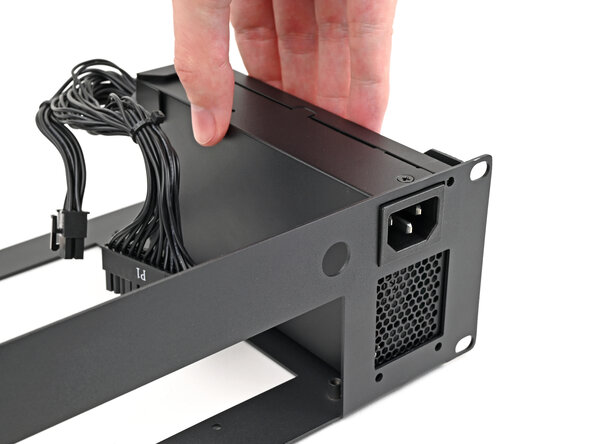
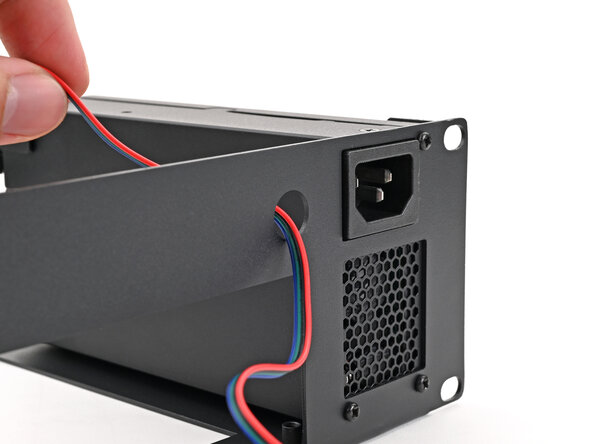
    • Place the power supply into its slot at the right edge of the Tray.

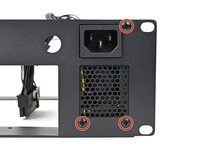
    • Push the plug on the power supply through its cutout on the Tray and align the three screw holes.

  2. How to Rack Mount your Framework Desktop, Install the power supply screws: 2 단계, 이미지 2개 중 1개 How to Rack Mount your Framework Desktop, Install the power supply screws: 2 단계, 이미지 2개 중 2개
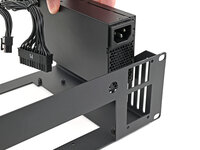
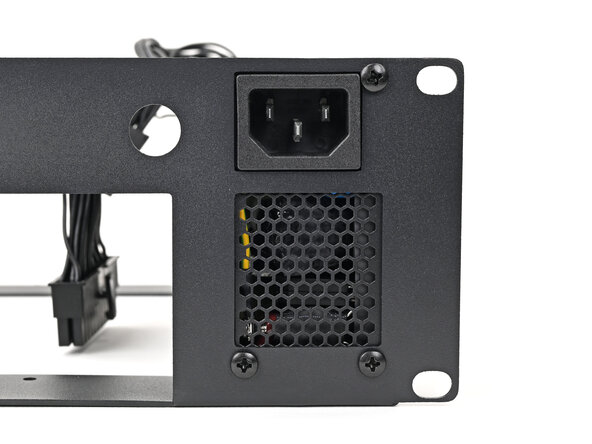
    • Use your Framework Desktop Screwdriver to install the three 6.0 mm‑long Phillips screws securing the power supply.

  3. How to Rack Mount your Framework Desktop, Install the power button: 3 단계, 이미지 3개 중 1개 How to Rack Mount your Framework Desktop, Install the power button: 3 단계, 이미지 3개 중 2개 How to Rack Mount your Framework Desktop, Install the power button: 3 단계, 이미지 3개 중 3개
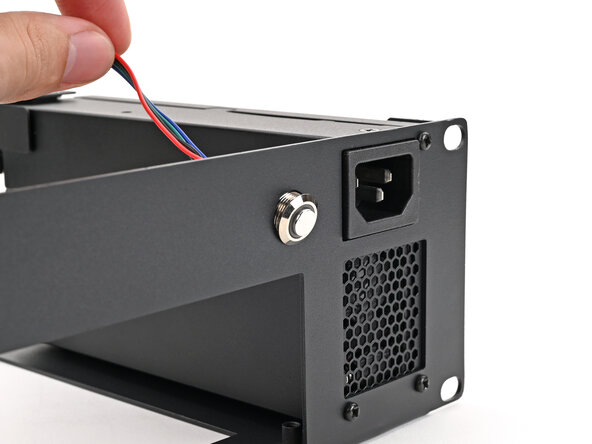
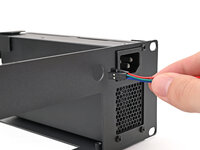
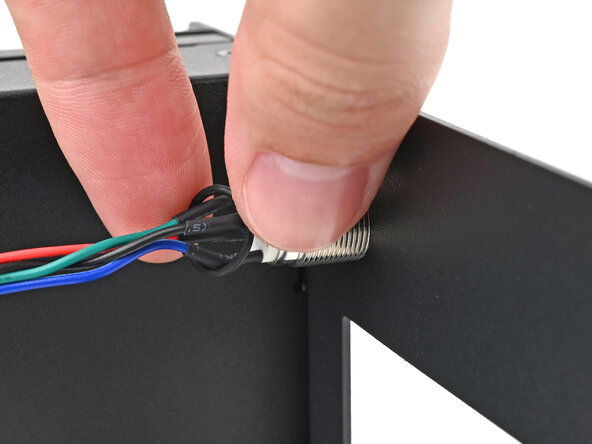
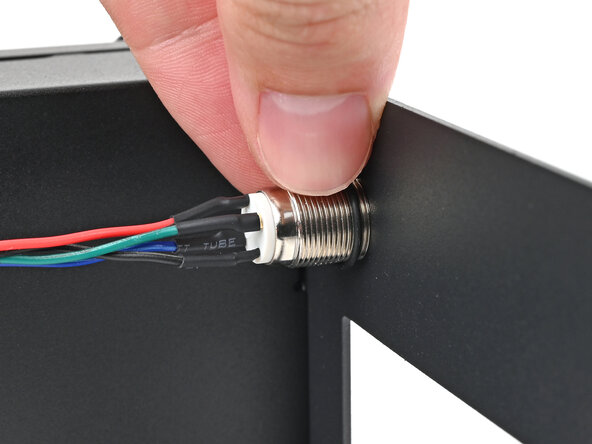
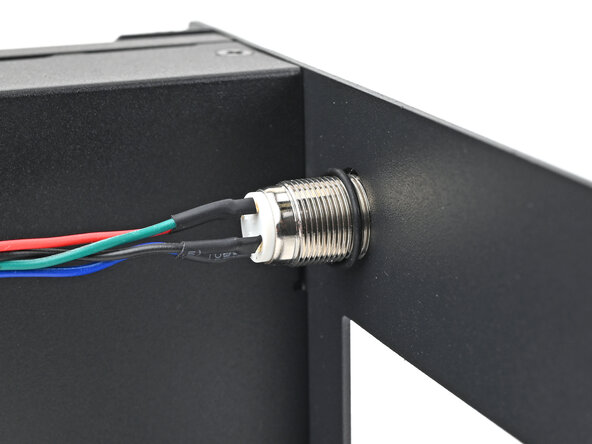
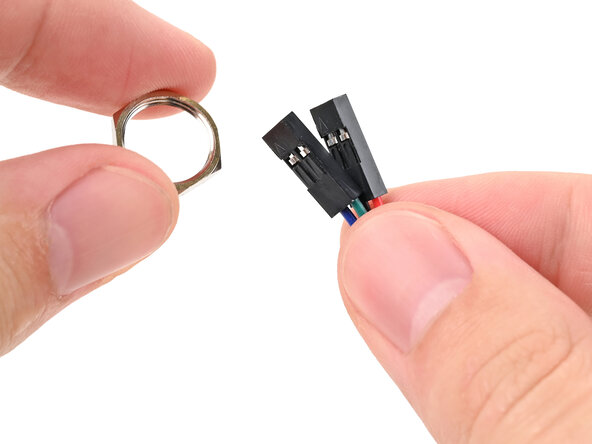
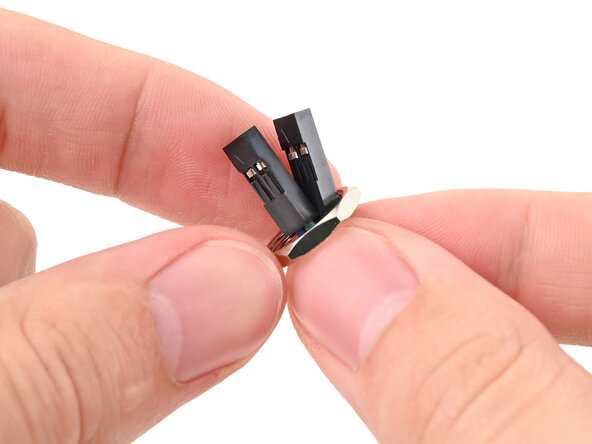
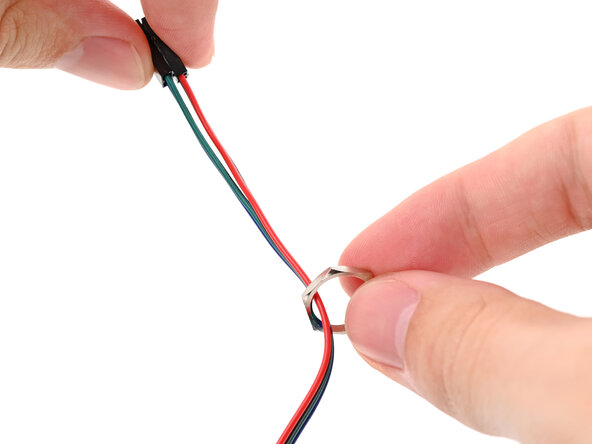
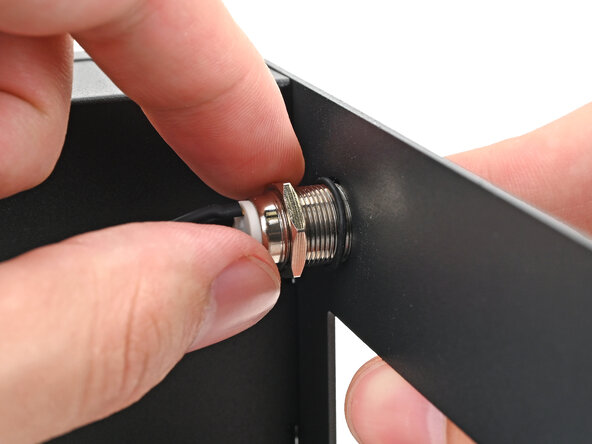
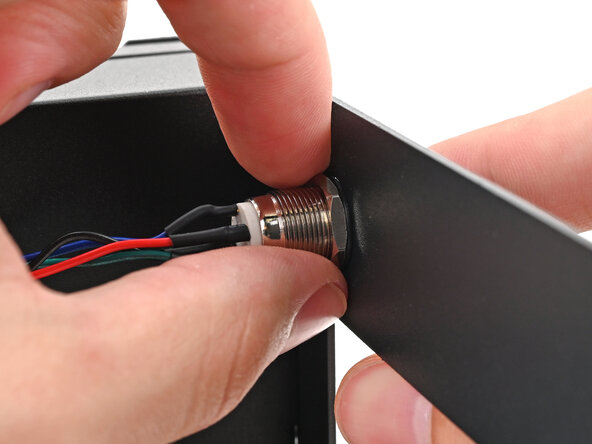
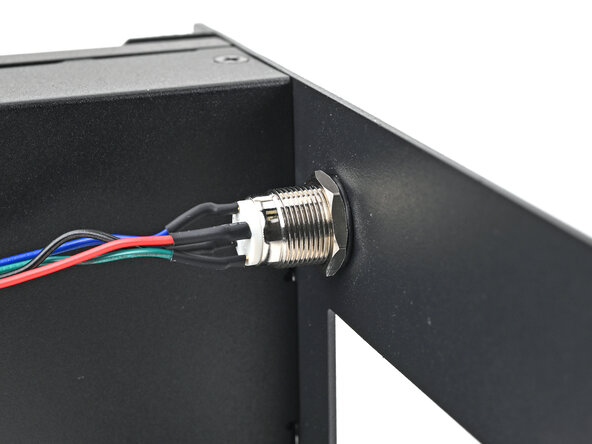
    • Thread the power button cable through the hole to the left of the power supply plug.

  4. How to Rack Mount your Framework Desktop: 4 단계, 이미지 3개 중 1개 How to Rack Mount your Framework Desktop: 4 단계, 이미지 3개 중 2개 How to Rack Mount your Framework Desktop: 4 단계, 이미지 3개 중 3개
    • Thread the O-ring over the power button cable and slide it down the length of the cable.

  5. How to Rack Mount your Framework Desktop: 5 단계, 이미지 3개 중 1개 How to Rack Mount your Framework Desktop: 5 단계, 이미지 3개 중 2개 How to Rack Mount your Framework Desktop: 5 단계, 이미지 3개 중 3개
    • Slide the O-ring over the threads of the power button so it sits close to the front of the Tray.

  6. How to Rack Mount your Framework Desktop: 6 단계, 이미지 3개 중 1개 How to Rack Mount your Framework Desktop: 6 단계, 이미지 3개 중 2개 How to Rack Mount your Framework Desktop: 6 단계, 이미지 3개 중 3개
    • Thread the hexagonal nut over the power button cable and slide it down the length of the cable.

  7. How to Rack Mount your Framework Desktop: 7 단계, 이미지 3개 중 1개 How to Rack Mount your Framework Desktop: 7 단계, 이미지 3개 중 2개 How to Rack Mount your Framework Desktop: 7 단계, 이미지 3개 중 3개
    • While holding the power button in place, tighten the nut over the threads of the power button until it's snug.

  8. How to Rack Mount your Framework Desktop, Place the Mainboard: 8 단계, 이미지 3개 중 1개 How to Rack Mount your Framework Desktop, Place the Mainboard: 8 단계, 이미지 3개 중 2개 How to Rack Mount your Framework Desktop, Place the Mainboard: 8 단계, 이미지 3개 중 3개
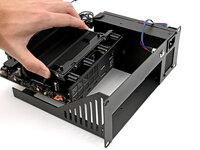
    • Grab the Mainboard by its heatsink and slide it into the Tray with its I/O ports facing the front.

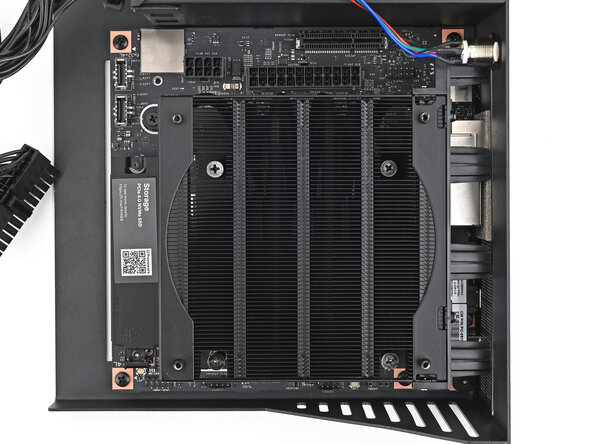
    • Align the I/O ports with its cutout in the Tray and the screw posts with the screw holes on the Mainboard.

    • You'll feel the Mainboard rest onto the screw posts when it's aligned properly.

    • Make sure no cables are trapped underneath the Mainboard before continuing.

  9. How to Rack Mount your Framework Desktop, Install the Mainboard screws: 9 단계, 이미지 2개 중 1개 How to Rack Mount your Framework Desktop, Install the Mainboard screws: 9 단계, 이미지 2개 중 2개
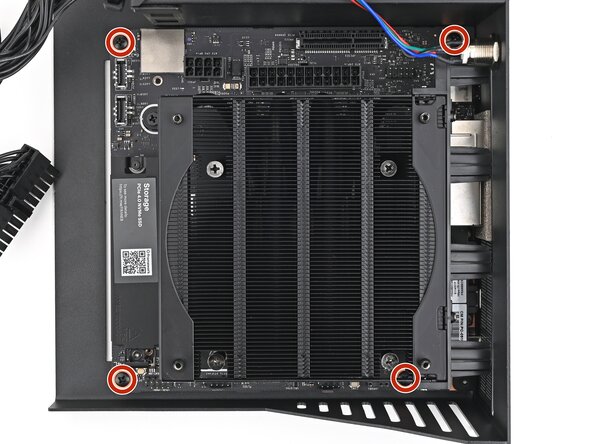
    • Use your Framework Desktop Screwdriver to install the four 8.2 mm‑long Phillips screws securing the Mainboard.

  10. How to Rack Mount your Framework Desktop, Connect the main power cable: 10 단계, 이미지 2개 중 1개 How to Rack Mount your Framework Desktop, Connect the main power cable: 10 단계, 이미지 2개 중 2개
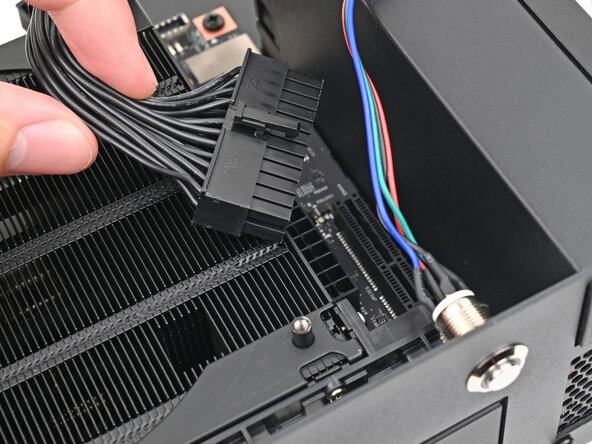
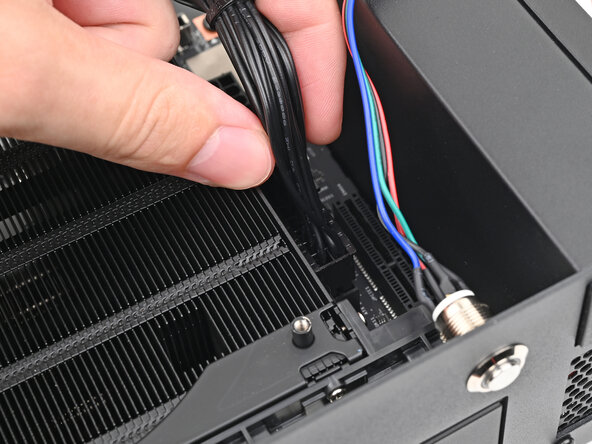
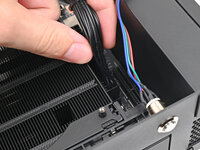
    • Orient the main power supply cable so its clip is facing away from the heatsink.

    • Slide the cable into its socket on the Mainboard until you feel it click into place.

  11. How to Rack Mount your Framework Desktop, Connect the CPU power cable: 11 단계, 이미지 2개 중 1개 How to Rack Mount your Framework Desktop, Connect the CPU power cable: 11 단계, 이미지 2개 중 2개
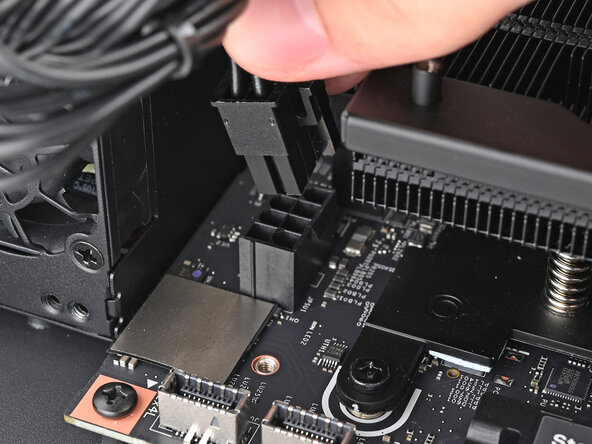
    • Orient the CPU power supply cable so its clip is facing the heatsink.

    • Slide the cable into its socket on the Mainboard until you feel it click into place.

  12. How to Rack Mount your Framework Desktop, Connect the power button: 12 단계, 이미지 3개 중 1개 How to Rack Mount your Framework Desktop, Connect the power button: 12 단계, 이미지 3개 중 2개 How to Rack Mount your Framework Desktop, Connect the power button: 12 단계, 이미지 3개 중 3개
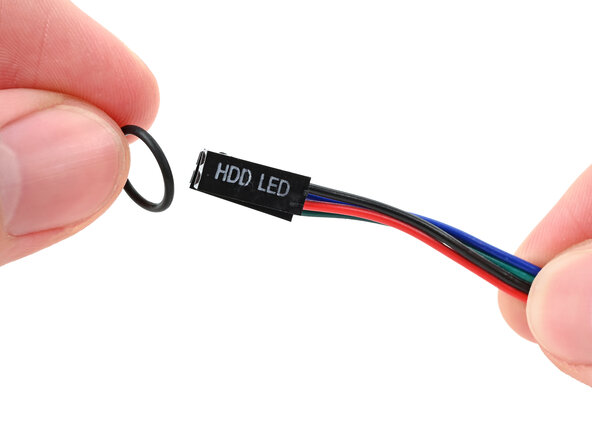
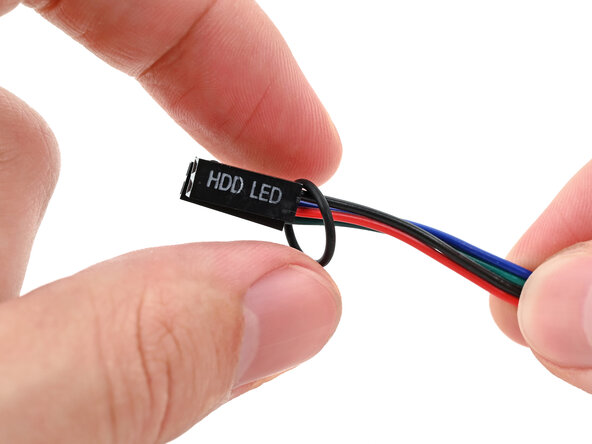
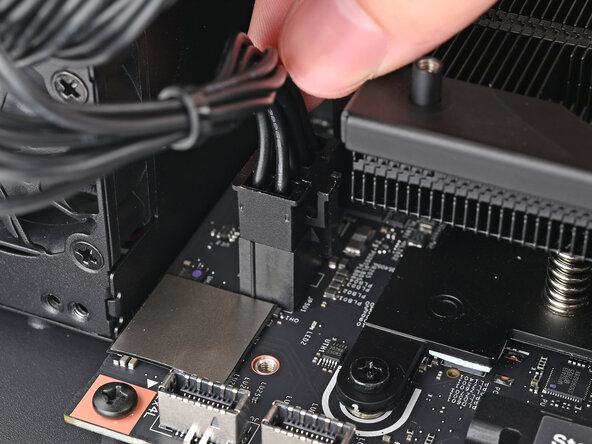
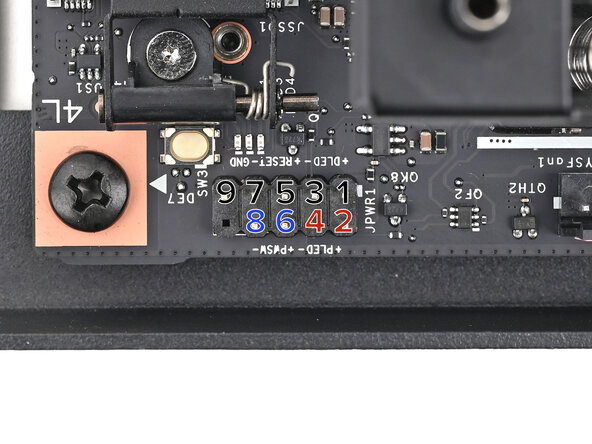
    • Slide the two power button cables over the nine-pronged connector near the back left corner on the Mainboard.

    • Use the first photo as a reference for how the connectors are slotted:

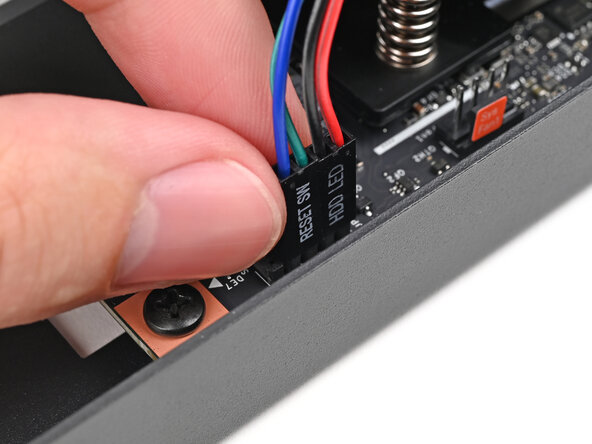
    • The red and black cables labeled "HDD LED" go on prongs 2 and 4, respectively

    • The green and blue cables labeled "RESET SW" go on prongs 6 and 8 (the order doesn't matter)

    • For full pinout information, click here.

  13. How to Rack Mount your Framework Desktop: 13 단계, 이미지 1개 중 1개
    • Optionally, you can shorten the power button cable and tuck it under the heatsink to keep it out of the way.

  14. How to Rack Mount your Framework Desktop, Place the fan: 14 단계, 이미지 3개 중 1개 How to Rack Mount your Framework Desktop, Place the fan: 14 단계, 이미지 3개 중 2개 How to Rack Mount your Framework Desktop, Place the fan: 14 단계, 이미지 3개 중 3개
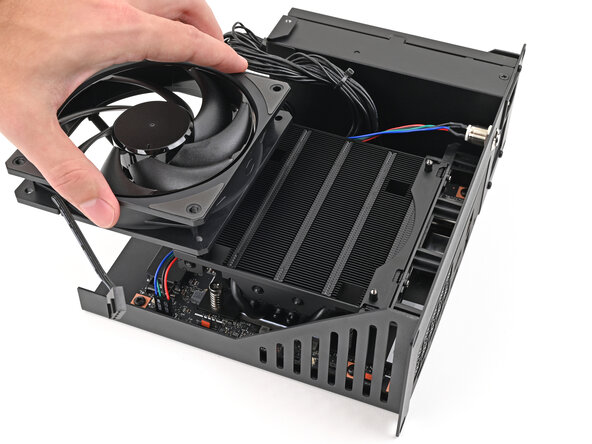
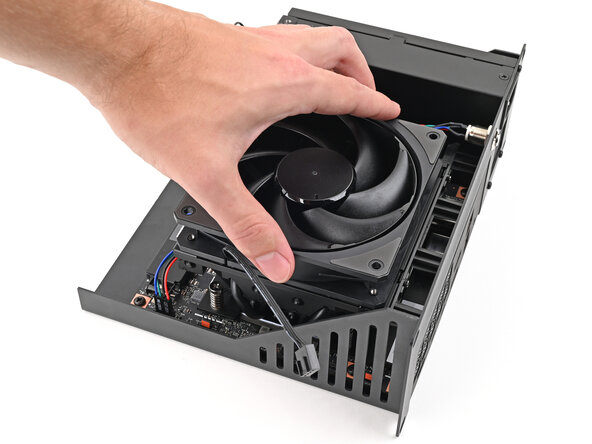
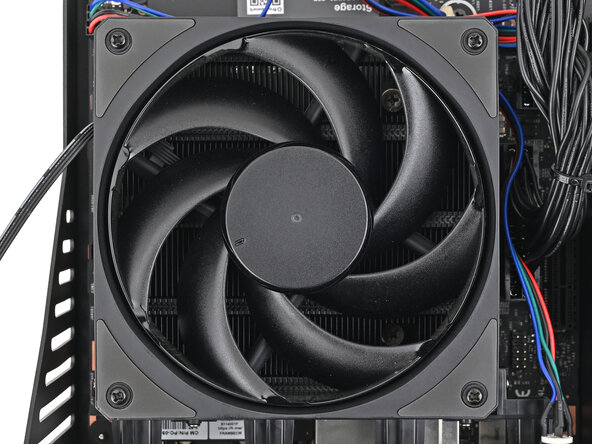
    • Orient the fan so its label is facing downward and the cable(s) is pointing towards the left edge of the Tray.

    • If your fan has an arrow indicating airflow direction, make sure it's pointed towards the heatsink.

    • If you're using a different fan, orient it such that the fan is blowing towards the heatsink, not away.

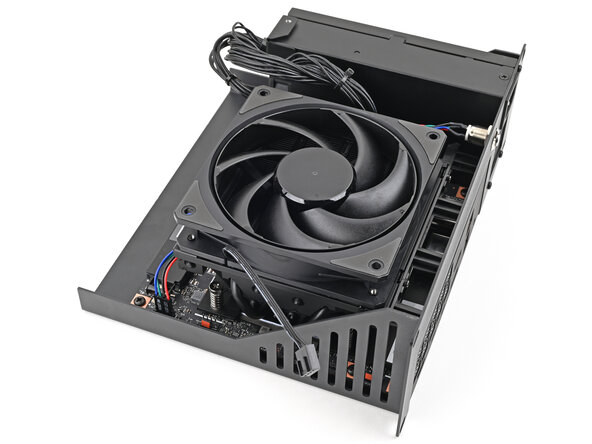
    • Lay the fan on top of the heatsink, making sure the screw posts on the heatsink are slotted into the screw holes on the fan.

    • Don't install the fan duct since it'll make the unit too tall to stack properly in the rack.

  15. How to Rack Mount your Framework Desktop, Install the fan screws: 15 단계, 이미지 2개 중 1개 How to Rack Mount your Framework Desktop, Install the fan screws: 15 단계, 이미지 2개 중 2개
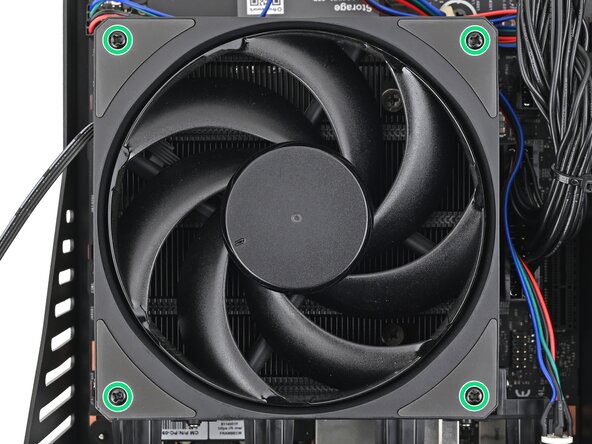
    • Use your Framework Desktop Screwdriver to install the four 27.3 mm‑long screws securing the fan.

  16. How to Rack Mount your Framework Desktop, Connect the fan: 16 단계, 이미지 2개 중 1개 How to Rack Mount your Framework Desktop, Connect the fan: 16 단계, 이미지 2개 중 2개
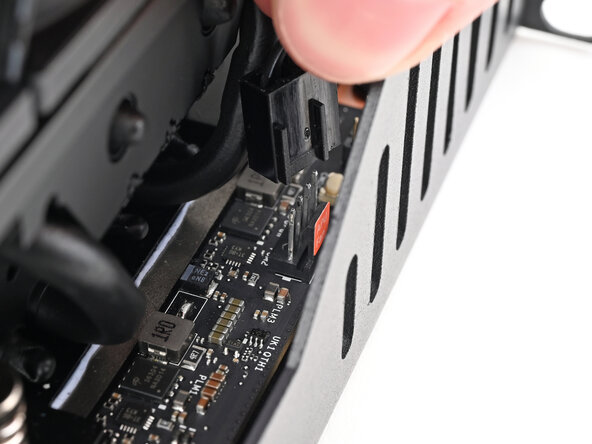
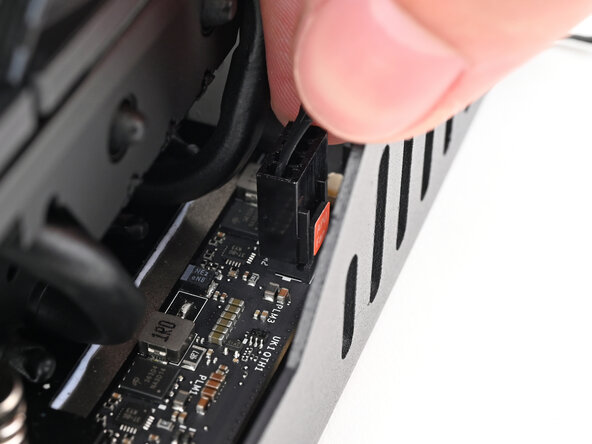
    • Orient the main fan cable so its two vertical lines are facing the edge of the Tray.

    • Slide the main fan cable over the four-pronged connector labeled "APU Fan," making sure the orange label slots between the vertical lines.

    • At this point, you're ready to install the Tray into the rack. If you haven't already installed an SSD, do so now.

  17. How to Rack Mount your Framework Desktop, Insert the tray: 17 단계, 이미지 2개 중 1개 How to Rack Mount your Framework Desktop, Insert the tray: 17 단계, 이미지 2개 중 2개
    • Your rack may look different, but the procedure should remain the same. Refer to your rack's instructions for any additional installation procedures.

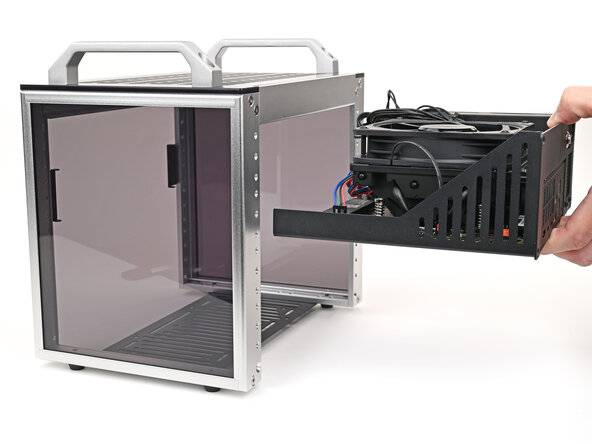
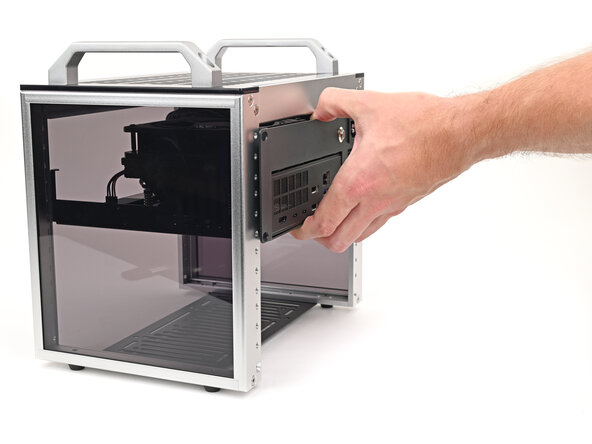
    • Slide the Tray into your rack, making sure it rests properly on the rear brackets.

  18. How to Rack Mount your Framework Desktop, Install the Tray screws: 18 단계, 이미지 2개 중 1개 How to Rack Mount your Framework Desktop, Install the Tray screws: 18 단계, 이미지 2개 중 2개
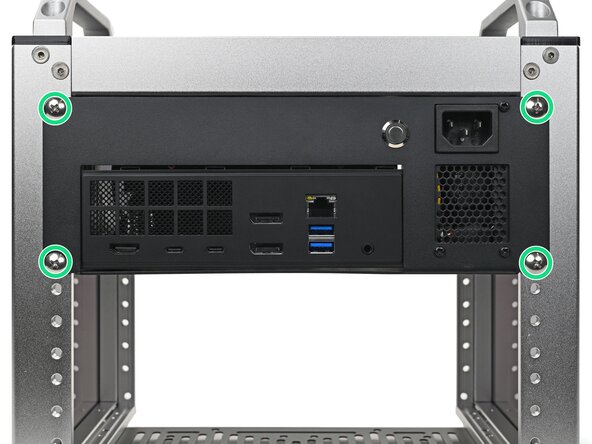
    • Use your Framework Desktop Screwdriver to install the four 10.3 mm‑long screws—with the included washers—securing the Tray.

결론

If you need help, contact Framework support.

Alex Diaz-Kokaisl

회원 가입일: 01/16/22

213,465 평판

안내서 1,040개를 작성함

0가이드 댓글

댓글 쓰기

조회 통계:

지난 24시간: 0

지난 7일: 19

지난 30일: 172

전체 시간: 612