소개
Your athletic shoes are built to last, but they're not indestructible. After repeated use from hiking, running, walking, training, it's totally normal for the heel lining to wear out or become damaged.
Don't let this simple problem stand in the way of performing your favourite activities! This quick guide will help you repair them and regain comfort in no time!
필요한 것
-
-
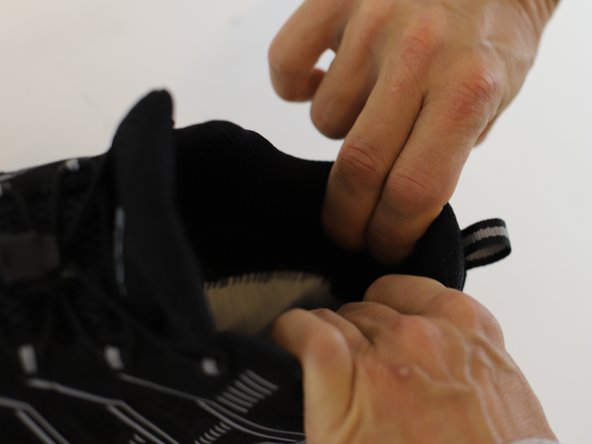
Check size and shape of damaged heel lining.
-
Prepare the scissors and the self-adhesive patch
-
-
-
Hold the patch against the heel from the outside.
-
Mark the size of the heel with textile chalk and draw a straight line from the mark.
-
-
-
-
Remove the inner sole.
-
Carefully remove the cover paper from the patch.
-
-
-
Hold patch with both hands to avoid wrinkling.
-
Place the patch onto the heel. Start from the bottom and press it firm against the lining.
-
Reinsert the inner sole.
-


In need of another repair? Don't worry! Check out our other guides to find quick solutions for your favourite clothing, footwear and equipment!
In need of another repair? Don't worry! Check out our other guides to find quick solutions for your favourite clothing, footwear and equipment!

팀
