주요 콘텐츠로 건너뛰기

How to Repair a Fastmark by AMT Datasouth Arm Band Printer

의료 장비
iFixit과 이 수리 안내서는 의료 기기 제조업체가 보증하지 않으며 제휴 관계가 없습니다.
  1. How to Repair a Fastmark by AMT Datasouth Arm Band Printer, How to Repair a Fastmark by AMT Datasouth Arm Band Printer: 1 단계, 이미지 1/3 How to Repair a Fastmark by AMT Datasouth Arm Band Printer, How to Repair a Fastmark by AMT Datasouth Arm Band Printer: 1 단계, 이미지 2/3 How to Repair a Fastmark by AMT Datasouth Arm Band Printer, How to Repair a Fastmark by AMT Datasouth Arm Band Printer: 1 단계, 이미지 3/3
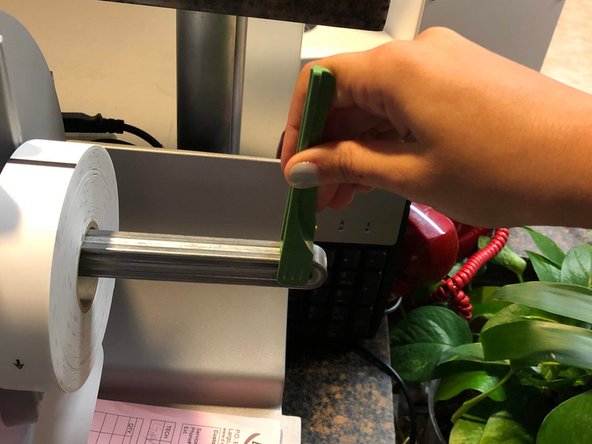
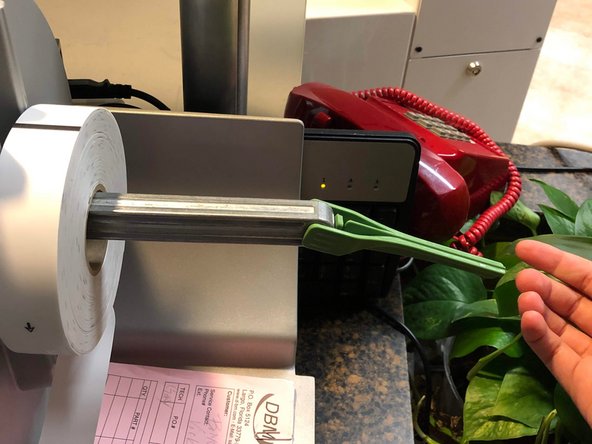
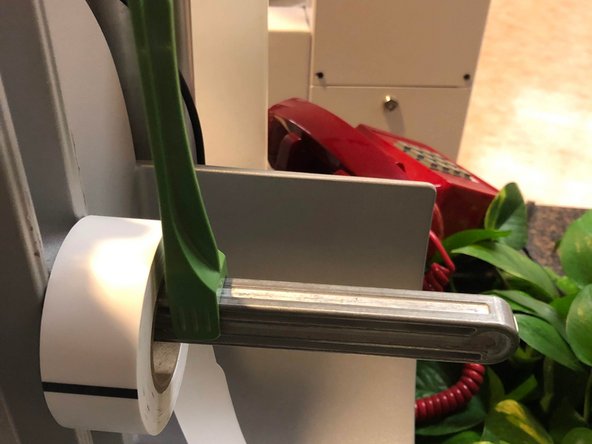
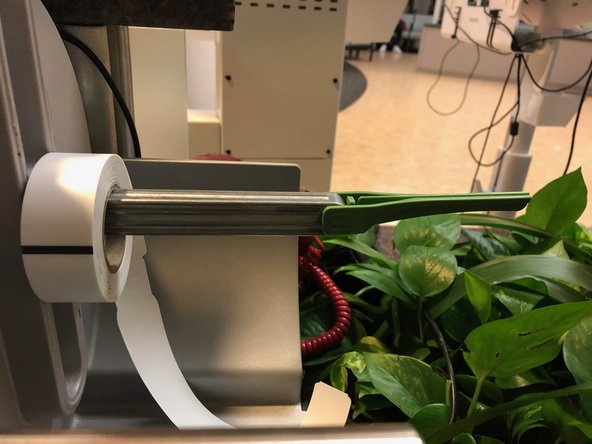
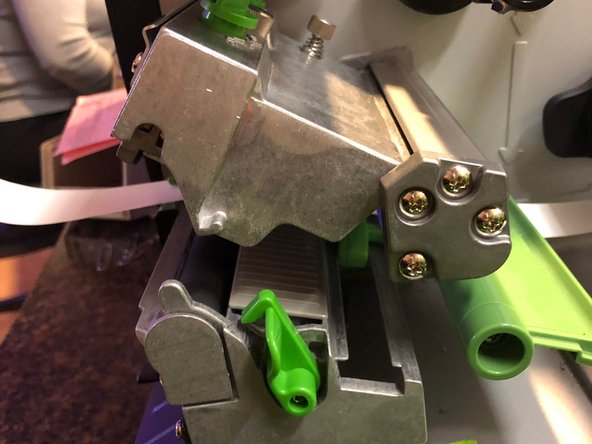
    • Open the machine by lifting the right side up.

  2. How to Repair a Fastmark by AMT Datasouth Arm Band Printer: 2 단계, 이미지 1/3 How to Repair a Fastmark by AMT Datasouth Arm Band Printer: 2 단계, 이미지 2/3 How to Repair a Fastmark by AMT Datasouth Arm Band Printer: 2 단계, 이미지 3/3
    • Assess where the problem is within the machine. Press the green button that says "push" to release the end of the armband that is clamped in the machine.

  3. How to Repair a Fastmark by AMT Datasouth Arm Band Printer: 3 단계, 이미지 1/3 How to Repair a Fastmark by AMT Datasouth Arm Band Printer: 3 단계, 이미지 2/3 How to Repair a Fastmark by AMT Datasouth Arm Band Printer: 3 단계, 이미지 3/3
    • Slide the green bar to the right then pull it down to remove the roll of armbands.

  4. How to Repair a Fastmark by AMT Datasouth Arm Band Printer: 4 단계, 이미지 1/1
    • Remove the armband strip from under the press.

  5. How to Repair a Fastmark by AMT Datasouth Arm Band Printer: 5 단계, 이미지 1/3 How to Repair a Fastmark by AMT Datasouth Arm Band Printer: 5 단계, 이미지 2/3 How to Repair a Fastmark by AMT Datasouth Arm Band Printer: 5 단계, 이미지 3/3
    • Replace the previous armband roll if it's damaged and insert a new roll by sliding it onto the device and pushing the green bar back into place.

  6. How to Repair a Fastmark by AMT Datasouth Arm Band Printer: 6 단계, 이미지 1/3 How to Repair a Fastmark by AMT Datasouth Arm Band Printer: 6 단계, 이미지 2/3 How to Repair a Fastmark by AMT Datasouth Arm Band Printer: 6 단계, 이미지 3/3
    • Weave the new armband strip under the back and green cylinder and through the press. Close the press by pushing it down firmly.

  7. How to Repair a Fastmark by AMT Datasouth Arm Band Printer: 7 단계, 이미지 1/3 How to Repair a Fastmark by AMT Datasouth Arm Band Printer: 7 단계, 이미지 2/3 How to Repair a Fastmark by AMT Datasouth Arm Band Printer: 7 단계, 이미지 3/3
    • Close the top of the armband machine and then press the feed button on the outside to make sure it is working correctly.

결론

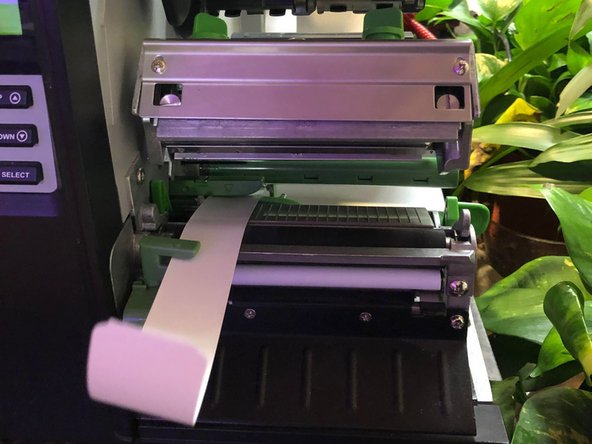
Repeat these steps if the text is not lined up in the correct place on the armband.

다른 2명이 해당 안내서를 완성하였습니다.

Devon Sineno

회원 가입일: 02/02/20

202 평판

안내서 1개 작성함

USF Sarasota-Manatee, Team S1-G1, Stewart Spring 2020 USF Sarasota-Manatee, Team S1-G1, Stewart Spring 2020 회원

USFSM-STEWART-S20S1G1

23 회원들

안내서 27개 작성하였습니다

댓글 0개

댓글 쓰기

조회 통계:

24 시간 전: 4

7일 전: 22

30일 전: 48

전체 시간: 1,525