이 버전에는 잘못된 편집 사항이 있을 수 있습니다. 최신 확인된 스냅샷으로 전환하십시오.
필요한 것
-
이 단계는 번역되지 않았습니다. 번역을 도와주십시오
-
Blow up the sleeping pad full of air using the intake valve in the top left corner.
-
Open the valve by turning it counter-clock-wise.
-
Place your mouth over the valve, and blow air into the pad until is is inflated.
-
With your mouth over the valve, turn the valve clockwise to close it.
-
-
이 단계는 번역되지 않았습니다. 번역을 도와주십시오
-
Spray soapy water on the section of the pad where you think the hole is located.
-
-
-
이 단계는 번역되지 않았습니다. 번역을 도와주십시오
-
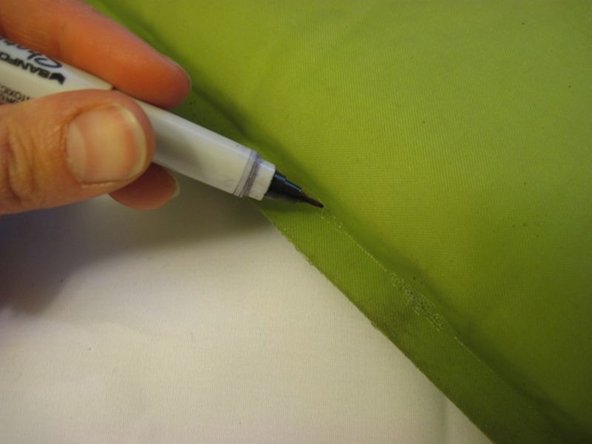
Look for small bubbles forming on the pad indicating the location of the hole.
-
Mark the hole with a marker.
-
-
이 단계는 번역되지 않았습니다. 번역을 도와주십시오
-
Obtain a Therm-a-Rest repair kit including a packet of HotBond Adhesive, patch, and wood stick or similar.
-
-
이 단계는 번역되지 않았습니다. 번역을 도와주십시오
-
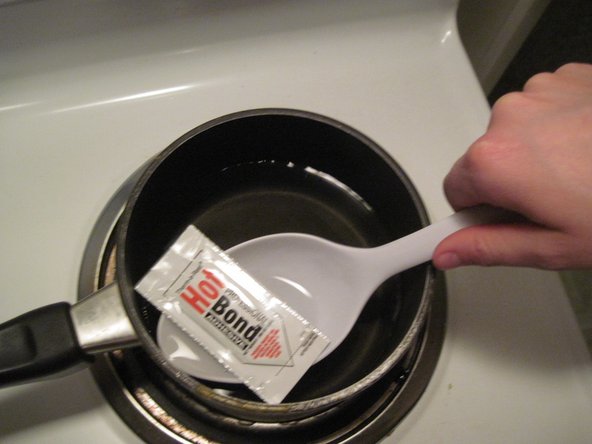
Boil water in a flat bottomed pan.
-
Heat the HotBond Adhesive packet in the boiling water for three minutes.
-
-
이 단계는 번역되지 않았습니다. 번역을 도와주십시오
-
Tear off the end of the HotBond Adhesive packet.
-
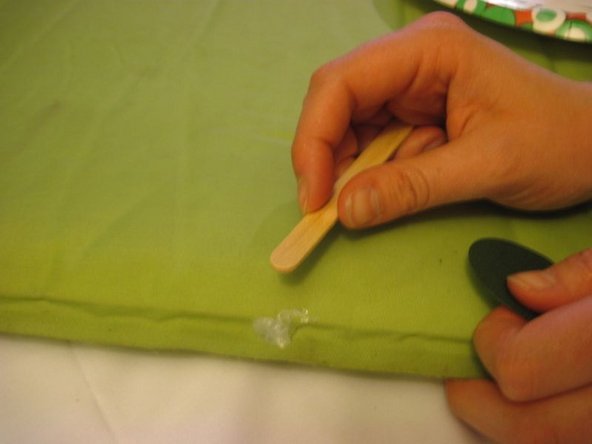
Squeeze the adhesive out of the packet onto the hole in the pad.
-
Spread the adhesive with the wood stick until the adhesive is spread in an even circular layer approximately the size of a dime.
-
-
이 단계는 번역되지 않았습니다. 번역을 도와주십시오
-
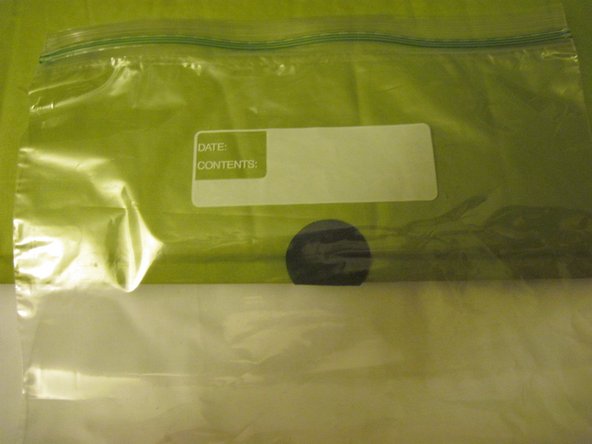
Firmly press the patch, shiny side down, onto the HotBond Adhesive on the mattress.
-
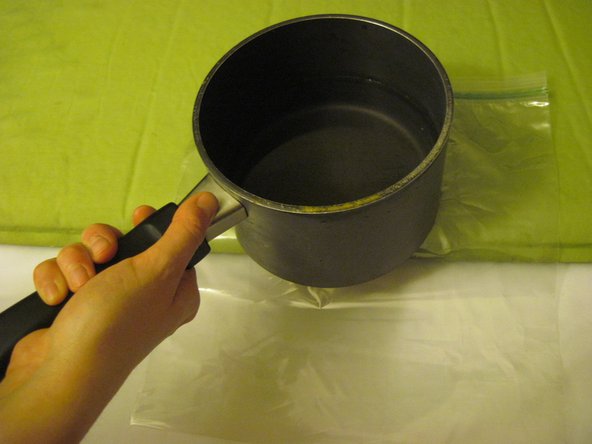
Place a layer of plastic, such as a plastic bag, over the patch.
-
Place the pan of hot water on top of the plastic layer and patch for one minute.
-
-
이 단계는 번역되지 않았습니다. 번역을 도와주십시오
-
Remove the pan of water, and using a hard cylindrical object, such as a cup, roll over the patch a few times.
-
Allow the patch to set for 10 minutes before use.
-


다른 2명이 해당 안내서를 완성하였습니다.

팀

Cal Poly, Team 24-3, Green Winter 2015 Cal Poly, Team 24-3, Green Winter 2015 회원
CPSU-GREEN-W15S24G3
5 회원들
안내서 5개 작성하였습니다
댓글 3개
Do I need to deflate the mat before applying the glue?
You could try submerging the inflated sleeping pad in a bathtub. Keep an eye out for small bubbles and you should find your leak.