주요 콘텐츠로 건너뛰기

How to Repair a Resin Charm

필요한 것

  1. How to Repair a Resin Charm, How to Repair a Resin Charm: 1 단계, 이미지 1/2 How to Repair a Resin Charm, How to Repair a Resin Charm: 1 단계, 이미지 2/2
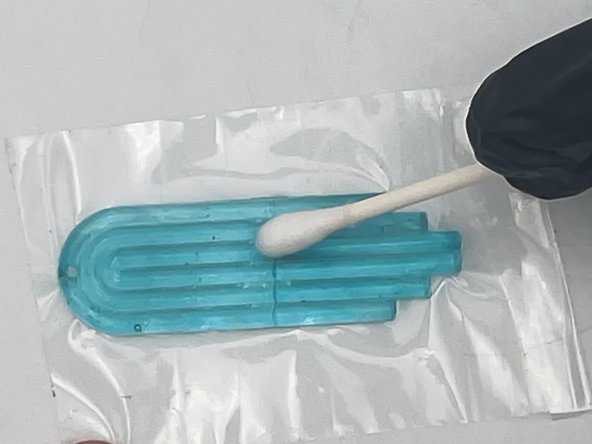
    • Fit the broken pieces together with the flattest side of the charm facing towards you.

  2. How to Repair a Resin Charm: 2 단계, 이미지 1/2 How to Repair a Resin Charm: 2 단계, 이미지 2/2
    • Lay a piece of tape on the crack and press down smoothly.

  3. How to Repair a Resin Charm: 3 단계, 이미지 1/1
    • Pick up the pieces so the crack is facing up.

    • Bend the pieces to create a slight gap.

    • CAUTION: Wear gloves when working with resin.

  4. How to Repair a Resin Charm: 4 단계, 이미지 1/2 How to Repair a Resin Charm: 4 단계, 이미지 2/2
    • Add resin to the crack.

    • Press the pieces together.

  5. How to Repair a Resin Charm: 5 단계, 이미지 1/2 How to Repair a Resin Charm: 5 단계, 이미지 2/2
    • Use a cotton swab to spread the resin in the crack.

    • Pick up the excess resin with a cotton swab.

  6. How to Repair a Resin Charm: 6 단계, 이미지 1/3 How to Repair a Resin Charm: 6 단계, 이미지 2/3 How to Repair a Resin Charm: 6 단계, 이미지 3/3
    • Turn on the UV light.

    • Put the charm under the UV light for 120 seconds per side.

    • Remove the charm.

결론

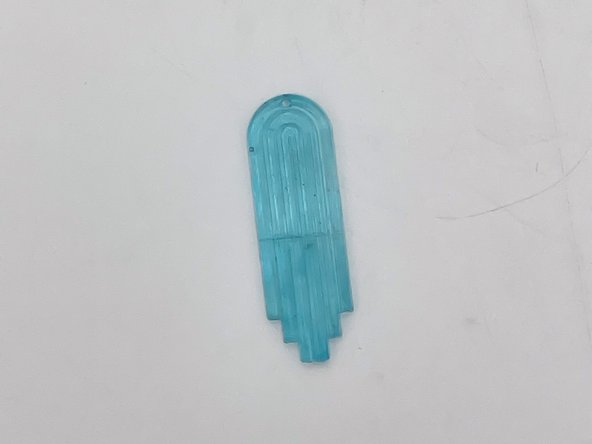
Now your charm is repaired and can once again be worn or displayed!

Jorja

회원 가입일: 04/25/24

133 평판

안내서 1개 작성함

UC Davis, Team 2-7, Whithaus Spring 2024 UC Davis, Team 2-7, Whithaus Spring 2024 회원

UCD-WHITHAUS-S24S2G7

3 회원들

안내서 1개 작성하였습니다

댓글 0개

댓글 쓰기

조회 통계:

24 시간 전: 3

7일 전: 5

30일 전: 13

전체 시간: 34