주요 콘텐츠로 건너뛰기
수리 커뮤니티 가입 - 계정 만들기

How to Repair a Small Hole in a Spanish Knife Textured Wall

필요한 것

    1. How to Repair a Small Hole in a Spanish Knife Textured Wall, How to Repair a Small Hole in a Spanish Knife Textured Wall: 1 단계, 이미지 2개 중 1개 How to Repair a Small Hole in a Spanish Knife Textured Wall, How to Repair a Small Hole in a Spanish Knife Textured Wall: 1 단계, 이미지 2개 중 2개
      • Remove any debris from the hole in the wall.

      댓글 쓰기

    2. How to Repair a Small Hole in a Spanish Knife Textured Wall: 2 단계, 이미지 1개 중 1개
      • Scoop some DryDex Spackling on to your plastic taping knife.

      댓글 쓰기

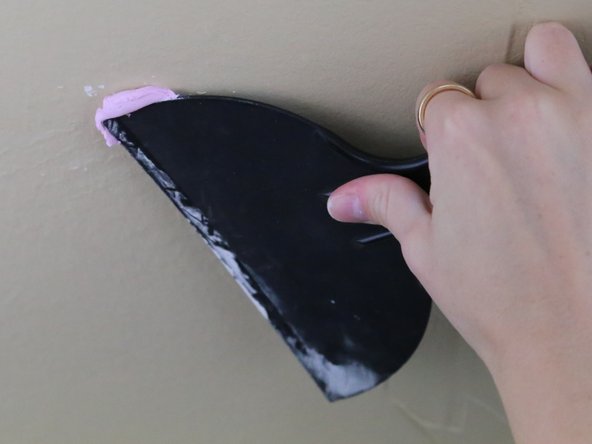
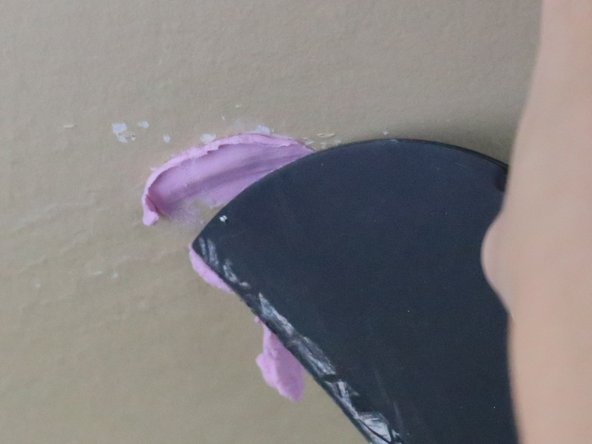
    3. How to Repair a Small Hole in a Spanish Knife Textured Wall: 3 단계, 이미지 2개 중 1개 How to Repair a Small Hole in a Spanish Knife Textured Wall: 3 단계, 이미지 2개 중 2개
      • Fill the hole with spackle.

      댓글 쓰기

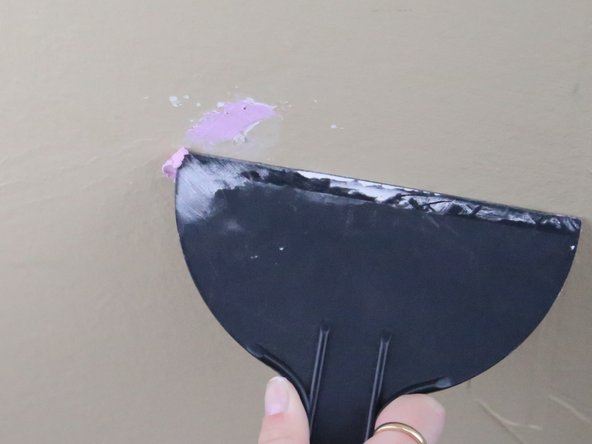
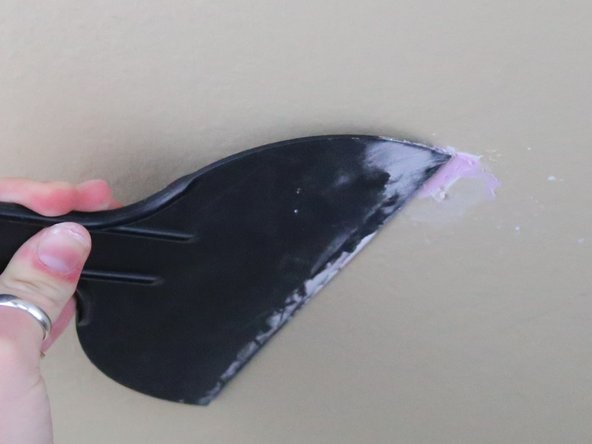
    4. How to Repair a Small Hole in a Spanish Knife Textured Wall: 4 단계, 이미지 2개 중 1개 How to Repair a Small Hole in a Spanish Knife Textured Wall: 4 단계, 이미지 2개 중 2개
      • Gently move the taping knife over the newly covered hole in multiple directions.

      • This will ensure the spackle completely fills the hole.

      • Let the DryDex Spackle dry.

      • You will know the spackle is dry when it turns from pink to white.

      댓글 쓰기

    5. How to Repair a Small Hole in a Spanish Knife Textured Wall: 5 단계, 이미지 1개 중 1개
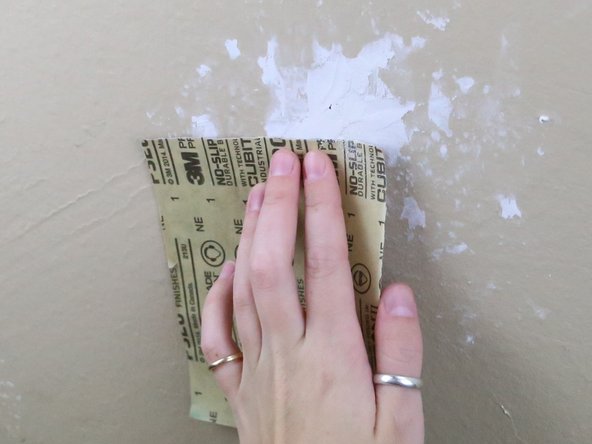
      • Sand the newly spackled area down until the spackle is level with the original wall.

      댓글 쓰기

    6. How to Repair a Small Hole in a Spanish Knife Textured Wall: 6 단계, 이미지 2개 중 1개 How to Repair a Small Hole in a Spanish Knife Textured Wall: 6 단계, 이미지 2개 중 2개
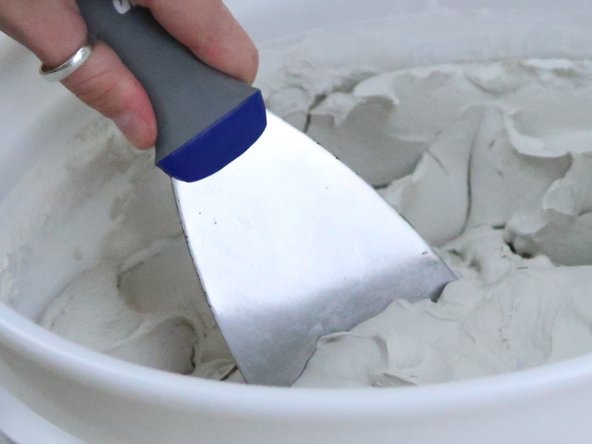
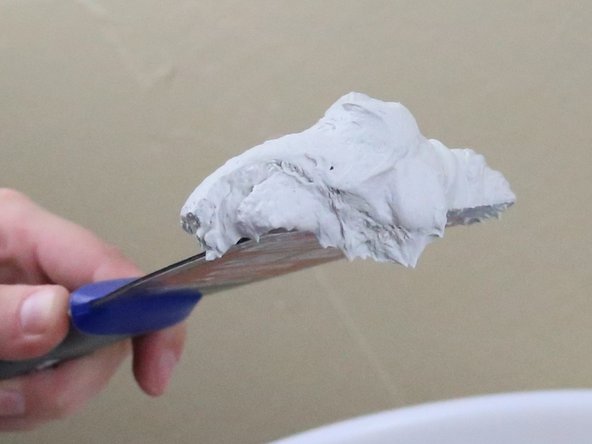
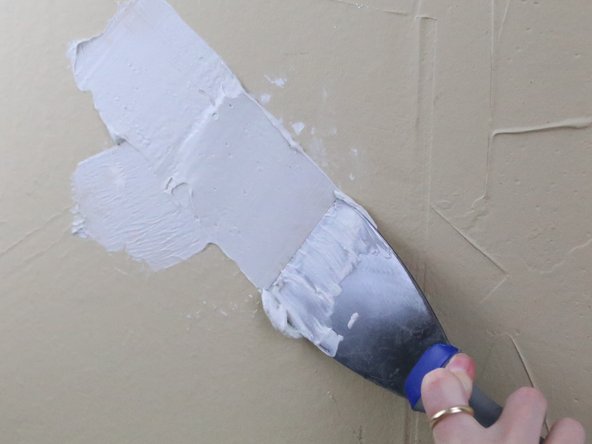
      • Scoop some All Purpose Joint Compound on to your putty knife.

      댓글 쓰기

    7. How to Repair a Small Hole in a Spanish Knife Textured Wall: 7 단계, 이미지 2개 중 1개 How to Repair a Small Hole in a Spanish Knife Textured Wall: 7 단계, 이미지 2개 중 2개
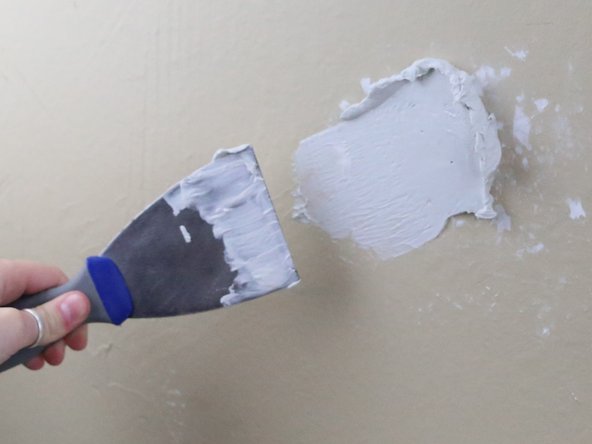
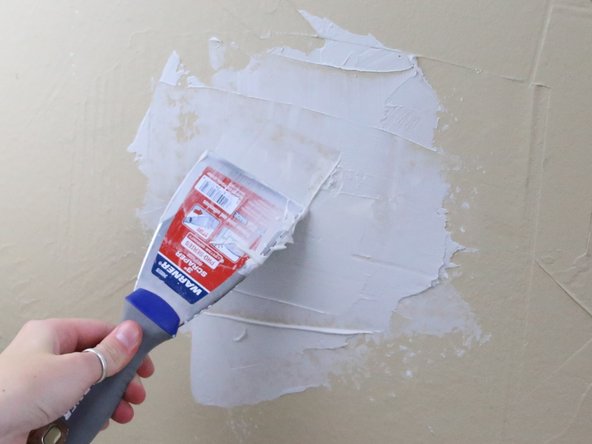
      • Smooth the joint compound on the wall, covering the area you want to re-texture.

      댓글 쓰기

    8. How to Repair a Small Hole in a Spanish Knife Textured Wall: 8 단계, 이미지 2개 중 1개 How to Repair a Small Hole in a Spanish Knife Textured Wall: 8 단계, 이미지 2개 중 2개
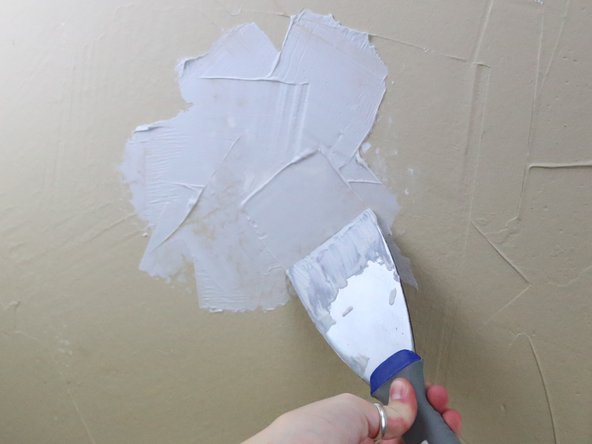
      • Gently drag the putty knife through the joint compound to create ridges.

      • Creating ridges is a creative and unique process. You get to decide how close you want the ridges together and at what angle to make the ridges.

      • Let the joint compound completely dry.

      • You will know the Joint Compound is dry when it turns from grey to white.

      댓글 쓰기

    9. How to Repair a Small Hole in a Spanish Knife Textured Wall: 9 단계, 이미지 2개 중 1개 How to Repair a Small Hole in a Spanish Knife Textured Wall: 9 단계, 이미지 2개 중 2개
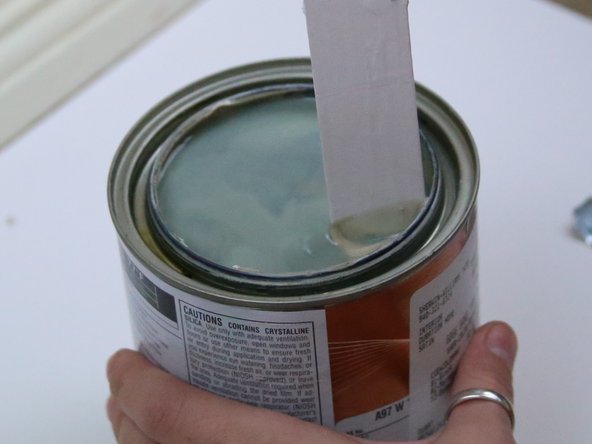
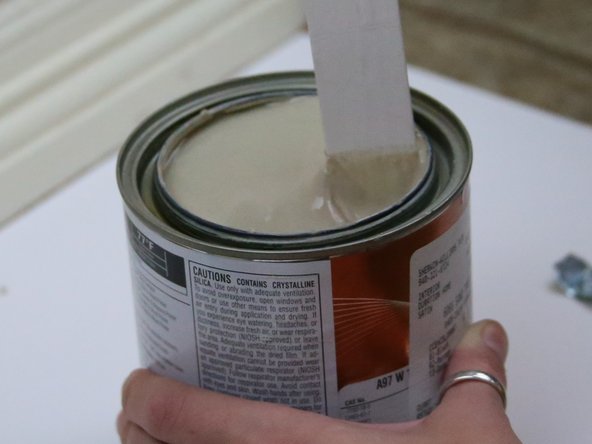
      • Mix the paint that you have leftover from the first time you painted the wall.

      댓글 쓰기

    10. How to Repair a Small Hole in a Spanish Knife Textured Wall: 10 단계, 이미지 2개 중 1개 How to Repair a Small Hole in a Spanish Knife Textured Wall: 10 단계, 이미지 2개 중 2개
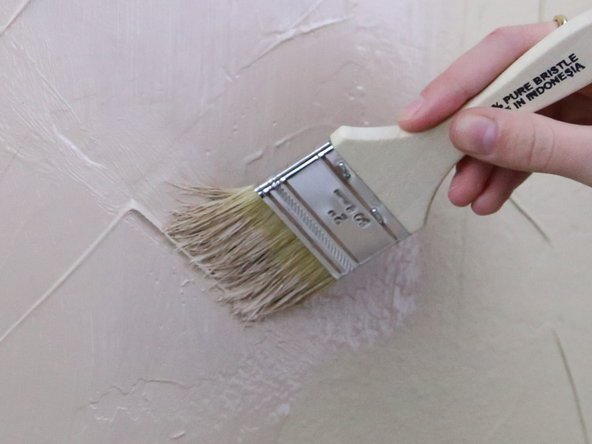
      • Paint the section of the wall that you re-textured.

      • Paint each ridge.

      • Let the paint completely dry.

      댓글 쓰기

결론

You’ve successfully spackled, textured, and painted. Your wall is now as good as new!

취소: 해당 안내서를 완성하지 않았습니다.

다른 한 분이 해당 안내서를 완성하였습니다.

작성자

1다른 기여자 명과 함께

Kayla Elder

회원 가입일: 09/22/21

228 평판

안내서 1개를 작성함

0가이드 댓글

댓글 쓰기

조회 통계:

지난 24시간: 4

지난 7일: 20

지난 30일: 88

전체 시간: 2,808