소개
Replacement of the Sony MDR-7506 Ear Pads is quite simple and easy-to-do without any specific tools required.
The following tutorial will demonstrate how to replace ear cushions on a general pair of headphones that DO NOT require a keystock for access for removal or replacement of headphone ear padding.
NOTICE:
- If implementing this process for different/similar headphones, please review their specific warranty/insurance policies and regard any extra tools required for access for earpad removal (Save these tools and pieces during disassembly for hassle-free re-assembly).
- It is best to have already acquired or purchased the correct replacement ear pads when beginning this procedure (different headphones will have different ear pads and availability is specific to each pair - using Google, search for the specific pair of headphone ear pads being replaced).
Here is a link to the replacement ear cushions by WC Wicked which I was able to order from Amazon.com: https://www.amazon.com/Upgraded-Replacem...
They are very high-quality and about the same quality, if not better, than the original pair!
필요한 것
-
-
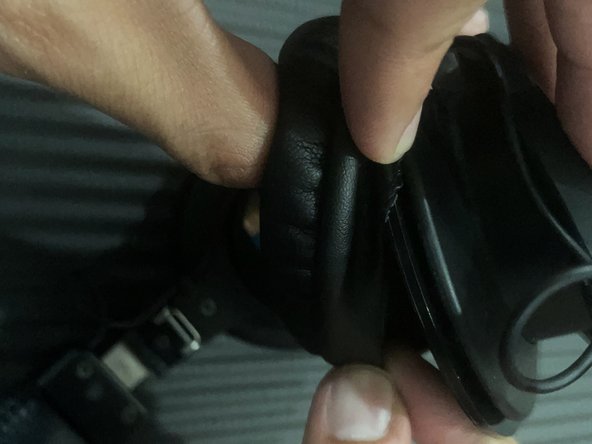
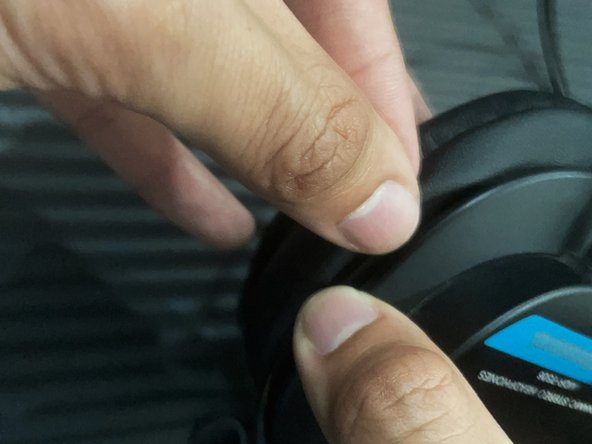
CAUTION: For safe-handling (preventing damage or dislocation of the wires or other components) rotate the earcups to their inverse position about ~ 180° degrees from resting position.
-
-


Enjoy your refreshed ear pads!
Enjoy your refreshed ear pads!
다른 2명이 해당 안내서를 완성하였습니다.
팀

CSU Los Angeles, Team 3-22, Briggs Fall 2022 CSU Los Angeles, Team 3-22, Briggs Fall 2022 회원
CSULA-BRIGGS-F22S3G22
1 회원
안내서 1개 작성하였습니다