주요 콘텐츠로 건너뛰기

How to Replace a 2017 Honda Civic LX Cabin Filter

필요한 것

  1. How to Replace a 2017 Honda Civic LX Cabin Filter, Cabin Filter: 1 단계, 이미지 1/1
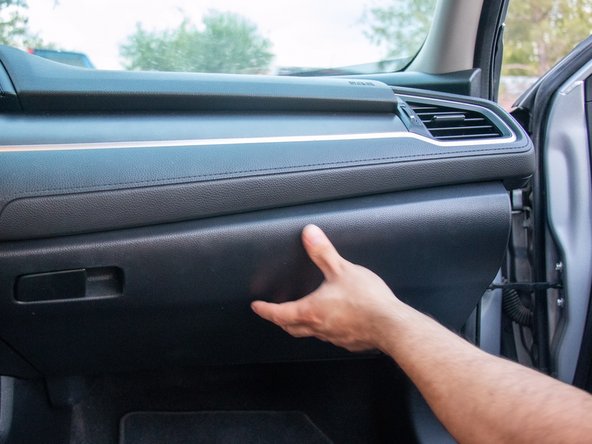
    • Direct your attention to the glove compartment directly in front of the front passenger seat.

  2. How to Replace a 2017 Honda Civic LX Cabin Filter: 2 단계, 이미지 1/2 How to Replace a 2017 Honda Civic LX Cabin Filter: 2 단계, 이미지 2/2
    • Open the glove compartment using the handle on the left-hand side.

    • It will open slightly towards you.

    • If you have any items in the glove compartment, remove them and set them aside.

  3. How to Replace a 2017 Honda Civic LX Cabin Filter: 3 단계, 이미지 1/2 How to Replace a 2017 Honda Civic LX Cabin Filter: 3 단계, 이미지 2/2
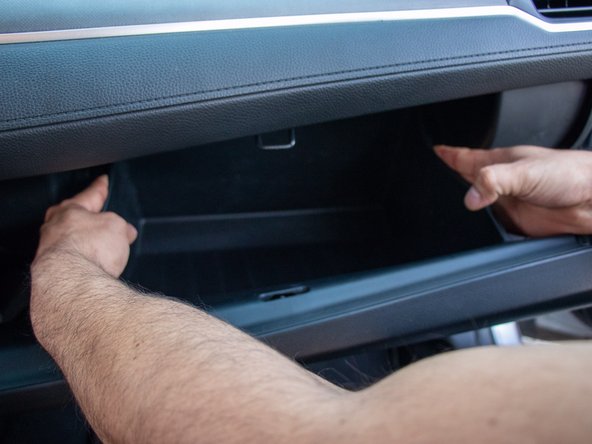
    • Reach inside the glove compartment and press on the two outer walls on each side of the storage box.

    • Lower the glove compartment down to the ground.

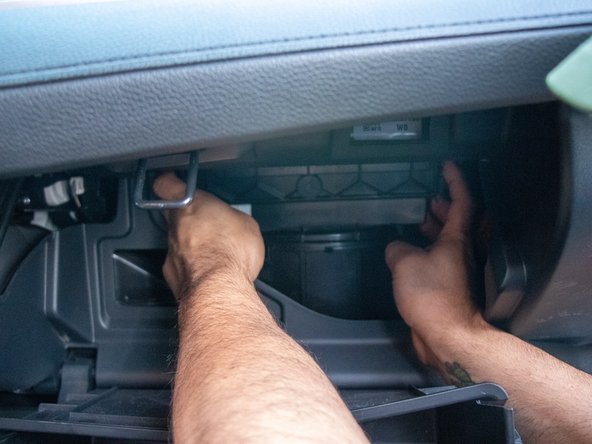
  4. How to Replace a 2017 Honda Civic LX Cabin Filter: 4 단계, 이미지 1/3 How to Replace a 2017 Honda Civic LX Cabin Filter: 4 단계, 이미지 2/3 How to Replace a 2017 Honda Civic LX Cabin Filter: 4 단계, 이미지 3/3
    • Reach into the space behind where the storage box previously rested and pull out the black, plastic panel with raised hexagonal lines.

    • This is the cover for the cabin air filter.

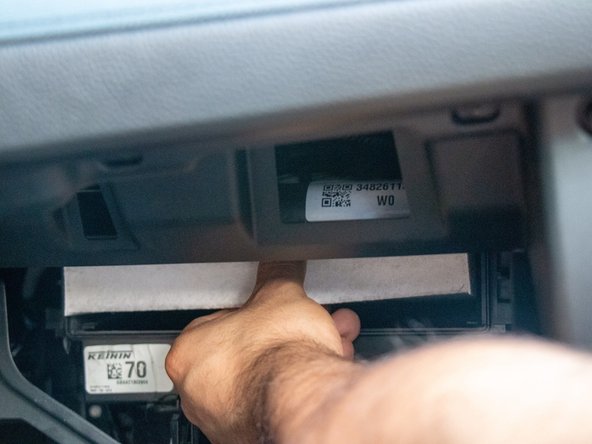
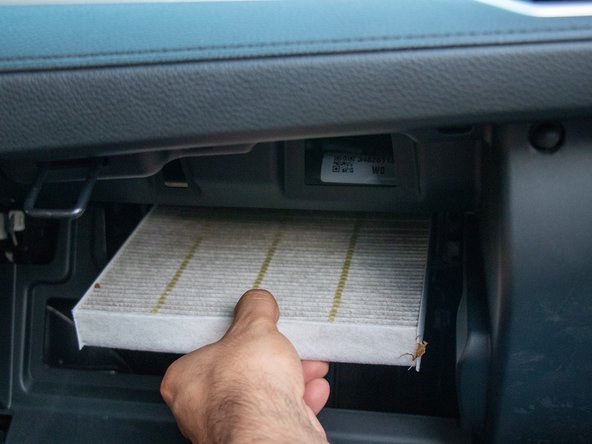
  5. How to Replace a 2017 Honda Civic LX Cabin Filter: 5 단계, 이미지 1/3 How to Replace a 2017 Honda Civic LX Cabin Filter: 5 단계, 이미지 2/3 How to Replace a 2017 Honda Civic LX Cabin Filter: 5 단계, 이미지 3/3
    • Pull out the cloth air filter from the space behind the air filter cover.

    • Dispose of the old air filter.

  6. How to Replace a 2017 Honda Civic LX Cabin Filter: 6 단계, 이미지 1/2 How to Replace a 2017 Honda Civic LX Cabin Filter: 6 단계, 이미지 2/2
    • Unwrap your new air filter and insert it into the empty air filter compartment.

    • On the side of your new air filter you will see air flow markings. Be sure to insert the new air filter so that the air flow markings point down to the ground.

  7. How to Replace a 2017 Honda Civic LX Cabin Filter: 7 단계, 이미지 1/3 How to Replace a 2017 Honda Civic LX Cabin Filter: 7 단계, 이미지 2/3 How to Replace a 2017 Honda Civic LX Cabin Filter: 7 단계, 이미지 3/3
    • Double-check that the air filter is securely all the way into the compartment.

    • Place the black, plastic air filter cover back into place and push it firmly to secure.

  8. How to Replace a 2017 Honda Civic LX Cabin Filter: 8 단계, 이미지 1/1
    • Push on the sides of the storage box and lift the glove compartment back into place.

  9. How to Replace a 2017 Honda Civic LX Cabin Filter: 9 단계, 이미지 1/1
    • Close your glove compartment and you're done!

결론

Enjoy a breath of fresh air as your cabin air filter has now been replaced!

다른 3명이 해당 안내서를 완성하였습니다.

Grace Hanson

회원 가입일: 10/04/20

249 평판

안내서 1개 작성함

University of North Texas, Team S2-G6, Raign Fall 2020 University of North Texas, Team S2-G6, Raign Fall 2020 회원

UNT-RAIGN-F20S2G6

2 회원들

안내서 1개 작성하였습니다

댓글 0개

댓글 쓰기

조회 통계:

24 시간 전: 9

7일 전: 69

30일 전: 352

전체 시간: 4,810