이 버전에는 잘못된 편집 사항이 있을 수 있습니다. 최신 확인된 스냅샷으로 전환하십시오.
필요한 것
-
이 단계는 번역되지 않았습니다. 번역을 도와주십시오
-
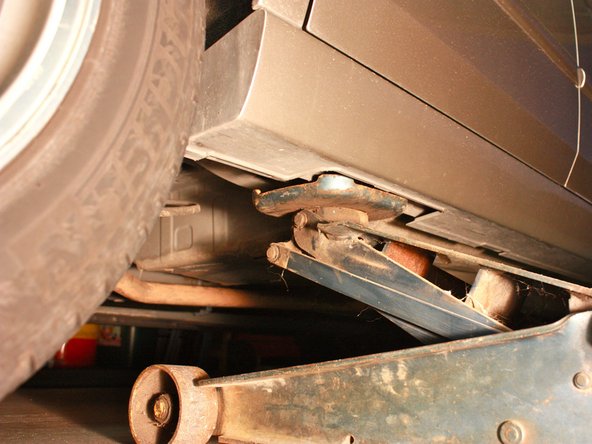
Place the hydraulic floor jack under the vehicle until the saddle is directly under the crossmember.
-
-
이 단계는 번역되지 않았습니다. 번역을 도와주십시오
-
Push downward on the jack's lever to lift the saddle upward so that it contacts the crossmember. Continue pushing downward on the lever to lift the car upward.
-
-
-
이 단계는 번역되지 않았습니다. 번역을 도와주십시오
-
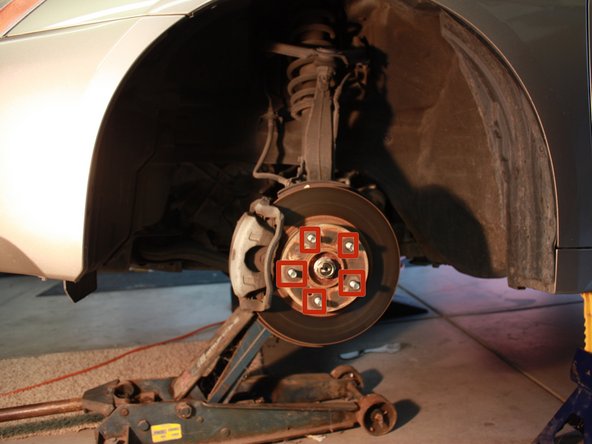
Once the car is raised, remove the lug nuts with the ratchet attached to a 3/4'' socket.
-
-
이 단계는 번역되지 않았습니다. 번역을 도와주십시오
-
Remove the tire off the wheel studs and place it aside.
-
The wheel studs are the metal bolts sticking out of the wheel hub in the center.
-
-
이 단계는 번역되지 않았습니다. 번역을 도와주십시오
-
On the same side of the vehicle, go to the rear tire.
-
Using a ratchet attached to a 3/4" socket, loosen wheel lug nuts. Do not remove them.
-
-
이 단계는 번역되지 않았습니다. 번역을 도와주십시오
-
Place the floor jack under the frame in front of the rear tire.
-
Raise the jack until the tire is off the ground.
-
-
이 단계는 번역되지 않았습니다. 번역을 도와주십시오
-
Remove the rear tire. Roll and place the tire onto the wheel studs on the front wheel.
-
Tighten the lug nuts using your hand until they are tight.
-
Roll the previous front tire to the rear and repeat the tightening process
-
-
이 단계는 번역되지 않았습니다. 번역을 도와주십시오
-
Using a torque wrench, tighten the lug nuts on each wheel to the car manufacturer's recommended torque specification found in the user's manual.
-
-
이 단계는 번역되지 않았습니다. 번역을 도와주십시오
-
Using an air compressor and the air pressure gauge, fill the front and rear tires to appropriate amount.
-


다른 6명이 해당 안내서를 완성하였습니다.
팀

Cal Poly, Team 24-27, Regan Fall 2012 Cal Poly, Team 24-27, Regan Fall 2012 회원
CPSU-REGAN-F12S24G27
4 회원들
안내서 22개 작성하였습니다
댓글 한 개
Really useful and valuable content, Thank you.
<a href="https://highwaypakistan.com/">highway trading comapny</a>