소개
Use this guide to fix a clogged and oozing 3D printer hotend. Although other printers may use the same hotend, we will be looking at the Prusa i3 MK3S+.
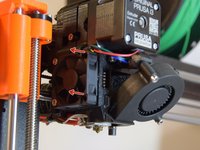
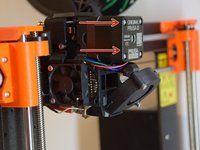
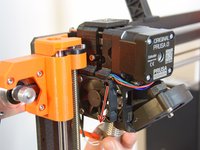
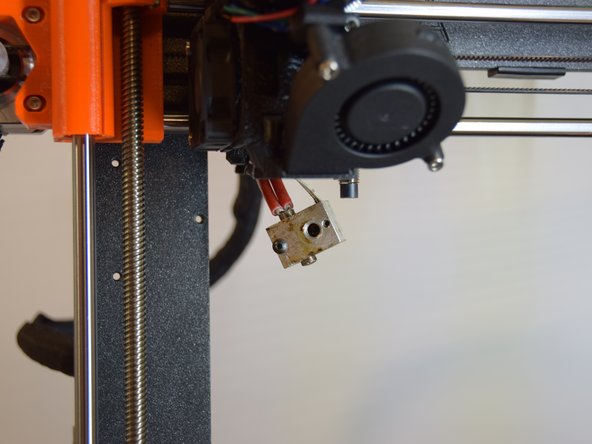
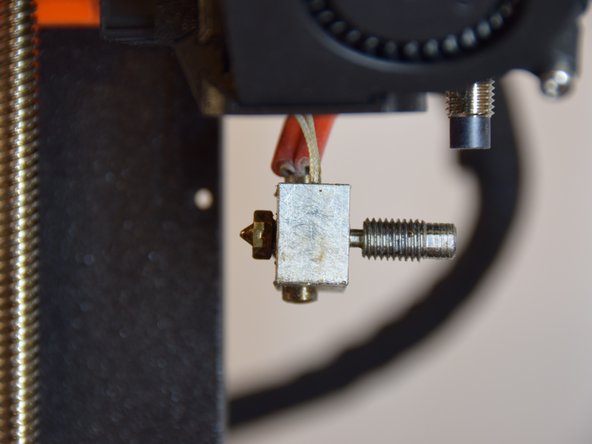
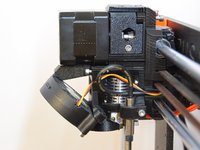
If your Prusa i3 MK3 is oozing burnt filament from the top of the heatblock, then you most likely have an incorrectly assembled hotend.
An incorrectly assembled hotend is a common problem that most people encounter when switching out their nozzles. The oozing might not be immediately apparent but can be visible either through the ooze dripping onto your prints or a build-up of filament on your heatblock.
In this guide, we will be heating the printer nozzle up to 285 Celsius, so please handle the parts with care. If you have removed a heated part and cannot yet re-insert it, then place it on something that can handle the heat, like a ceramic plate.
필요한 것
-
-
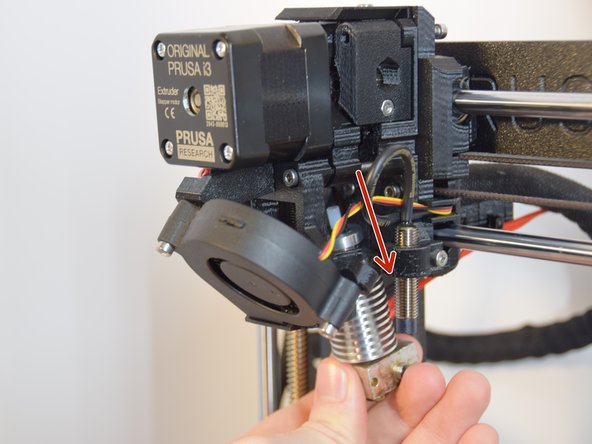
Set the nozzle temperature to your filament's recommended printing point.
-
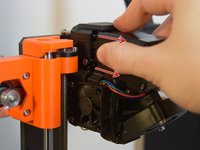
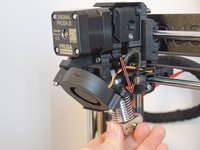
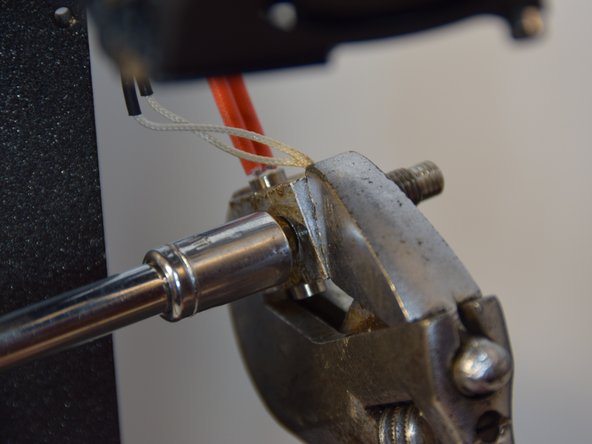
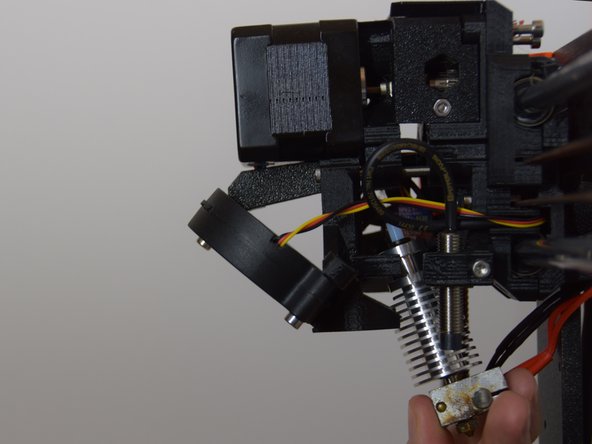
While the printer is heating, gently tug the filament and pull it out.
-
-
-
-
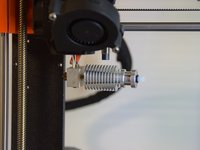
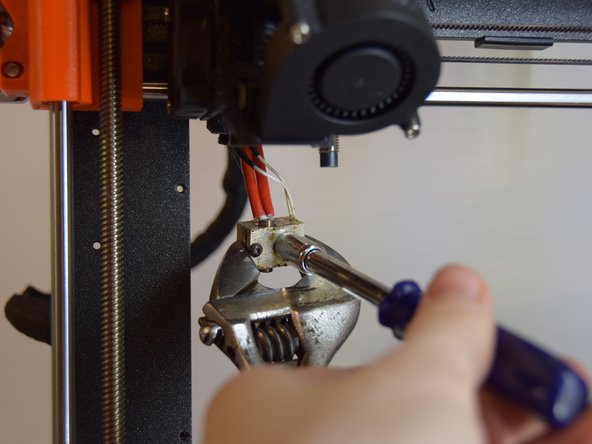
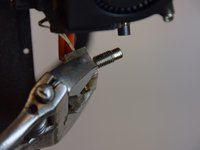
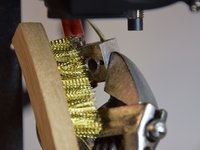
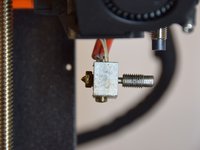
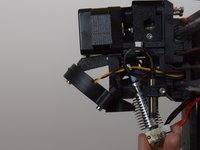
Heat the nozzle's temperature to 285 degrees Celsius for the heatblock to expand and grip it with a wrench.
-
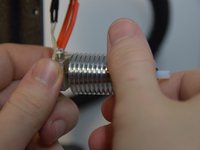
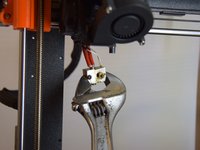
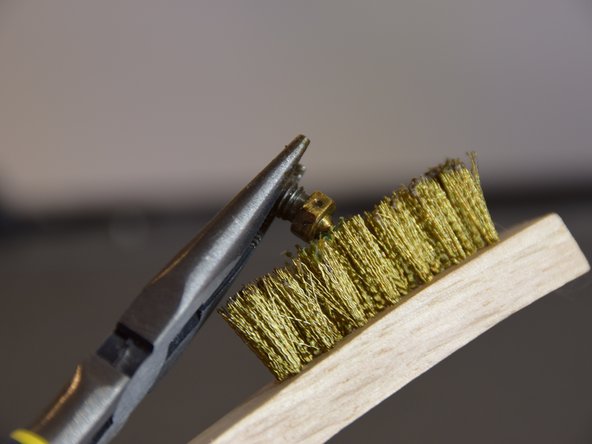
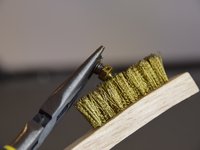
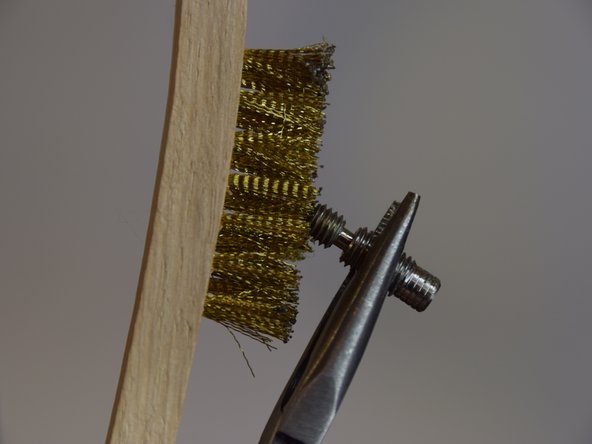
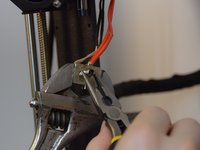
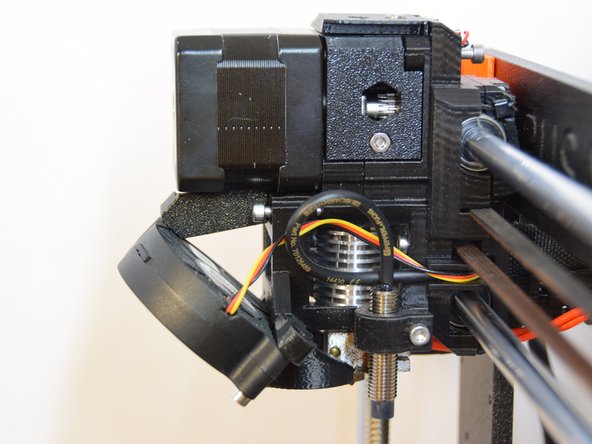
Gently reattach the heatsink thread with your pliers, leaving some slack so that it is not flush with the heatblock.
-
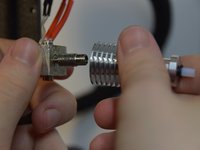
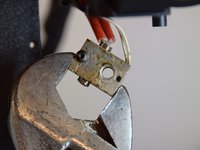
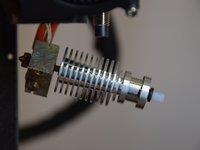
Re-screw the cleaned nozzle but leave a gap between the nozzle and heatblock.
-
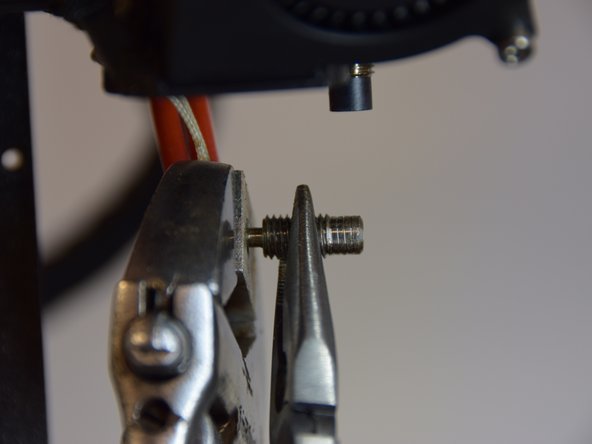
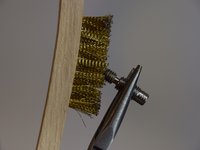
Screw the heatsink thread until it is flush with the heatblock.
-
Tighten the nozzle once again until you feel the that the nozzle's thread is touching the heatsink thread to ensure that filament does not build up in the heatblock threads.
-


Your extruder’s burning ooze problem has now been fixed, so you can now continue with your prints! Before you do, please remember to re-calibrate your printer.
다른 7명이 해당 안내서를 완성하였습니다.
팀

York University, Team S16-G9, Turner Winter 2021 York University, Team S16-G9, Turner Winter 2021 회원
YORK-TURNER-W21S16G9
2 회원들
안내서 2개를 작성함