소개
The glass pane in the HP Photosmart 2575 All-in-One will likely gather a small amount of dust. Here is a guide on how to access the underside of the glass pane.
필요한 것
-
-
-
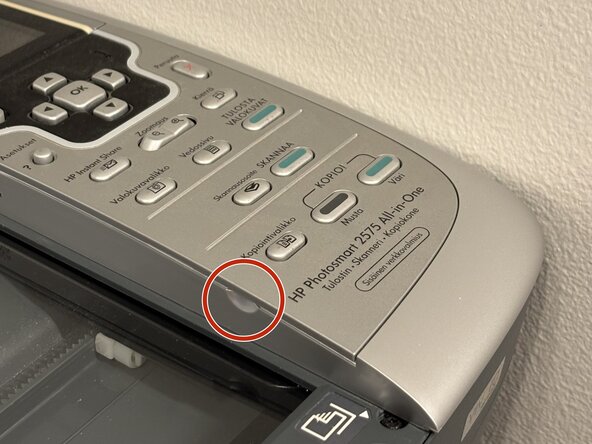
Unscrew one T10 screw near the bottom of the control panel
-
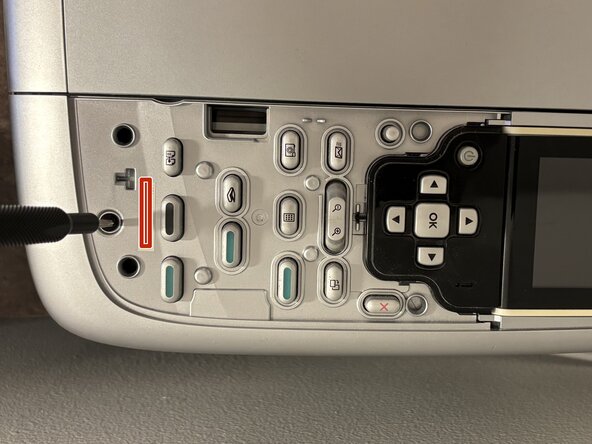
Lift the control panel up at the bottom, around 5 mm above the machine and pull the panel towards the front of the machine.
-
Now you have access to the screws below the control panel.
-
-
-
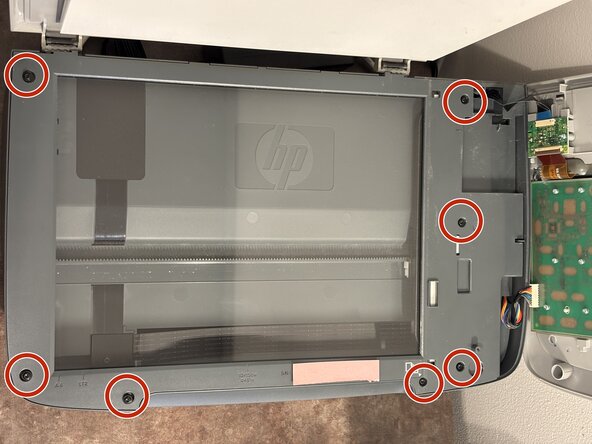
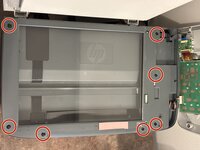
Remove seven T10 screws.
-
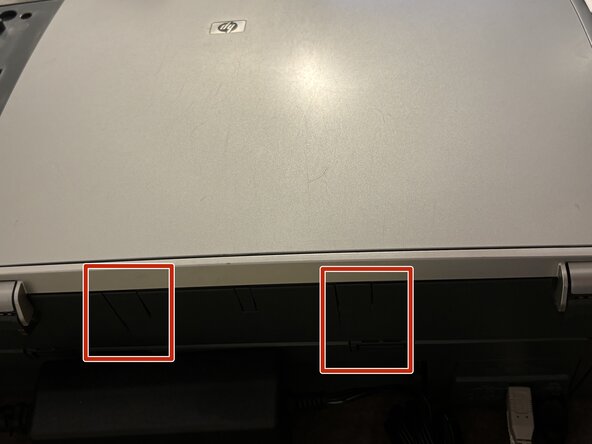
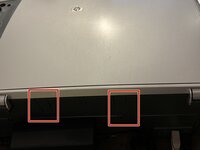
Unhook the two larger clips on the back side. Do not unhook the smaller clip as it will detach the glass pane.
-
Begin lifting up the panel with the scanner glass by lifting up the two large clips. Be careful as the glass pane is not secured very well.
-
Wipe dust from the underside and the upper side of the glass pane using a microfiber cloth.
-
To reassemble your device, follow these instructions in reverse order.
다른 한 분이 해당 안내서를 완성하였습니다.