소개
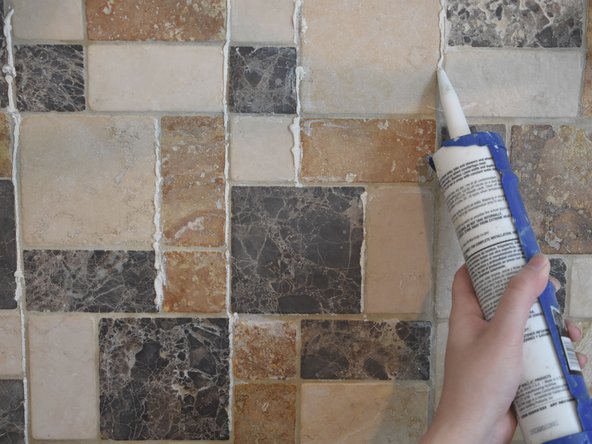
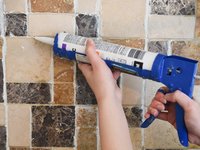
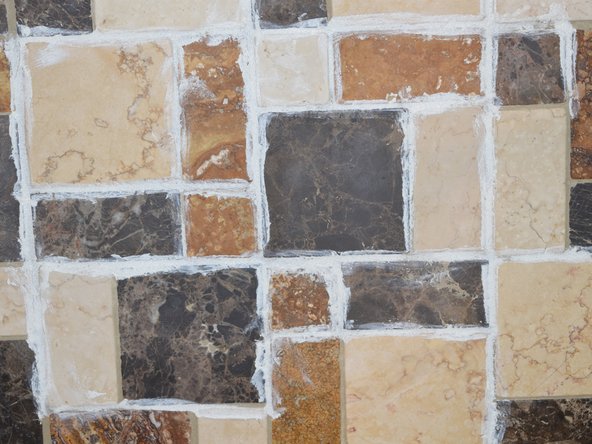
Caulking is used as adhesion to seal the surface to prevent damage and leaking. This guide focuses on fixing leaks in shower tiles using silicon-based caulking, which is water-resistant and it is used to fill any gaps or leaks.
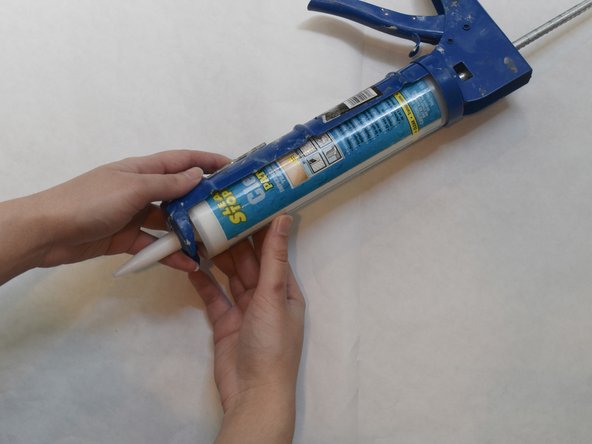
Caulking tubes come in many forms to be used for a specific surface or specific damage. To perform the fix in the guide, look for a caulking tube that says 'silicon-based' or 'bathroom and kitchen use'.
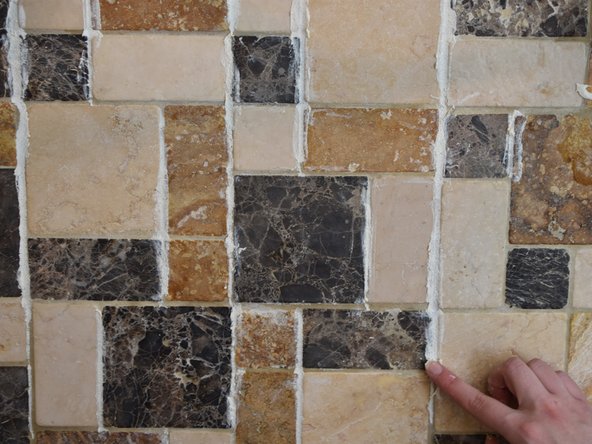
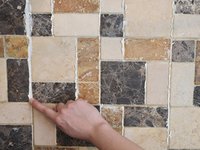
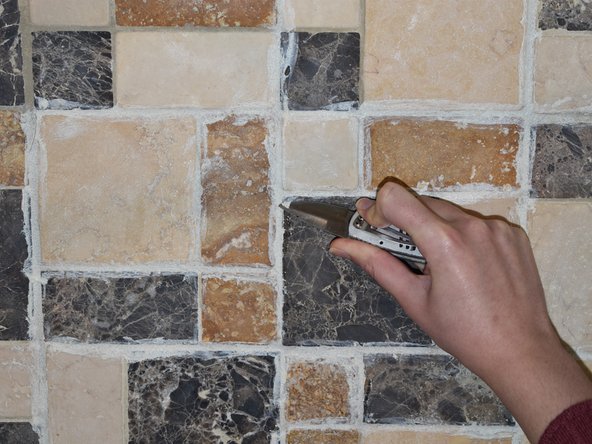
Step 1 of this guide requires to remove the old caulking. The new caulk will not slick to the old caulk on the surface, so it is important to remove it before proceeding to do this fix.
The time for this fix may vary depending on the size of the surface and the time it takes for the caulk to completely dry. The caulking can take up to a full day to dry completely, so be prepared to not use the surface for a while before beginning the process!
필요한 것
-
-
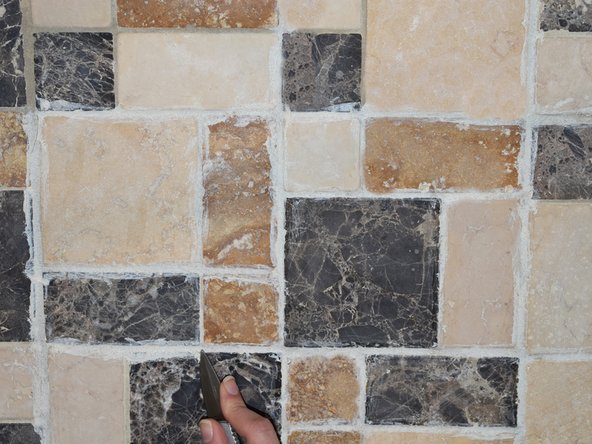
Using a putty knife, remove the old caulk from the surface.
-
-


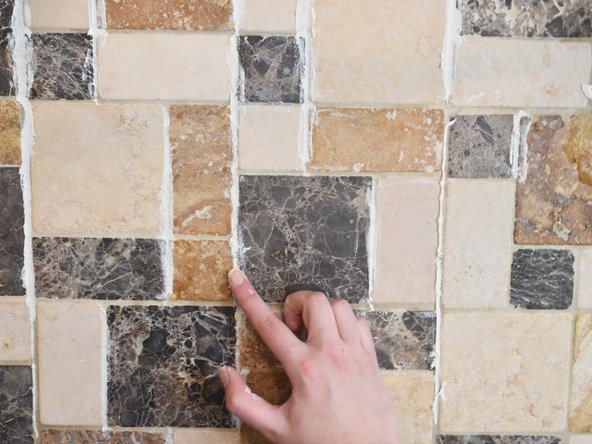


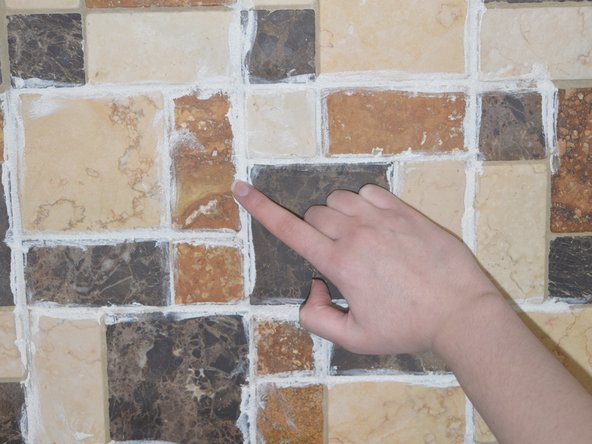


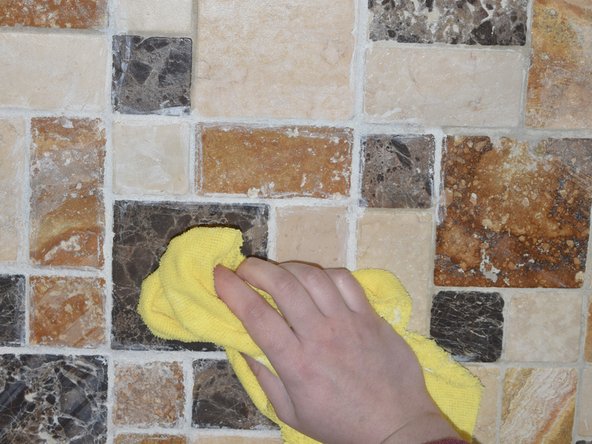


Clean the surface and completely let it dry before using it. It may take up to a full day to dry completely, so be prepared to not use the surface for a while!
다른 한 분이 해당 안내서를 완성하였습니다.
팀

UW Tacoma, Team S1-G36, Cardinal Spring 2020 UW Tacoma, Team S1-G36, Cardinal Spring 2020 회원
UWT-CARDINAL-S20S1G36
1 회원
안내서 1개 작성