소개
If your backpack strap has come off, don’t worry. It’s a common issue and usually easy to fix. Whether it tore off completely or slipped out of its stitching, we will show you simple ways to reattach and strengthen it so your backpack is ready for your next adventure!
➡️Before you get started, please check the safety disclaimer at the bottom of the page.
필요한 것
-
-
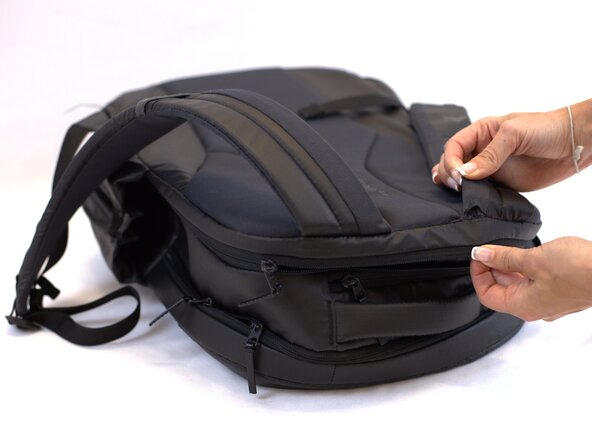
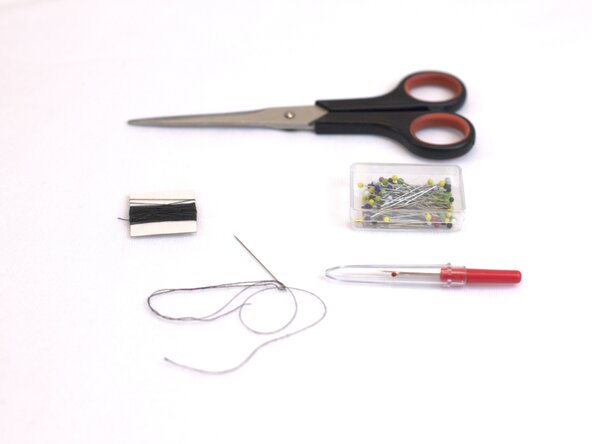
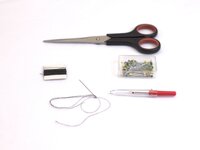
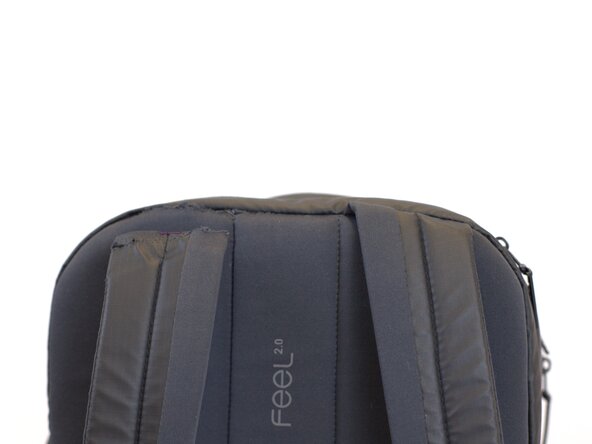
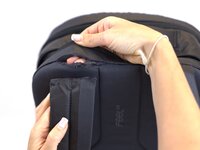
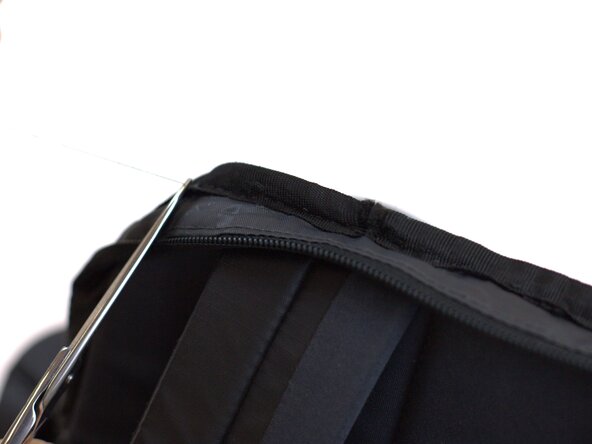
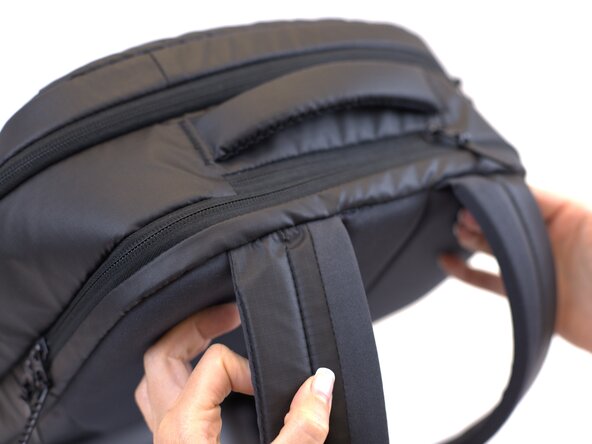
Locate the detached strap and gather all the tools needed for the fix.
-
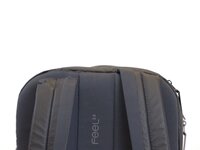
Note: In this example, the strap is not fully detached. However, if the backpack is worn extensively, the seam could break and the strap could come off completely.
-
-
-
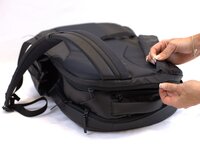
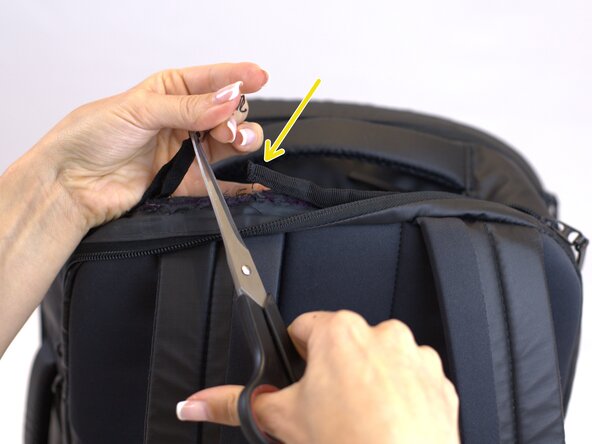
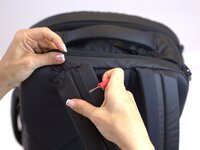
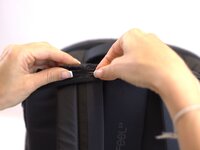
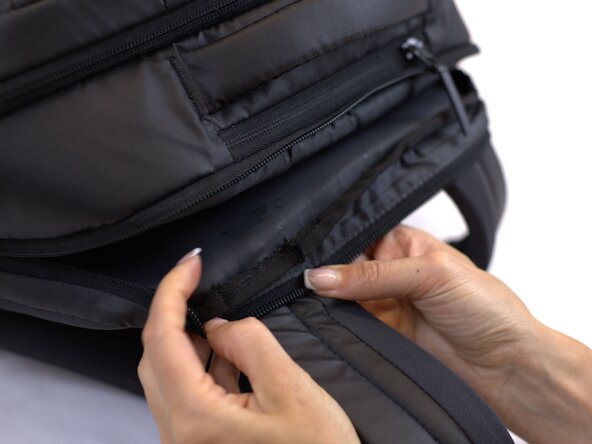
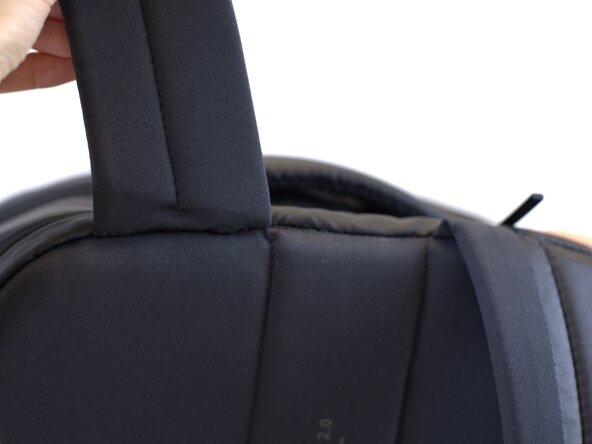
Remove the strap from the seam.
-
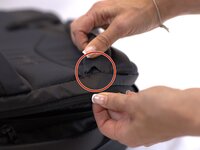
Use a pair of scissors and a seam ripper to cut the strap off and remove any loose threads.
-
Tip: You may need to remove both internal and external stitches. In this example, an internal binding (yellow arrow) also needed to be cut.
-
-
-
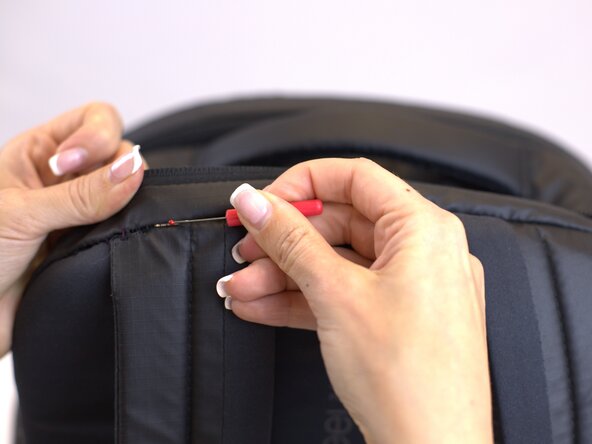
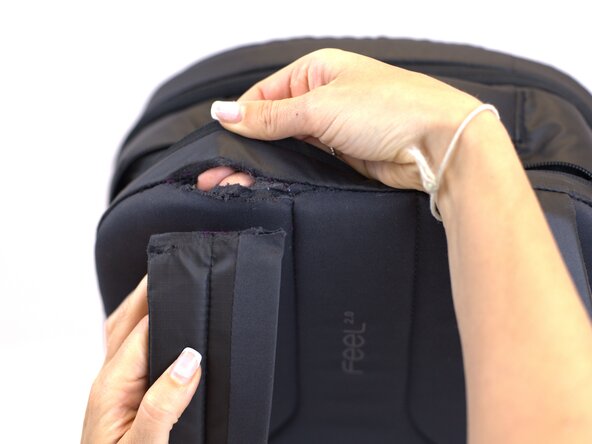
Once the area has been cleaned, completely remove the strap from the seam in preparation for the next step.
-
-
-
-
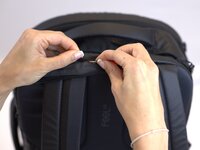
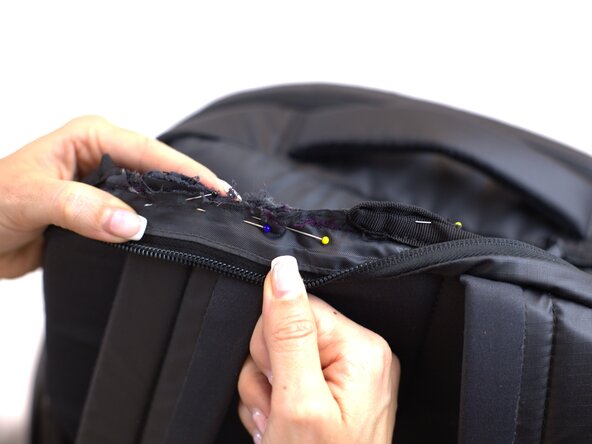
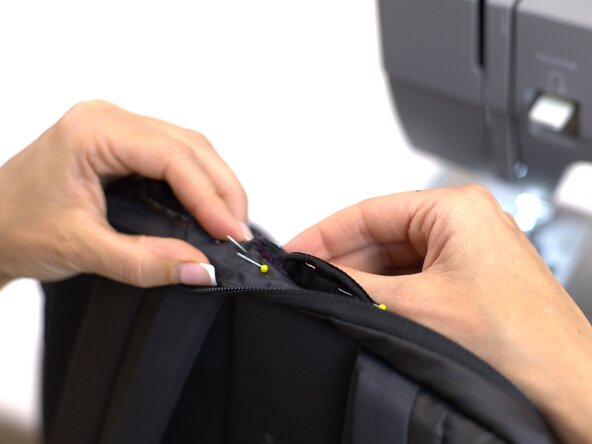
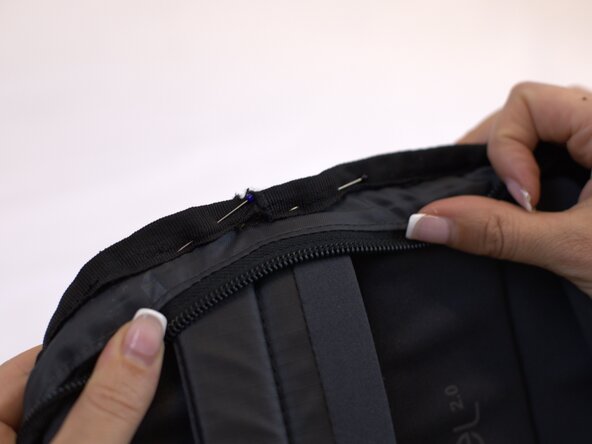
Reintroduce the strap into the seam and secure it in place with sewing pins.
-
-
-
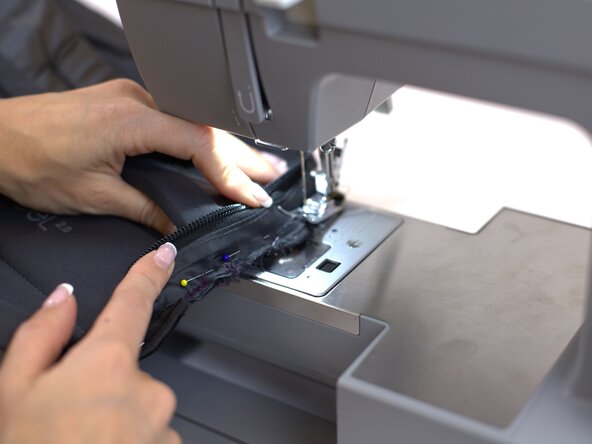
Use a sewing machine to stitch the strap in place.
-
Make sure the needle is positioned on the side and not in the middle (red arrow).
-
After stitching, make sure that the seam is done back and forth and that it is fully fixed.
-
-
-
Although a sewing machine is preferred, if the fabric is too thick, the stitching can be reinforced by hand.
-
Note: In this example, we use a combination of hand stitching and a sewing machine.
-


In need of another repair? Don't worry! Check out our other guides to find quick solutions for your favourite clothing, footwear and equipment!
----------------------------------------
🚨🛠️🩹 IMPORTANT SAFETY NOTICE:
The repair guides provided on this site are intended to help you repair products on your own. While we have put a lot of care into them, all repair work carries some risk:
- Safety Precautions: When repairing your product, take all necessary precautions to ensure your safety. Use appropriate tools and follow the instructions carefully.
- Product Condition: Once your product has been repaired, it may not meet original compliance guidelines anymore and could potentially have issues.
- Liability: We are not responsible for any damage or injury that may occur during the repair process or as a result of using a repaired product. You, as the repairer, assume all risks and responsibilities associated with the repair.
By using these repair guides, you fully acknowledge and accept the potential risks and responsibilities involved.
