이 버전에는 잘못된 편집 사항이 있을 수 있습니다. 최신 확인된 스냅샷으로 전환하십시오.
필요한 것
-
이 단계는 번역되지 않았습니다. 번역을 도와주십시오
-
Remove the windscreen from the top of the microphone.
-
Once the foam windscreen is removed, examine the windscreen looking for thinning, holes, tears, or discoloration. Any of these issues may be the cause of the sound distortion.
-
-
이 단계는 번역되지 않았습니다. 번역을 도와주십시오
-
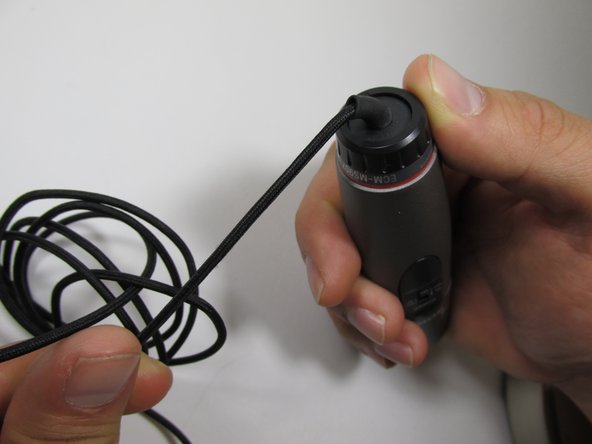
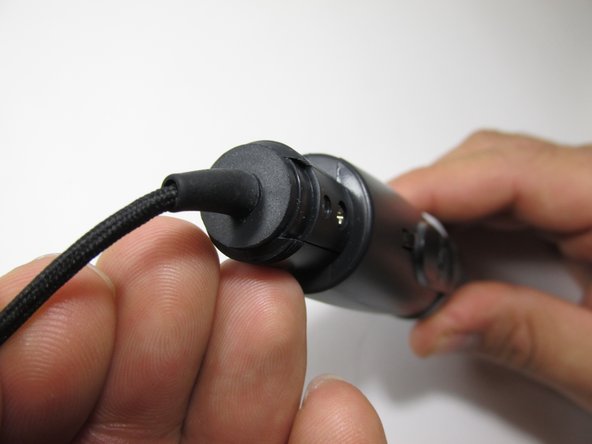
Locate the jack of the microphone and look for: discoloration, rust, breaks in the piece, as well as making sure the jack is not bent or torn from the power cord.
-
-
-
이 단계는 번역되지 않았습니다. 번역을 도와주십시오
-
Inspect the cord for splits, breaks, or loose wires. Check the cord from one end to the other, making sure the cord is attached to the microphone.
-
-
이 단계는 번역되지 않았습니다. 번역을 도와주십시오
-
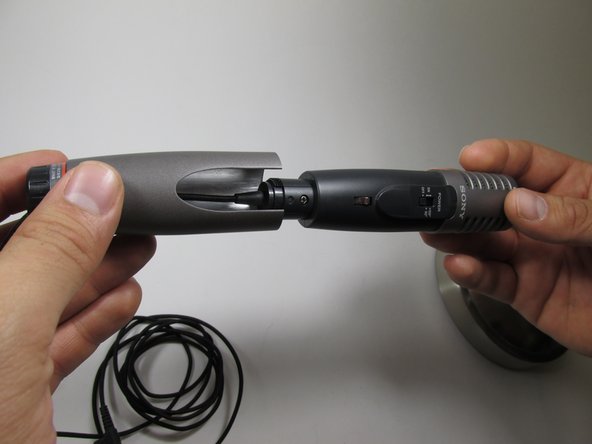
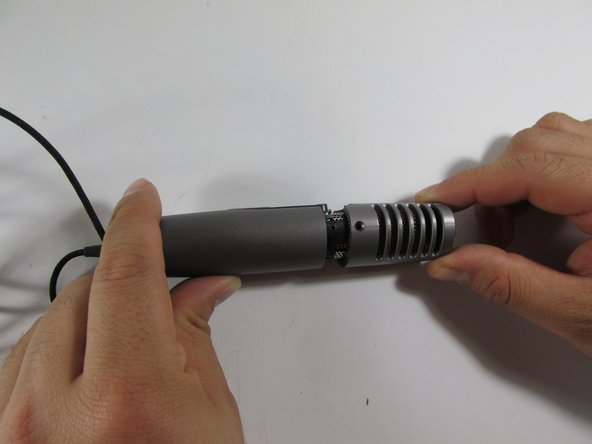
To check the cord further by unscrewing the bottom piece of the microphone from the top. Rotate clockwise to unscrew the bottom and examine.
-
-
이 단계는 번역되지 않았습니다. 번역을 도와주십시오
-
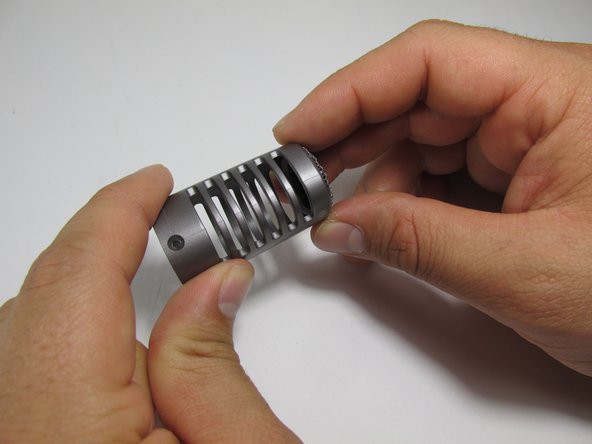
Another to assessing distortion is to inspect the diaphragm. For further information, see the Diaphragm Examination Guide
-
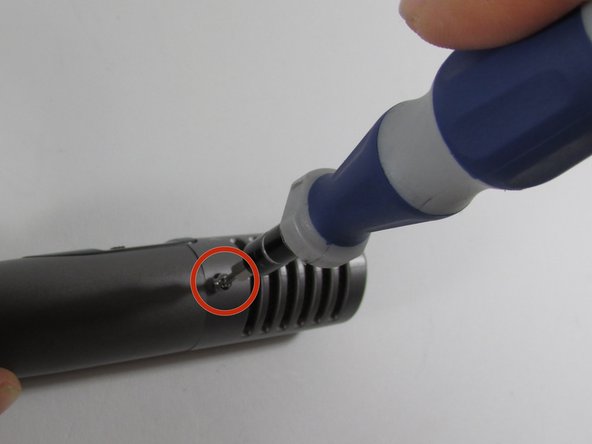
Use a Phillips head (#00) screwdriver, to remove the diaphragm and separate the diaphragm from the base of the microphone.
-
-
이 단계는 번역되지 않았습니다. 번역을 도와주십시오
-
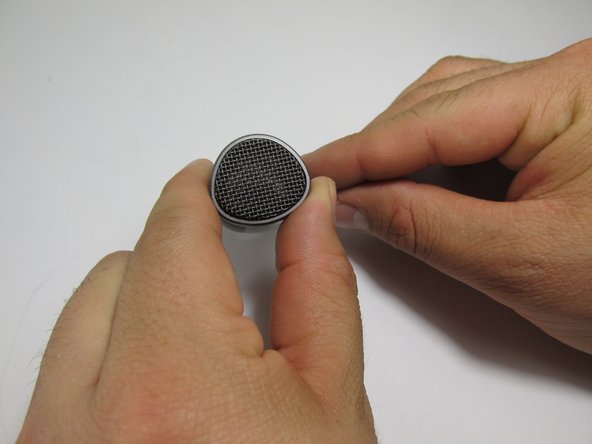
Inspect the diaphragm checking to see if the piece is dirty, bent, or has holes. If it is bent or has holes, it may need to be replaced.
-
If the diaphragm is dirty, clean it with a dry towel or cotton swab by gently brushing dirt and/or rust off the piece.
-


다른 한 분이 해당 안내서를 완성하였습니다.
팀

New Mexico State, Team 1-2, Sheppard Spring 2014 New Mexico State, Team 1-2, Sheppard Spring 2014 회원
NMSU-SHEPPARD-S14S1G2
3 회원들
안내서 6개 작성하였습니다