이 버전에는 잘못된 편집 사항이 있을 수 있습니다. 최신 확인된 스냅샷으로 전환하십시오.
필요한 것
-
이 단계는 번역되지 않았습니다. 번역을 도와주십시오
-
Using your fingers, unscrew the air filter bolt and remove it from the filter cover.
-
-
이 단계는 번역되지 않았습니다. 번역을 도와주십시오
-
Pull off the filter cover to reveal the air filter.
-
Remove the air filter from the filter housing.
-
-
이 단계는 번역되지 않았습니다. 번역을 도와주십시오
-
Remove two 8mm nuts with an 8mm socket attached to a 1/4" ratchet turning the nuts counterclockwise.
-
-
-
이 단계는 번역되지 않았습니다. 번역을 도와주십시오
-
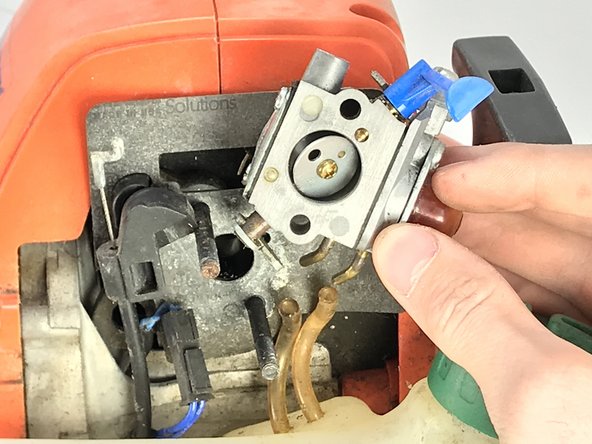
Detach the throttle cable from the carburetor by tilting it 90 degrees and pulling up.
-
-
이 단계는 번역되지 않았습니다. 번역을 도와주십시오
-
Remove the two fuel lines attached to the bottom of the carburetor using a set of needle nose pliers.
-


다른 2명이 해당 안내서를 완성하였습니다.
팀

University of Memphis, Team S2-G1, Baddour Spring 2019 University of Memphis, Team S2-G1, Baddour Spring 2019 회원
UM-BADDOUR-S19S2G1
2 회원들
안내서 1개 작성하였습니다