소개
This guide will show how to replace the mechanical key switches from your HyperX Alloy Origins mechanical keyboard (serial number HX-KB6RDX and its variants).
The stock key switches on the HyperX Alloy Origins are custom HyperX switches. However, they can be replaced with any number of other MX-type switches. Replacing a key switch on the HyperX Alloy Origins may be a quite difficult task for some people, as it requires the use of a soldering iron. However, a new key switch may be able to save a what was previously a broken keyboard.
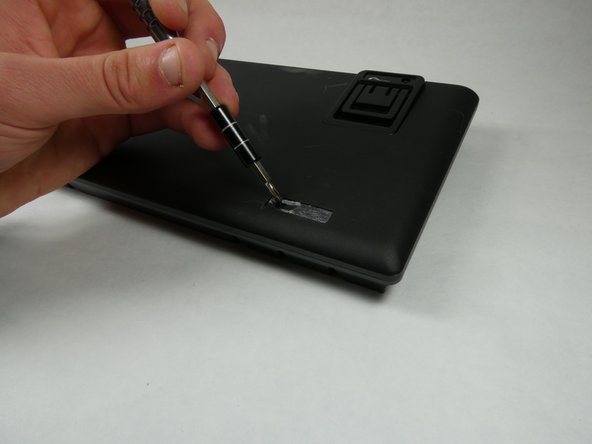
Before you begin, ensure that the key you want to replace is entirely broken before resorting to such drastic measures. Unplug and reconnect the keyboard, reset the keyboard through the NGENUITY software, and ensure that nothing is preventing the key from being pressed. If none of these methods are working, proceed with the switch removal by first unplugging the keyboard and bringing it to a well lit area. Ground yourself before beginning replacement.
Usage of a desoldering iron or a desoldering pump (alongside a normal soldering iron) is strongly recommended. The HyperX key switches contain pins which make it difficult to wick away solder. This guide uses a sole soldering iron for demonstration purposes only.
필요한 것
-
-
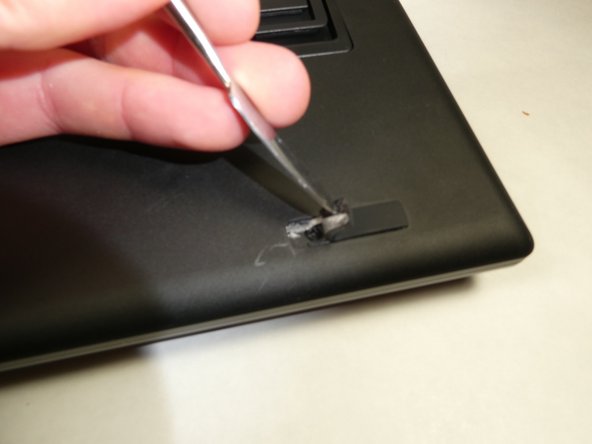
Locate the toggle indicator tab on the top right corner of the keyboard.
-
-
-
-
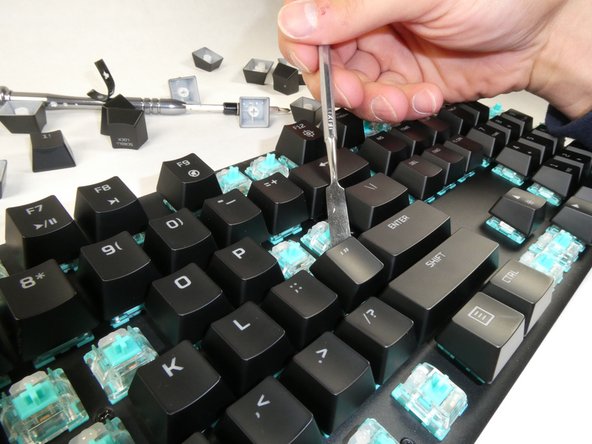
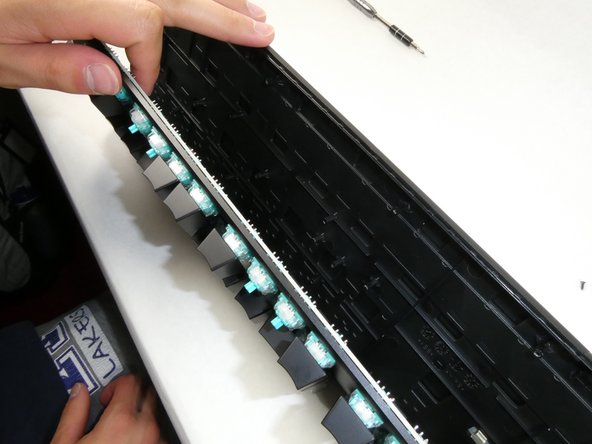
Identify the key switch to be replaced.
-
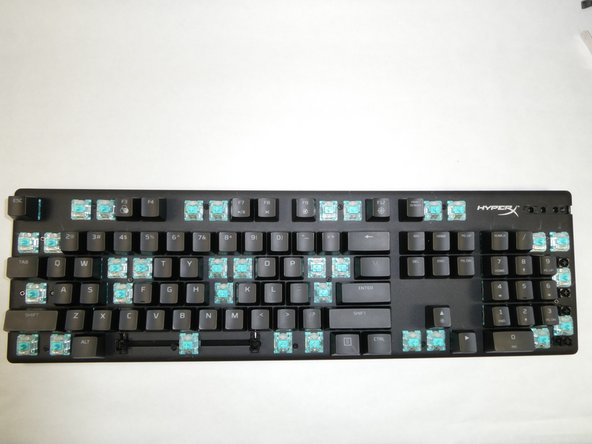
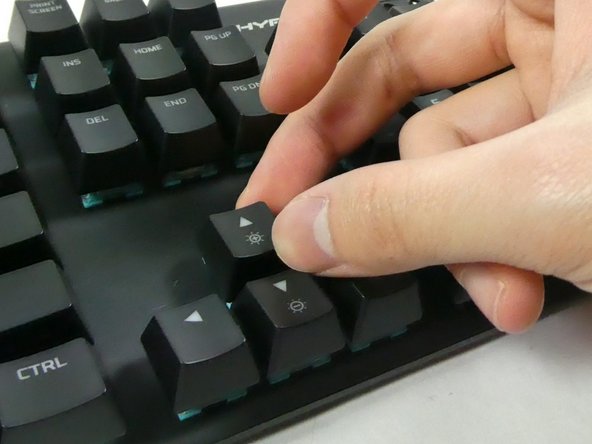
Remove its keycap by carefully prying it off of the keyboard with your fingers.
-
-
-
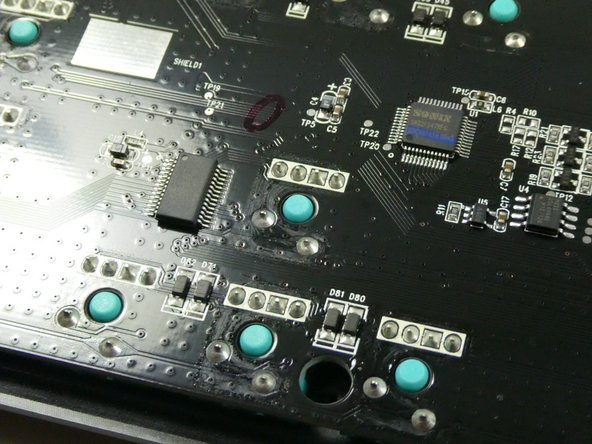
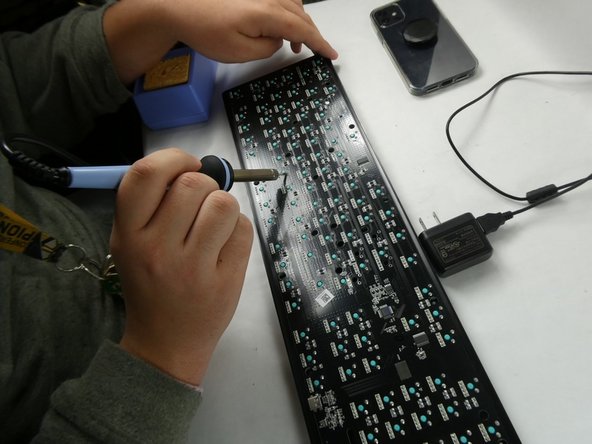
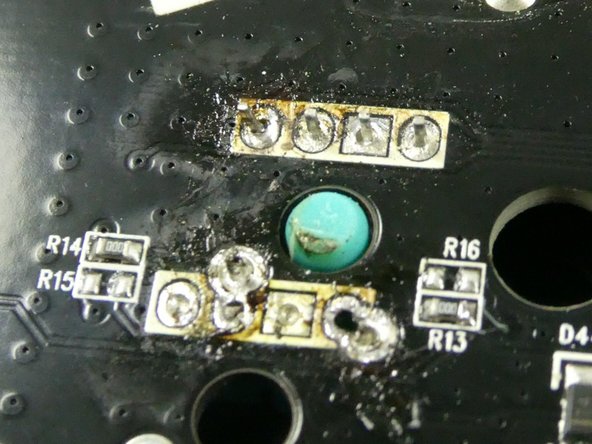
Melt the solder surrounding the four pins of the switch's LED, and the two lower pins of the switch body.
-
To remove the melted solder, use a desoldering iron, a desoldering pump, or desoldering braid.
-


To reassemble your device, follow these instructions in reverse order. Note that when reattaching the switch back to the keyboard PCB, the switch needs to be held in place behind the keyboard while soldering.
To reassemble your device, follow these instructions in reverse order. Note that when reattaching the switch back to the keyboard PCB, the switch needs to be held in place behind the keyboard while soldering.
다른 4명이 해당 안내서를 완성하였습니다.

팀

UMass Dartmouth, Team 5-2, Sinclaire Fall 2022 UMass Dartmouth, Team 5-2, Sinclaire Fall 2022 회원
UMASSD-SINCLAIRE-F22S5G2
5 회원들
안내서 15개 작성하였습니다
댓글 2개
Hi, I needed to replace the stabilizers for my spacebar and was able to repaire it successfully by removing the spacebar switch and using the stabilizers from the + key on the keypad which I dont care about. But now when I plug in the keyboard, there's no power at all and no input. If I didn't solder the spacebar switch back on properly, could this cause the whole keyboard to stop working? Also, I decided not to put the + switch back on since I wouldnt be using it anyway.