소개
Replace the lens if you are experiencing a lack of an image when the projector is on.
You will need a replacement lens as well as a clean, micro fabric cloth in case the replacement lens needs to be cleaned.
필요한 것
-
-
Flip the projector on its back.
-
Use the Phillips #2 screwdriver to remove the (4) four 2 cm gold screws.
-
Use the Phillips #2 screwdriver to remove the (3) three 1 cm silver screws.
 FixBot에 문의하기
-
-
-
Turn the projector, facing the back cable board towards you.
-
Using the Phillips #0 screwdriver, remove the (3) three 1.0 cm silver screws on the back panel.
-
Gently take off back cable panel.
-
-
-
-
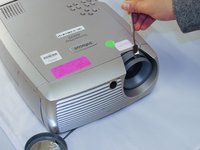
Turn the projector so the front side with the lens is facing you.
-
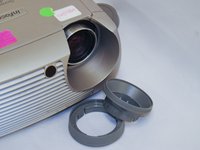
Gently pry the both of the grey lens rings using the metal spudger.
-
-
-
Now that the screws have been removed, proceed with the removal of the outer panel.
-
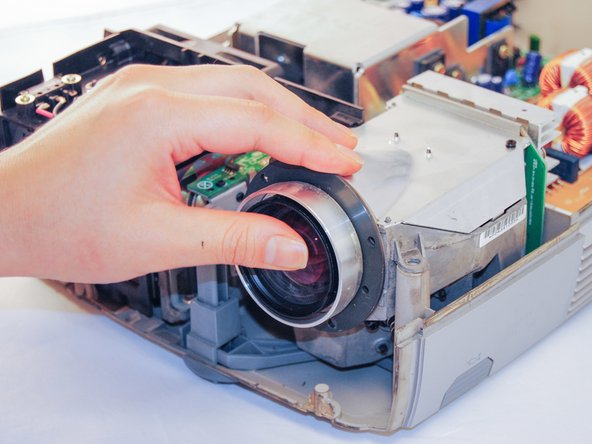
Gently remove the front lens panel.
-
-
-
Being careful not to pull the wires inside the projector, gently lift the top panel off the projector.
-
-
-
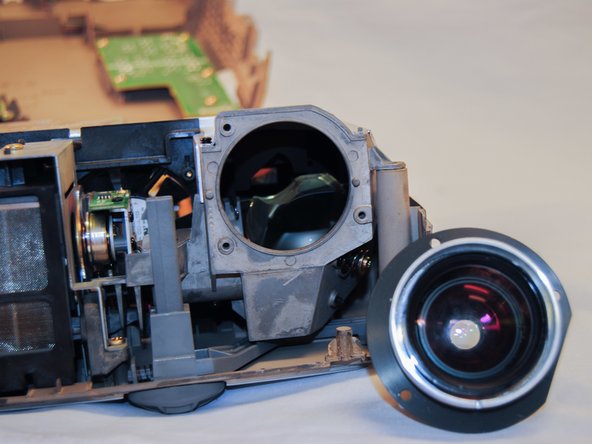
Using the Phillips #1 screwdriver, remove the (3) three 1cm black screws on the face of the lens.
-
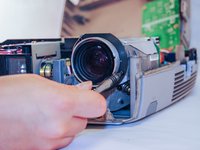
Gently pull out the lens.
-


To reassemble the device, follow these instructions in reverse order.
다른 한 분이 해당 안내서를 완성하였습니다.

팀

Eastern Washington University, Team S2-G3, Crane Fall 2017 Eastern Washington University, Team S2-G3, Crane Fall 2017 회원
EWU-CRANE-F17S2G3
5 회원들
안내서 7개를 작성함