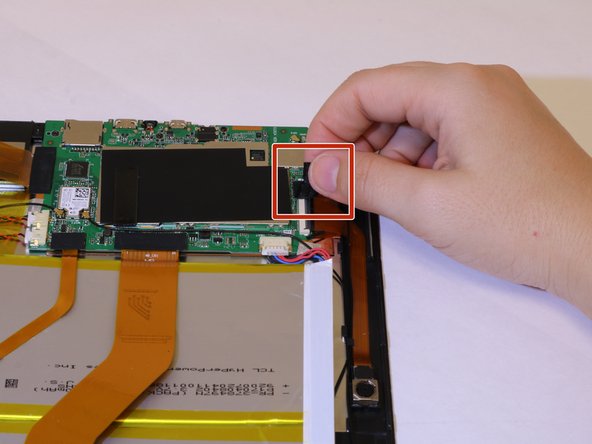
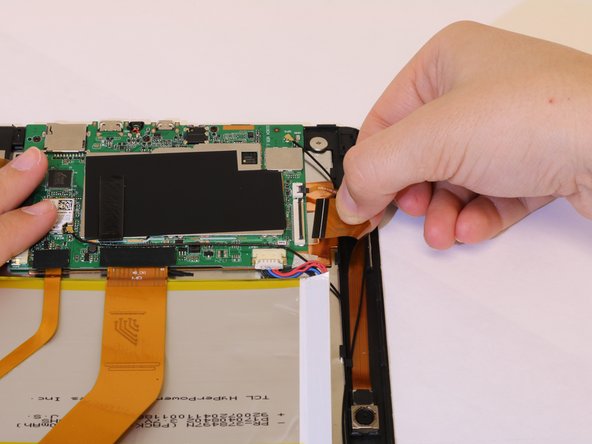
주요 콘텐츠로 건너뛰기

Insignia Flex 10.1 NS-P10W8100 Camera Replacement

필요한 것

  1. Insignia Flex 10.1 NS-P10W8100 Camera Replacement, Camera: 1 단계, 이미지 1/2 Insignia Flex 10.1 NS-P10W8100 Camera Replacement, Camera: 1 단계, 이미지 2/2
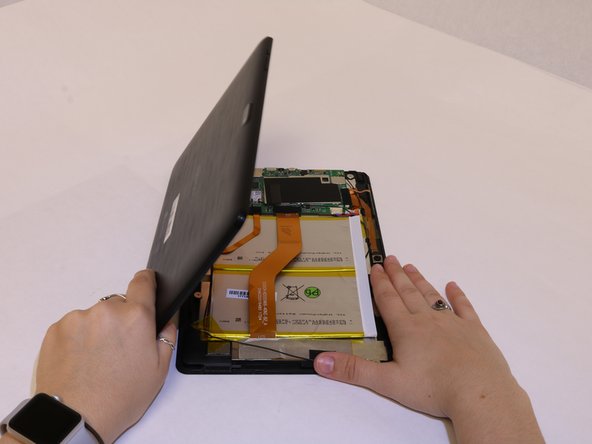
    • Carefully open the laptop and remove the keyboard by disconnecting it.

    • Place keyboard to the side as you will not need it.

    • Beware of plastic clips on the side of the device.

  2. Insignia Flex 10.1 NS-P10W8100 Camera Replacement: 2 단계, 이미지 1/2 Insignia Flex 10.1 NS-P10W8100 Camera Replacement: 2 단계, 이미지 2/2
    • Lay the screen flat on its surface and use the iFixit opening tool to remove the cover by gently prying the back cover from the screen.

    • Apply the opening tool to each side to help pry the back cover evenly.

    • Apply the opening tool to each side which will help pry the back cover evenly.

    • Do not pry on the bottom side of the device. This is the side across from the camera.

  3. Insignia Flex 10.1 NS-P10W8100 Camera Replacement: 3 단계, 이미지 1/1
    • Use your fingers and pry the back cover from the screen. You may need to wiggle the cover a bit to separate the pieces.

    • If the back cover does not come off work your fingers around the corners and slowly pry the cover off using your fingers.

    • Be careful with potential sharp edges and any exposed electrical components.

  4. Insignia Flex 10.1 NS-P10W8100 Camera Replacement: 4 단계, 이미지 1/2 Insignia Flex 10.1 NS-P10W8100 Camera Replacement: 4 단계, 이미지 2/2
    • Carefully remove the yellow tape holding down the camera ribbon connector by pulling it upwards.

    • Remove the black tape holding down the camera ribbon connector which is attached to the motherboard.

  5. Insignia Flex 10.1 NS-P10W8100 Camera Replacement: 5 단계, 이미지 1/2 Insignia Flex 10.1 NS-P10W8100 Camera Replacement: 5 단계, 이미지 2/2
    • Disconnect the zero insertion force (ZIF) connector by using your fingernail to flip the small locking flap.

    • Disconnect the cable by gently pulling it outward.

  6. Insignia Flex 10.1 NS-P10W8100 Camera Replacement: 6 단계, 이미지 1/3 Insignia Flex 10.1 NS-P10W8100 Camera Replacement: 6 단계, 이미지 2/3 Insignia Flex 10.1 NS-P10W8100 Camera Replacement: 6 단계, 이미지 3/3
    • Remove the camera by pulling it upward.

결론

To reassemble your device, follow these instructions in reverse order.

다른 한 분이 해당 안내서를 완성하였습니다.

Edgar Rodriguez

회원 가입일: 02/12/19

971 평판

안내서 5개 작성하였습니다

댓글 0개

댓글 쓰기

조회 통계:

24 시간 전: 0

7일 전: 0

30일 전: 3

전체 시간: 187