주요 콘텐츠로 건너뛰기

Insignia Flex 8 NS-P08A7100 Battery Replacement

필요한 것

  1. Insignia Flex 8 NS-P08A7100 Battery Replacement, Battery: 1 단계, 이미지 1/2 Insignia Flex 8 NS-P08A7100 Battery Replacement, Battery: 1 단계, 이미지 2/2
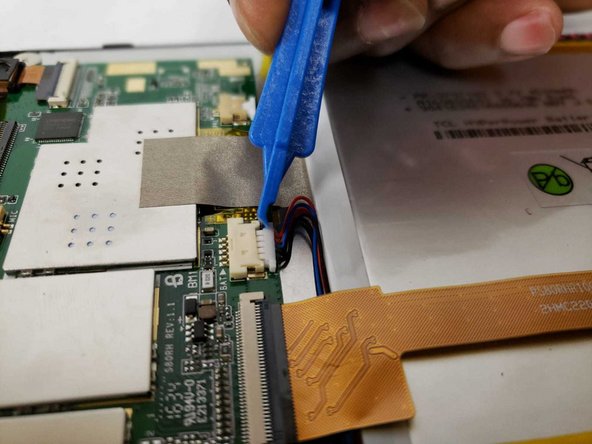
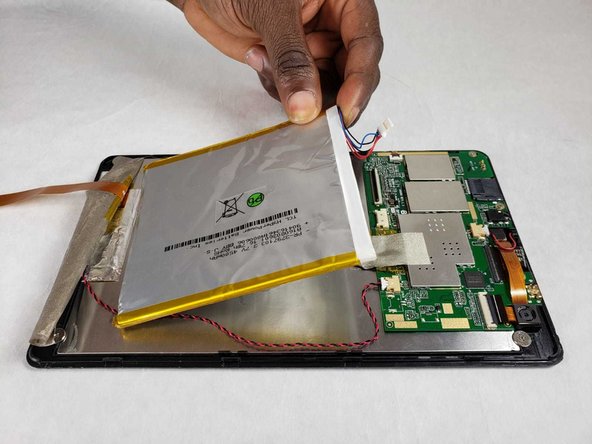
    • Begin by using the opening tool to pry open the back cover. Continue around the edge until the back cover pops off.

  2. Insignia Flex 8 NS-P08A7100 Battery Replacement: 2 단계, 이미지 1/2 Insignia Flex 8 NS-P08A7100 Battery Replacement: 2 단계, 이미지 2/2
    • Use the opening tool to flip the LCD flex circuit plug upwards. The flex circuit should now be loose. Remove flex circuit by pulling outwards.

  3. Insignia Flex 8 NS-P08A7100 Battery Replacement: 3 단계, 이미지 1/2 Insignia Flex 8 NS-P08A7100 Battery Replacement: 3 단계, 이미지 2/2
    • Use the opening tool to remove the battery cable from the circuit board.

  4. Insignia Flex 8 NS-P08A7100 Battery Replacement: 4 단계, 이미지 1/1
    • Remove the adhesive tape from the bottom of the battery.

  5. Insignia Flex 8 NS-P08A7100 Battery Replacement: 5 단계, 이미지 1/1
    • Remove plastic adhesive tape from the side of the battery.

  6. Insignia Flex 8 NS-P08A7100 Battery Replacement: 6 단계, 이미지 1/2 Insignia Flex 8 NS-P08A7100 Battery Replacement: 6 단계, 이미지 2/2
    • Pry the battery from the back of the LCD screen using the opening tool. Due to the strong adhesive between the battery and screen, this may take some time.

결론

To reassemble your device, follow these instructions in reverse order.

Lavina Pillai

회원 가입일: 07/08/19

133 평판

안내서 1개 작성함

IUPUI, Team S1-G1, Renguette Summer 2019 IUPUI, Team S1-G1, Renguette Summer 2019 회원

IUPUI-RENGUETTE-SU19S1G1

3 회원들

안내서 2개 작성하였습니다

댓글 0개

댓글 쓰기

조회 통계:

24 시간 전: 2

7일 전: 6

30일 전: 9

전체 시간: 236