소개
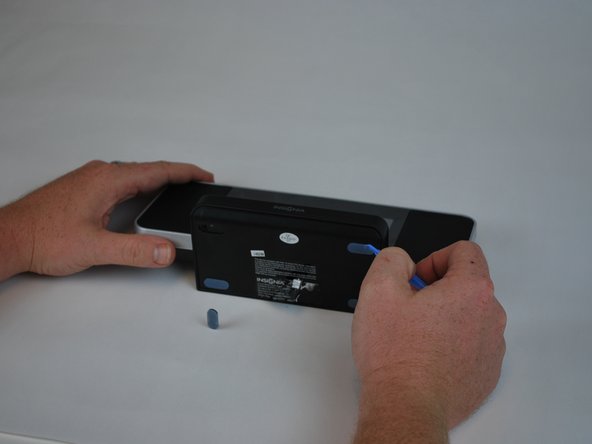
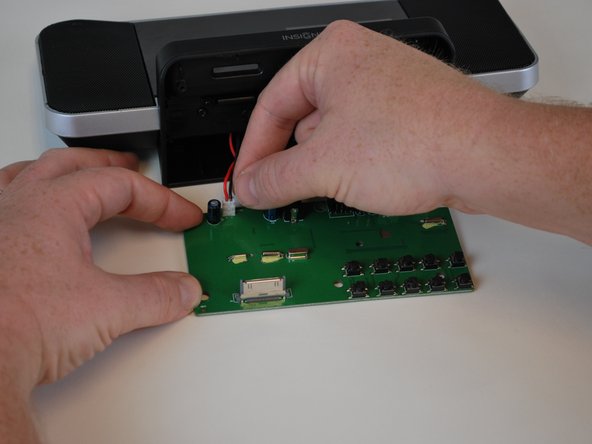
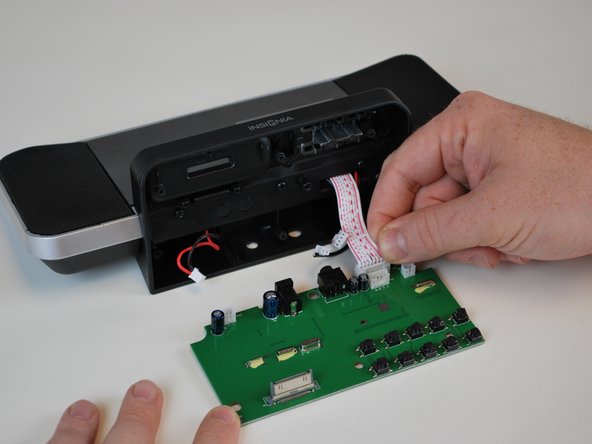
This guide will demonstrate how to replace the motherboard of an Insignia NS-CLIP02. If your Insignia NS-CLIP02 is not performing as it should and you have already tried all of the troubleshooting tips, the motherboard may need to be replaced. The motherboard is an essential part of any device, and it is what keeps the device working well and it allows each individual part of the device to interact with each other. However, only replace the motherboard of the Insignia NS-CLIP02 if the device truly is not working and you have gone through all of the troubleshooting guides. Make sure the device is powered off/not plugged in before you begin the motherboard replacement.
필요한 것


To reassemble your device, follow these instructions in reverse order.
To reassemble your device, follow these instructions in reverse order.
팀

USF Tampa, Team 9-3, Leahy Winter 2015 USF Tampa, Team 9-3, Leahy Winter 2015 회원
USFT-LEAHY-W15S9G3
4 회원들
안내서 6개 작성하였습니다