주요 콘텐츠로 건너뛰기

Insignia NS-SPBTBRICK-CM USB Port Replacement

필요한 것

  1. 주의: 1-4 단계들은 진행 중으로 표시된 안내서에서 제공되었습니다.

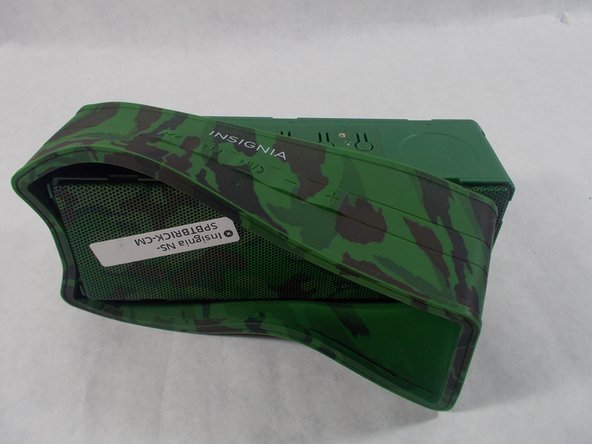
    Insignia NS-SPBTBRICK-CM USB Port Replacement, Battery: 1 단계, 이미지 1/1
    • Remove the rubber sleeve.

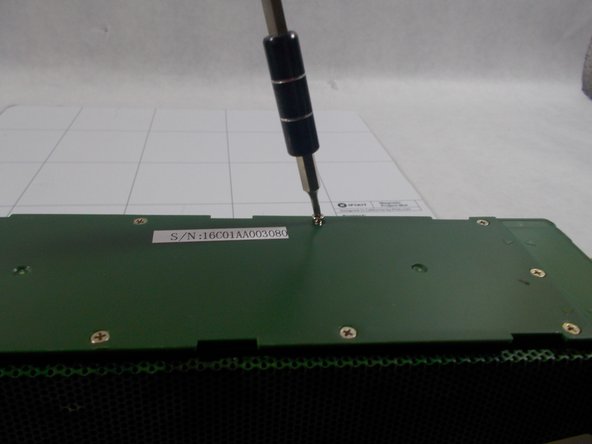
  2. Insignia NS-SPBTBRICK-CM USB Port Replacement: 2 단계, 이미지 1/1
    • Use the specified screwdriver to unscrew the ten screws on the back cover.

  3. Insignia NS-SPBTBRICK-CM USB Port Replacement: 3 단계, 이미지 1/2 Insignia NS-SPBTBRICK-CM USB Port Replacement: 3 단계, 이미지 2/2
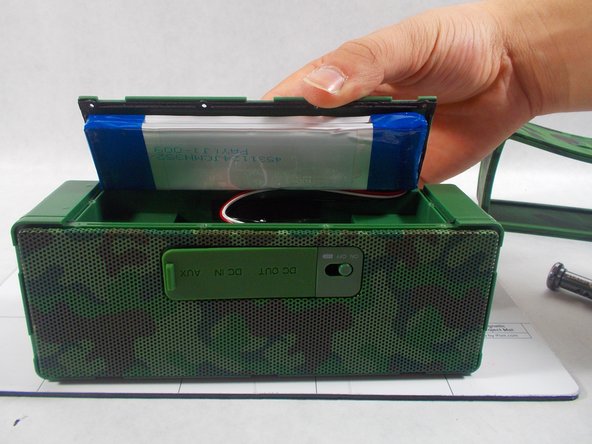
    • Remove the back cover. Be careful to not lose any of the screws because they are extremely small and can be easily lost.

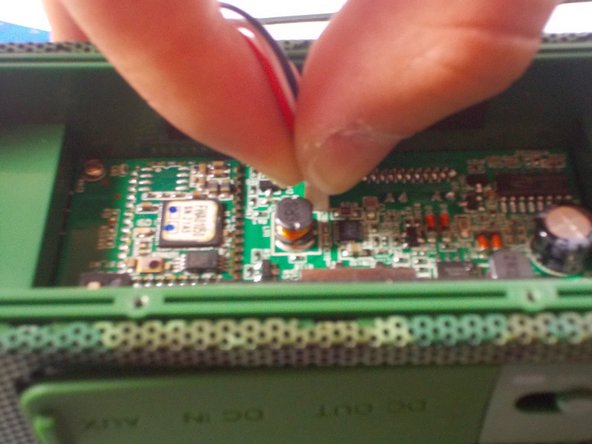
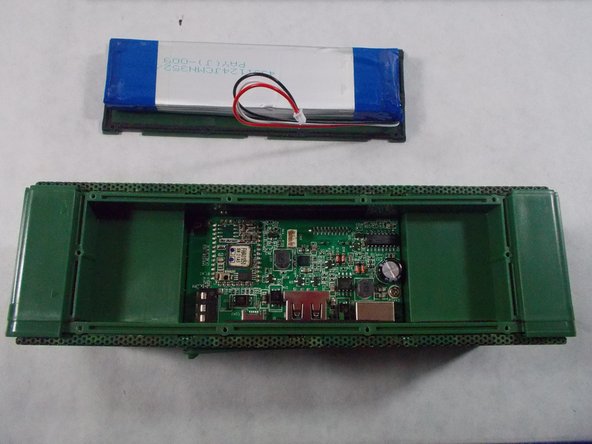
  4. Insignia NS-SPBTBRICK-CM USB Port Replacement: 4 단계, 이미지 1/3 Insignia NS-SPBTBRICK-CM USB Port Replacement: 4 단계, 이미지 2/3 Insignia NS-SPBTBRICK-CM USB Port Replacement: 4 단계, 이미지 3/3
    • The battery will be attached to the back cover with sticky tape. Unplug the wires connecting the battery to the speaker.

  5. Insignia NS-SPBTBRICK-CM USB Port Replacement, USB Port: 5 단계, 이미지 1/1
    • Once the battery and back cover have been successfully removed, use the soldering iron. Place the soldering iron on the solders until properly heated.

  6. 이 단계에 사용된 도구:
    Tweezers
    $4.99
    구매
    • Once the metal is heated, it will be easy to remove the piece. Be careful not to alter the circuit board in any way with the heat. Use tweezers to remove the old part. Be careful not to touch the piece with your hands because the piece will be very hot.

  7. Insignia NS-SPBTBRICK-CM USB Port Replacement: 7 단계, 이미지 1/1
    • Once the switch has been removed properly, place the new switch in the same spot as the old one.

  8. Insignia NS-SPBTBRICK-CM USB Port Replacement: 8 단계, 이미지 1/1
    • Use the soldering iron to melt the existing solders and attach the new switch onto where the old switch was located.

  9. Insignia NS-SPBTBRICK-CM USB Port Replacement: 9 단계, 이미지 1/3 Insignia NS-SPBTBRICK-CM USB Port Replacement: 9 단계, 이미지 2/3 Insignia NS-SPBTBRICK-CM USB Port Replacement: 9 단계, 이미지 3/3
    • After the new piece is properly melted into place, put the battery and back cover onto the device and screw the cover back on using the specified screwdriver and the ten screws.

결론

To reassemble your device, follow these instructions in reverse order.

Erin Steele

회원 가입일: 03/08/17

649 평판

안내서 5개 작성하였습니다

UMass Dartmouth, Team S5-G2, Botvin Spring 2017 UMass Dartmouth, Team S5-G2, Botvin Spring 2017 회원

UMASSD-BOTVIN-S17S5G2

2 회원들

안내서 6개 작성하였습니다

댓글 0개

댓글 쓰기

조회 통계:

24 시간 전: 0

7일 전: 0

30일 전: 1

전체 시간: 142