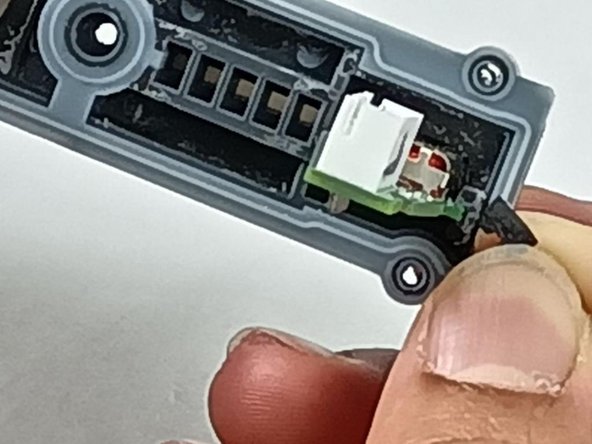
주요 콘텐츠로 건너뛰기

JBL Flip 5 Charging Port Replacement

필요한 것

  1. JBL Flip 5 Charging Port Replacement, Outer Case: 1 단계, 이미지 1/2 JBL Flip 5 Charging Port Replacement, Outer Case: 1 단계, 이미지 2/2
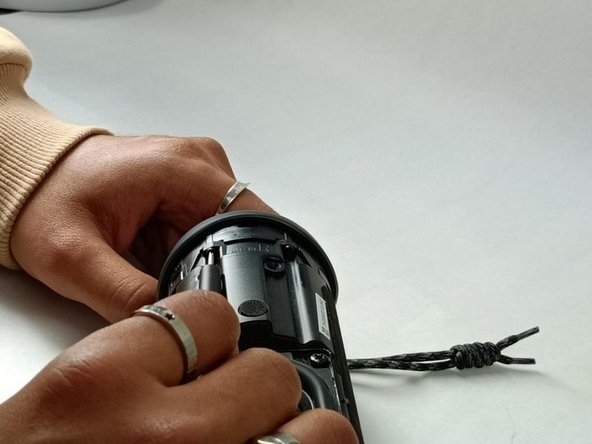
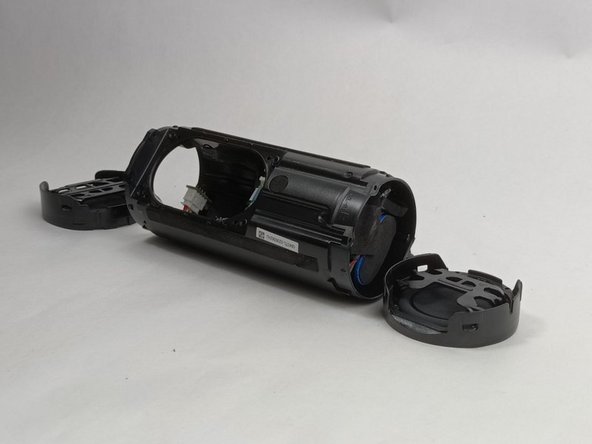
    • Insert the flat edge of the metal spudger underneath the corner of the outer case.

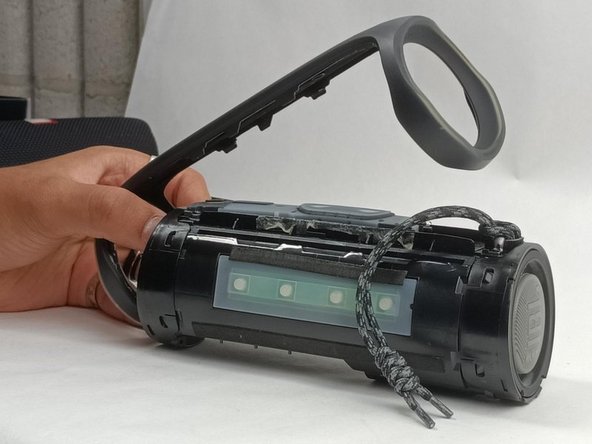
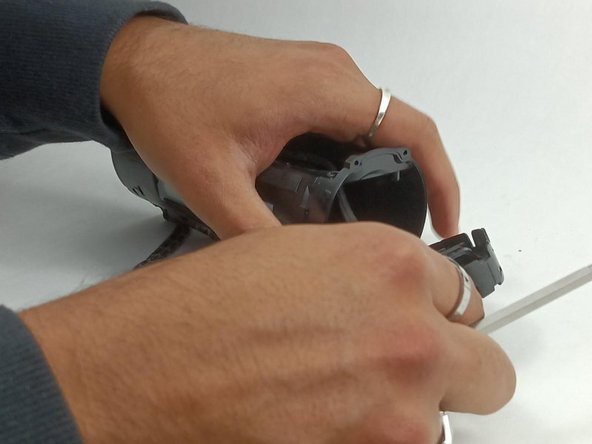
    • Use the spudger to pry open the plastic clips that secure the outer case.

  2. JBL Flip 5 Charging Port Replacement: 2 단계, 이미지 1/1
    • Once all the clips are released, you will be able to pull up that edge of the case.

  3. JBL Flip 5 Charging Port Replacement: 3 단계, 이미지 1/1
    • Once one side is released, complete the previous two steps with the other side.

    • This side contains the buttons, so be careful so as to not damage them while prying the case off.

  4. JBL Flip 5 Charging Port Replacement: 4 단계, 이미지 1/2 JBL Flip 5 Charging Port Replacement: 4 단계, 이미지 2/2
    • Once all the clips are removed, you can gently remove the outer case.

    • The case is now fully removed. Now a new case will be attached by putting the case into position and pushing on the clips to reattach them.

  5. JBL Flip 5 Charging Port Replacement, Charging Port: 5 단계, 이미지 1/3 JBL Flip 5 Charging Port Replacement, Charging Port: 5 단계, 이미지 2/3 JBL Flip 5 Charging Port Replacement, Charging Port: 5 단계, 이미지 3/3
    • The first picture is for reference. That is the part that will be removed.

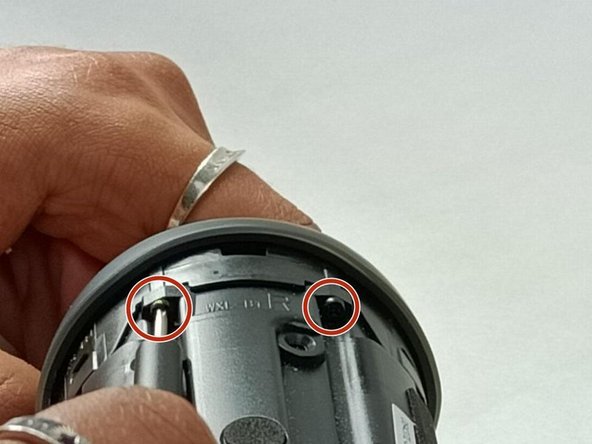
    • Use a Phillips screwdriver to remove the four 17mm-long screws securing the passive radiator bracket.

  6. JBL Flip 5 Charging Port Replacement: 6 단계, 이미지 1/3 JBL Flip 5 Charging Port Replacement: 6 단계, 이미지 2/3 JBL Flip 5 Charging Port Replacement: 6 단계, 이미지 3/3
    • Once the screws are removed, use the metal spudger to remove the passive radiator bracket.

    • Set the radiator bracket aside.

  7. JBL Flip 5 Charging Port Replacement: 7 단계, 이미지 1/3 JBL Flip 5 Charging Port Replacement: 7 단계, 이미지 2/3 JBL Flip 5 Charging Port Replacement: 7 단계, 이미지 3/3
    • Now you must remove the passive radiator.

    • Use the metal spudger to pry upwards to remove the plastic clips holding the passive radiator down.

    • Once the clips are removed, you can pull both of the passive radiators off

  8. JBL Flip 5 Charging Port Replacement: 8 단계, 이미지 1/2 JBL Flip 5 Charging Port Replacement: 8 단계, 이미지 2/2
    • Focus on the side of the speaker where the charging port is located and inspect where the passive radiator was before it was removed.

    • Use your hands to unplug the charging cable that connects the charging port to the motherboard.

    • You can use a plastic spudger to assist if necessary.

  9. JBL Flip 5 Charging Port Replacement: 9 단계, 이미지 1/2 JBL Flip 5 Charging Port Replacement: 9 단계, 이미지 2/2
    • Unfasten the four 6 mm-long screws on the component that sits over the charging port.

    • Remove this piece with your hands.

  10. JBL Flip 5 Charging Port Replacement: 10 단계, 이미지 1/3 JBL Flip 5 Charging Port Replacement: 10 단계, 이미지 2/3 JBL Flip 5 Charging Port Replacement: 10 단계, 이미지 3/3
    • There will be two tape like plastic pieces that hold the charging port's circuit in place.

    • Pull these pieces off and you will be able to pull the charging port and its circuit out.

결론

To reassemble your device, follow these instructions in reverse order.

Kevin Barbosa

회원 가입일: 10/30/23

133 평판

안내서 1개 작성함

UMass Dartmouth, Team 3-5, Konn Fall 2023 UMass Dartmouth, Team 3-5, Konn Fall 2023 회원

UMASSD-KONN-F23S3G5

4 회원들

안내서 5개 작성하였습니다

댓글 0개

댓글 쓰기

조회 통계:

24 시간 전: 2

7일 전: 14

30일 전: 72

전체 시간: 213