소개
If your JBL Flip 6 speaker is experiencing persistent issues such as no power, malfunctioning buttons, or a failure to connect via Bluetooth, the root cause may be a faulty motherboard. The motherboard is the central component that controls all of the speaker’s functions, and a damaged or defective motherboard can lead to a wide range of problems that cannot be resolved through simpler fixes.
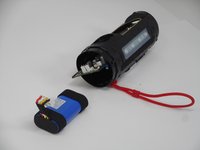
Before beginning this replacement guide, check for any visible signs of damage, such as cracks, burn marks, or loose connections on the motherboard. If the speaker has been exposed to moisture or physical impact, these could be potential indicators that the motherboard needs replacement.
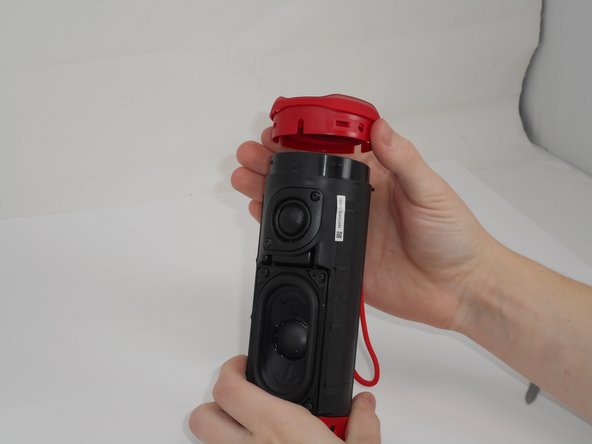
Before starting, power off the speaker and disconnect it from any cables or charging sources to avoid electrical shock or further damage during the repair process.
필요한 것
-
-
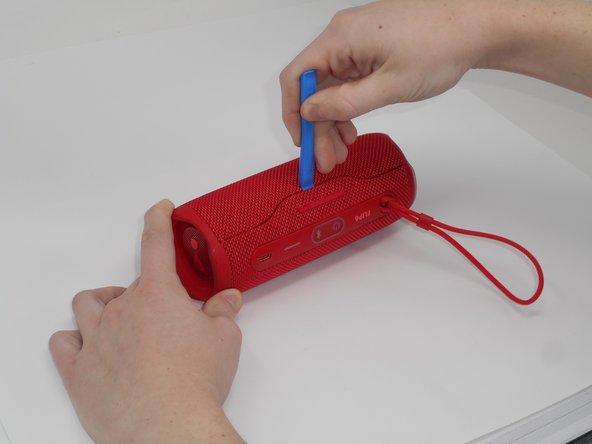
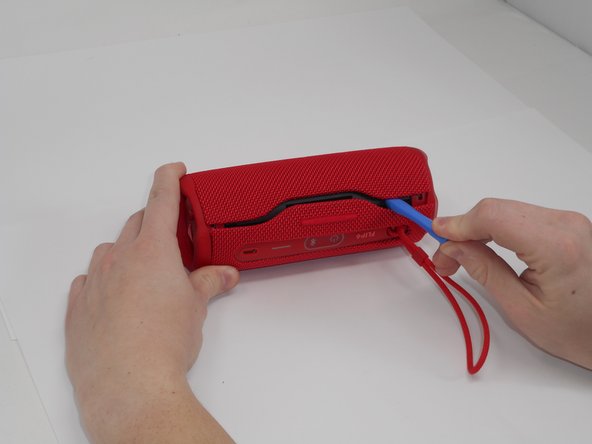
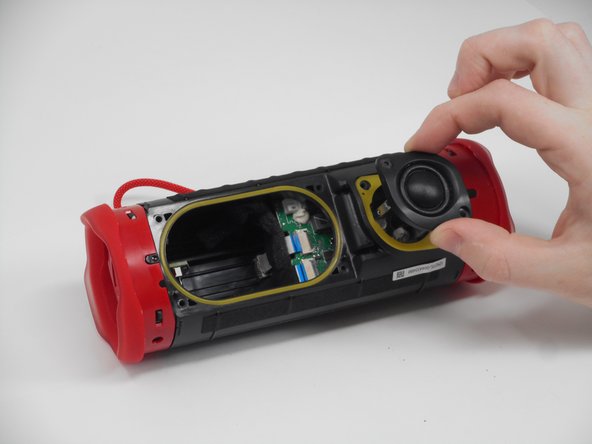
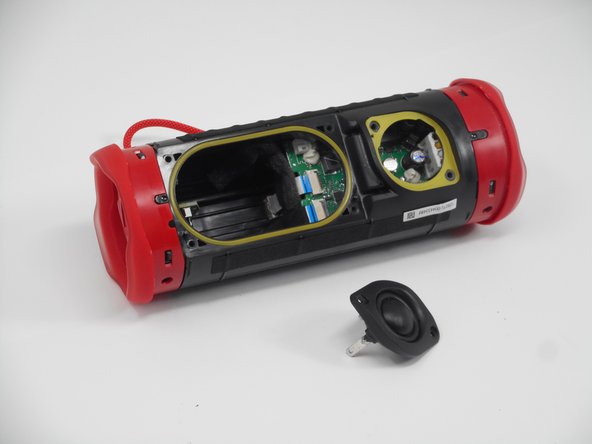
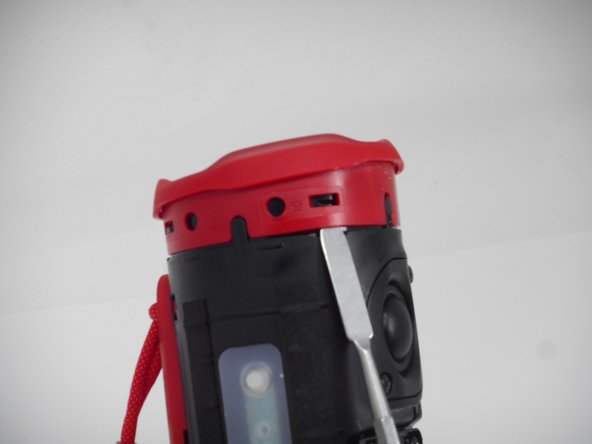
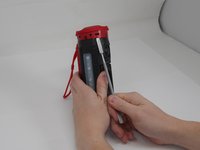
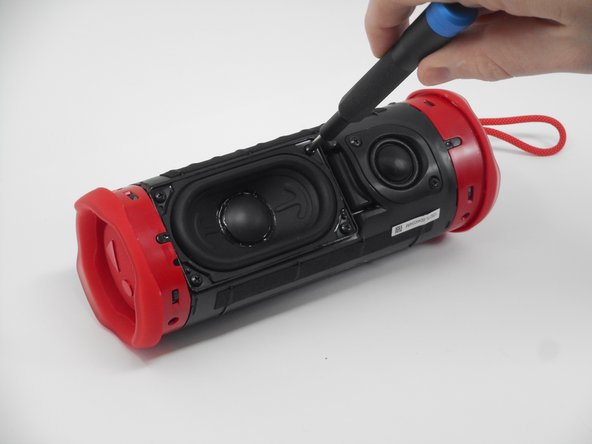
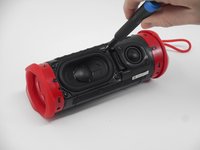
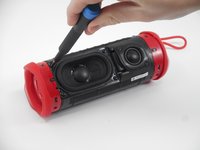
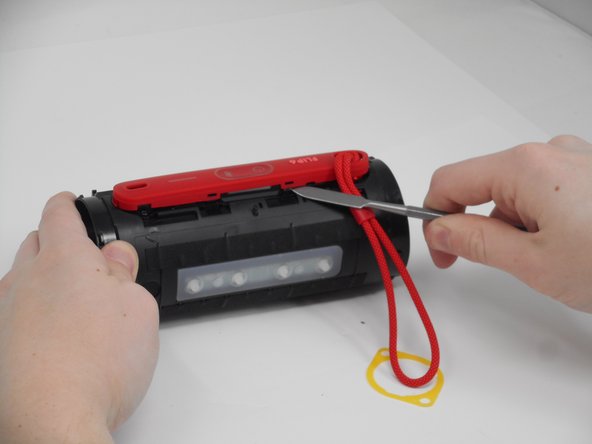
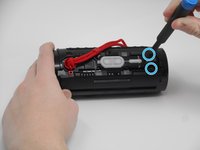
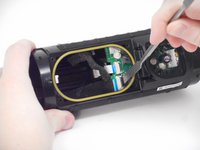
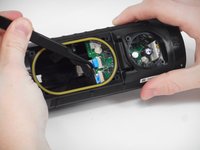
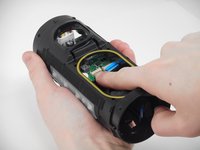
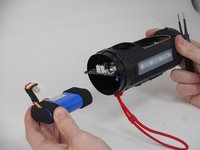
Use a prying tool to lift up on one of the clips that holds the radiator in place.
-
-
-
-
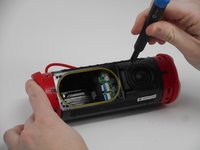
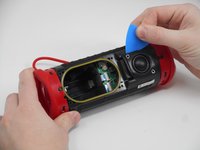
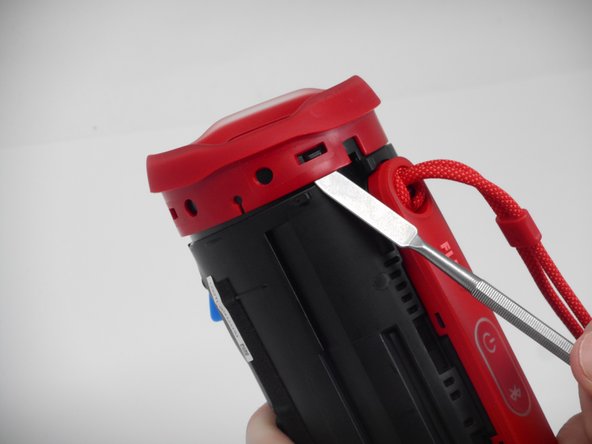
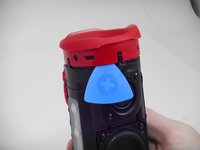
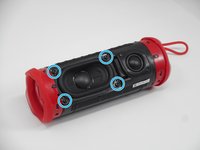
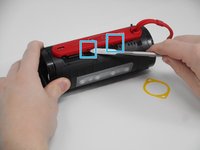
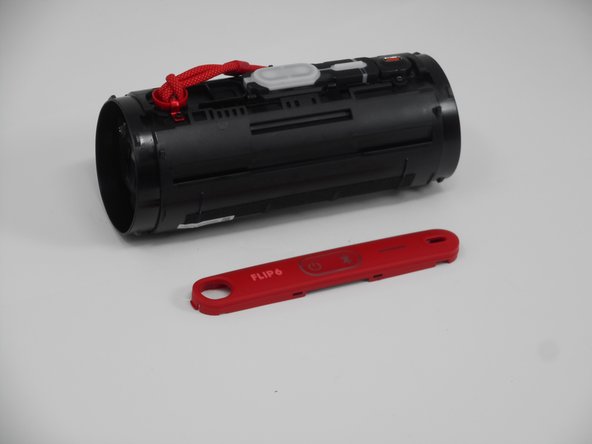
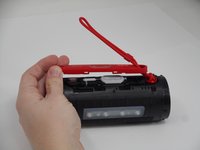
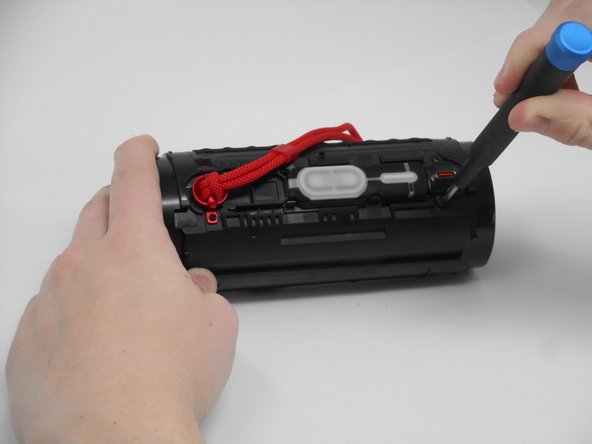
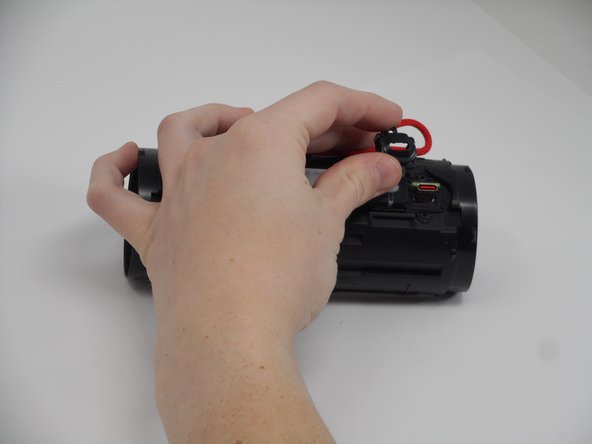
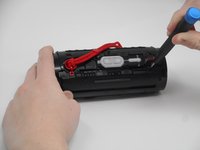
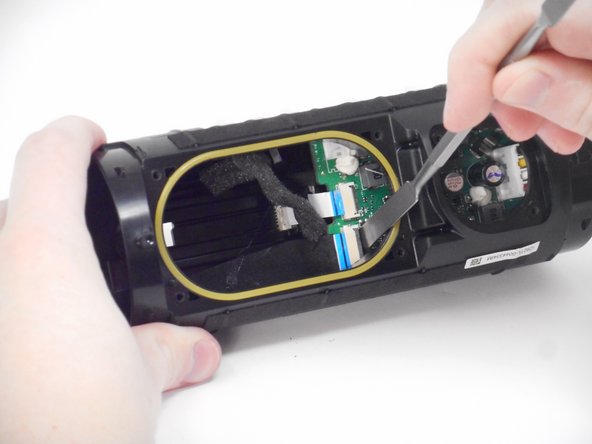
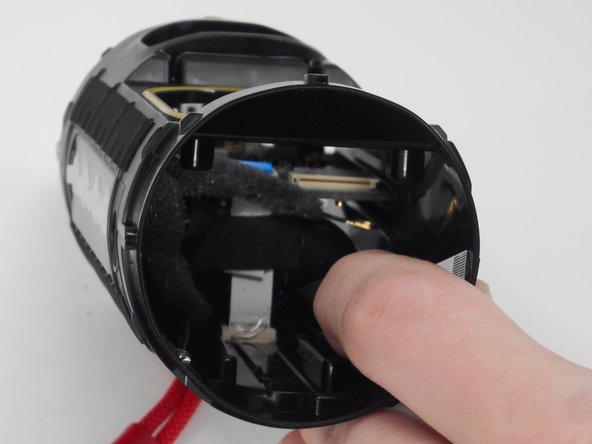
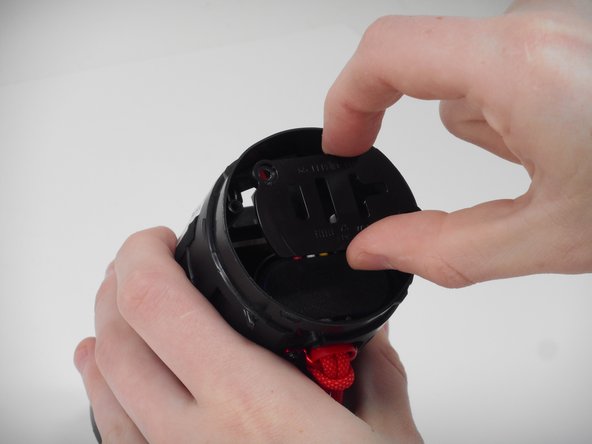
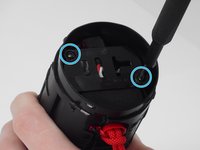
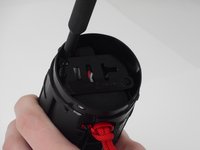
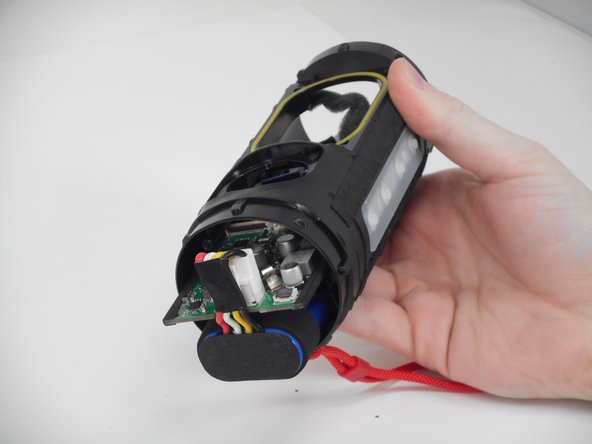
Use a spudger to release the clips attaching the cover for the buttons and charging port.
-
-
-
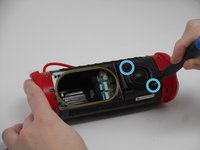
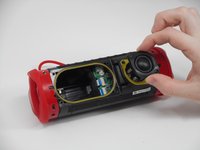
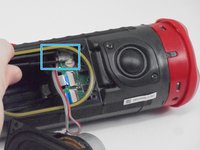
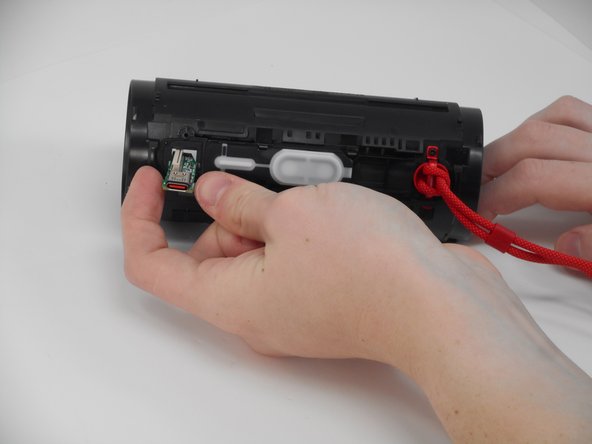
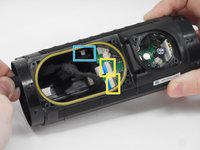
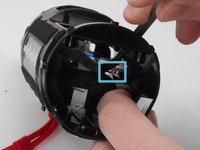
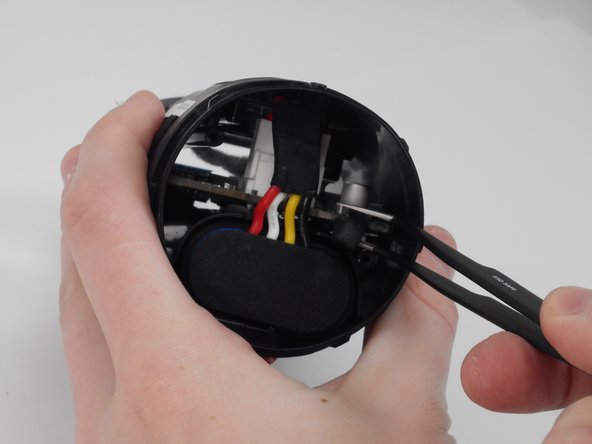
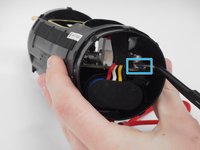
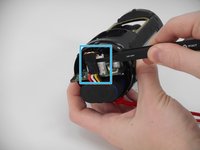
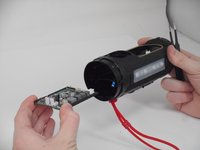
Carefully pull the small ribbon cable from its slot.
-
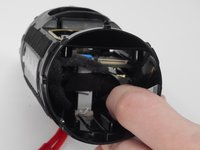
Lift up on the black locking flaps opposite the ribbon cables, then carefully pull the ribbon cables out of their slots.
-


To reassemble your device, follow these instructions in reverse order.
팀

University of Memphis, Team 1-1, Sneed Fall 2024 University of Memphis, Team 1-1, Sneed Fall 2024 회원
UM-SNEED-F24S1G1
4 회원들
안내서 18개를 작성함
1가이드 댓글
Where do I find parts specifically the white ribbon that leads to control buttons and the control board.