소개
Having trouble charging your JBL Xtreme 4? This guide will walk you through the steps to replace the charging port.
One of the most common signs of a faulty charging port is when your device won't charge even when connected to a working power source. Before jumping into the replacement process, we recommend reviewing our Troubleshooting Guide to confirm that the charging port is the root of the issue.
Before beginning the replacement, ensure your device is powered off and disconnected from any external power source.
필요한 것
-
-
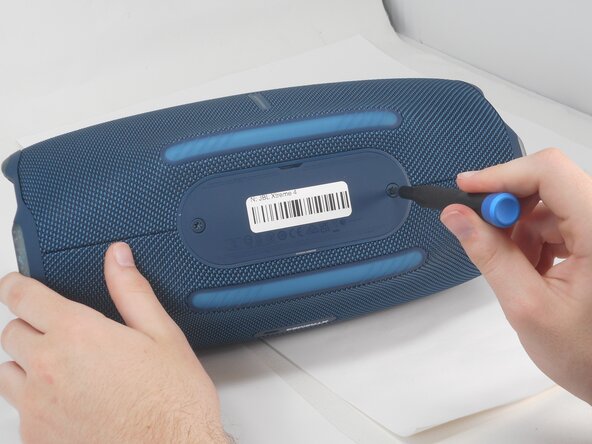
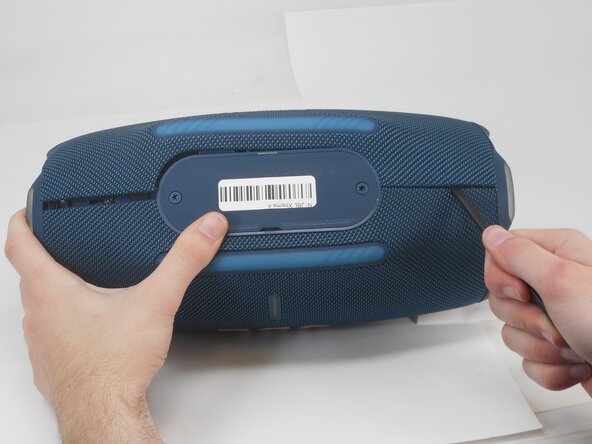
Use a T20 Torx screwdriver to remove the two 12.5 mm screws that secure the battery cover.
-
-
-
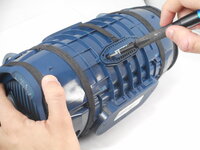
Insert the flat end of a spudger into the mesh cover seam beside the battery compartment.
-
Pry on both sides of the battery compartment until the mesh cover releases.
-
-
-
-
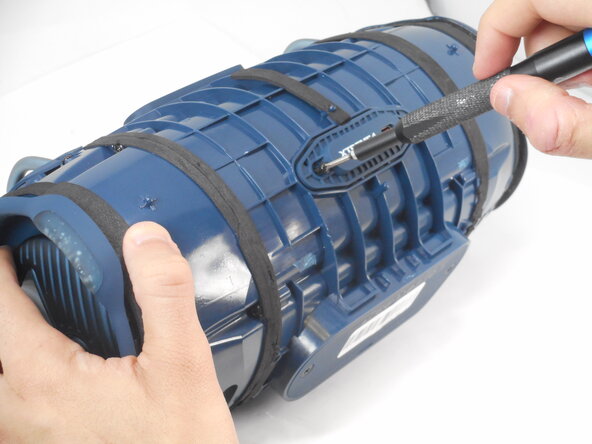
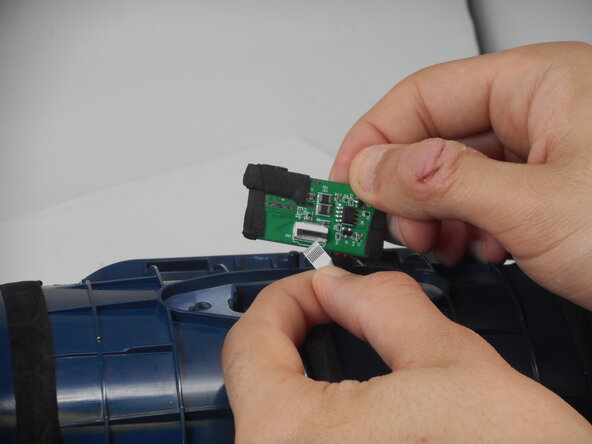
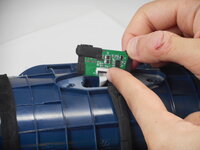
Remove the two 8.5 mm Phillips screws on the charging port cover.
-
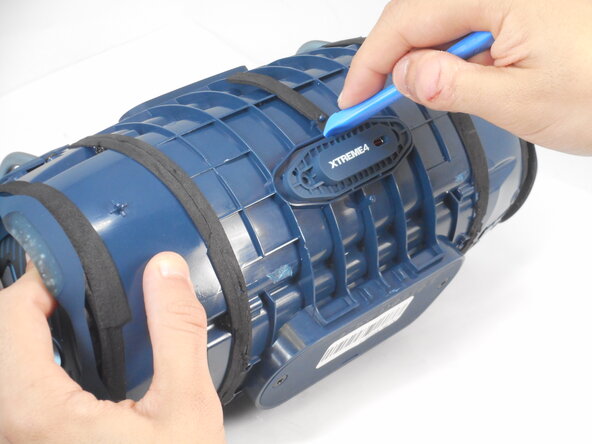
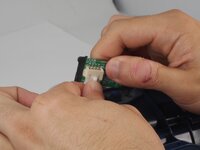
Pry the cover off with an opening tool.
-


To reassemble your device, follow the above steps in reverse order.
Take your e-waste to an R2 or e-Stewards certified recycler.
Repair didn’t go as planned? Try some basic troubleshooting or ask our Answers community for help.
다른 2명이 해당 안내서를 완성하였습니다.

팀

University of Memphis, Team 2-4, Sneed Spring 2025 University of Memphis, Team 2-4, Sneed Spring 2025 회원
UM-SNEED-S25S2G4
3 회원들
안내서 13개를 작성함