소개
This guide will provide instructions on how to replace the rear camera lens.
필요한 것
-
-
Turn the phone off by holding down the power button located on the top of the phone.
-
-
-
Find the small indentation at the bottom right of the phone and pry open the back case of the phone using your fingernail or small plastic opening tool.
-
Gently remove the back case completely from the phone.
-
-
-
-
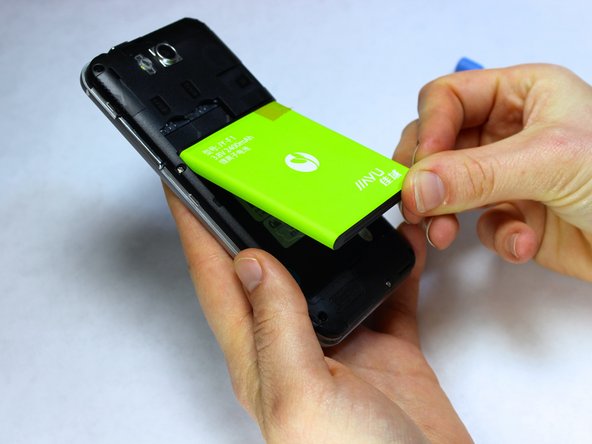
Insert a fingernail or the small plastic opening tool into the recess in the bottom center of the battery and lift upward.
-
Remove the battery from the phone.
-
-
-
With the phone lying face down, remove the nine 3 mm Phillips # 00 screws from the midframe.
-
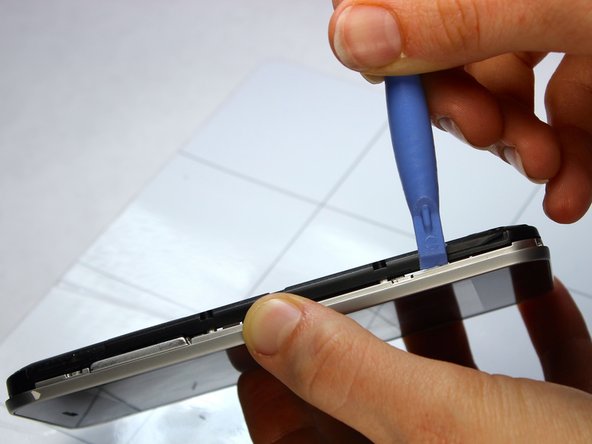
Gently run a plastic opening tool down along the left and right sides of the phone to separate the black midframe assembly from the silver display casing.
-
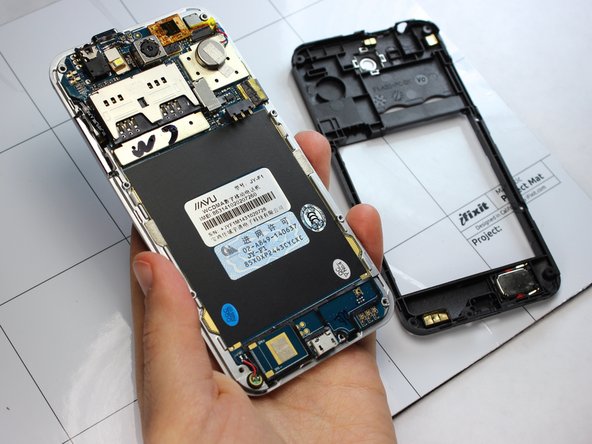
Carefully remove the midframe assembly from the display casing by pulling up and away from the phone.
-
-
-
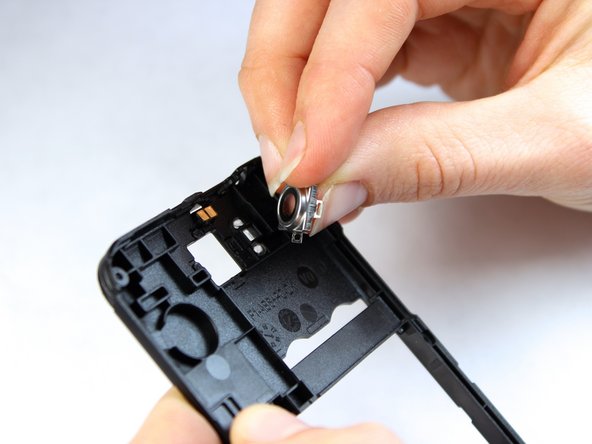
Holding the midframe face-up, locate the camera lens near the top center of the midframe.
-
Use your finger to gently apply pressure against the lens until it pops out of the back of the midframe.
-
-
-
Turn the frame over so that it is face-down.
-
Using the precision tweezers, place the new camera lens into the lens cavity and align the clasps against the groves in the midframe.
-
Using your finger, apply pressure on the lens until the clasps pop onto the grooves.
-


To reassemble your device, follow these instructions in reverse order.
To reassemble your device, follow these instructions in reverse order.
다른 한 분이 해당 안내서를 완성하였습니다.
팀

USF Tampa, Team 9-4, Leahy Fall 2014 USF Tampa, Team 9-4, Leahy Fall 2014 회원
USFT-LEAHY-F14S9G4
3 회원들
안내서 10개 작성하였습니다