주요 콘텐츠로 건너뛰기

JVC GR-D93U LCD Screen Replacement

필요한 것

  1. JVC GR-D93U LCD Screen Replacement, LCD Screen: 1 단계, 이미지 1/3 JVC GR-D93U LCD Screen Replacement, LCD Screen: 1 단계, 이미지 2/3 JVC GR-D93U LCD Screen Replacement, LCD Screen: 1 단계, 이미지 3/3
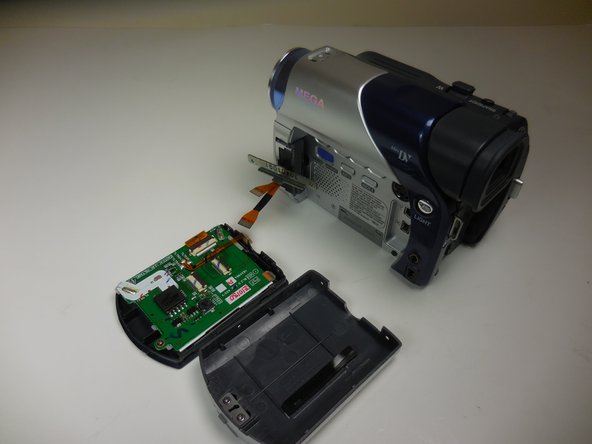
    • Unscrew 3 mm Phillips #0 screws around the LCD Screen. You will have to turn the screen to get the screws on the bottom of the screen.

  2. JVC GR-D93U LCD Screen Replacement: 2 단계, 이미지 1/1
    • Pry apart the plastic casing around the screen using a flat spudger tool

  3. JVC GR-D93U LCD Screen Replacement: 3 단계, 이미지 1/2 JVC GR-D93U LCD Screen Replacement: 3 단계, 이미지 2/2
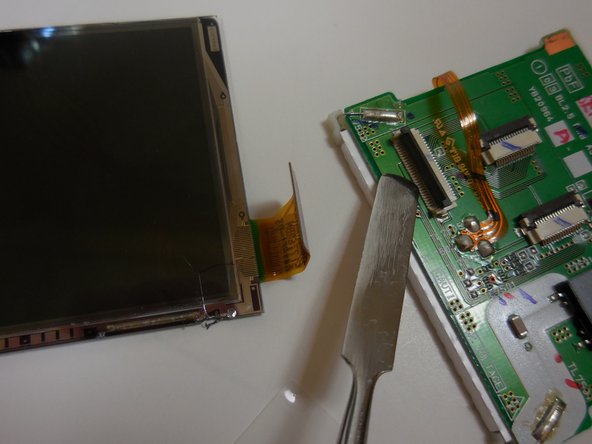
    • Carefully remove the wires connected to the screen from the black box. Now you will be able to separate the screen from the camera.

  4. JVC GR-D93U LCD Screen Replacement: 4 단계, 이미지 1/2 JVC GR-D93U LCD Screen Replacement: 4 단계, 이미지 2/2
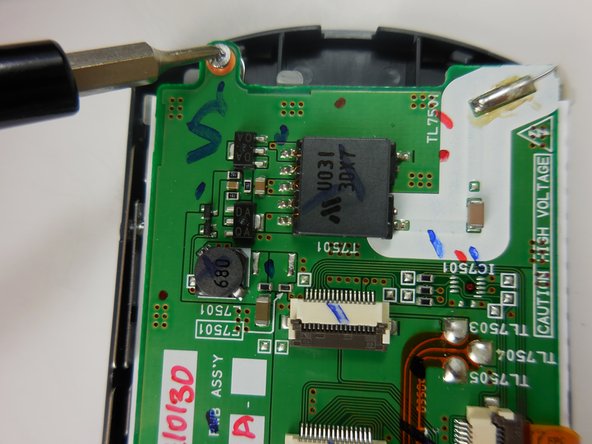
    • Unscrew the 5 mm Phillips #0 screw that is connecting the screen to the plastic casing.

  5. JVC GR-D93U LCD Screen Replacement: 5 단계, 이미지 1/3 JVC GR-D93U LCD Screen Replacement: 5 단계, 이미지 2/3 JVC GR-D93U LCD Screen Replacement: 5 단계, 이미지 3/3
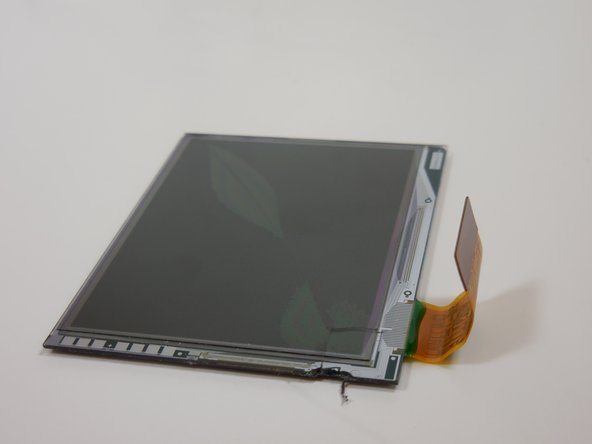
    • You can now take out the screen to be replaced. Carefully remove cables from the data board.

결론

To reassemble your device, follow these instructions in reverse order.

Lindsay

회원 가입일: 03/16/15

267 평판

안내서 2개 작성하였습니다

Colorado Springs, Team 1-5, May Spring 2015 Colorado Springs, Team 1-5, May Spring 2015 회원

UCCS-MAY-S15S1G5

4 회원들

안내서 3개 작성하였습니다

댓글 0개

댓글 쓰기

조회 통계:

24 시간 전: 0

7일 전: 1

30일 전: 2

전체 시간: 624