소개
The cooling fan helps to cool the circuitry inside of the audio device. The cooling fan is controlled by the circuitry in the audio device. The fan may cycle on or off, depending on the temperature of the device. A failing cooling fan may present unusually loud noises when running, or it may not run at all. Once the fan is removed, it is possible to bench test the fan using an appropriate power supply and replace the fan with a compatible unit. Model number and power requirements are detailed on the fan itself. Our fan draws 50 mA at 12V DC.
필요한 것
-
-
Remove the four 1/8-inch black machine screws using a Phillips #00 screwdriver.
-
-
-
-
Remove seven 1/64 x 3/16" screws from the top panel using the Phillips #0 screwdriver.
-
Remove the top panel.
-
-
-
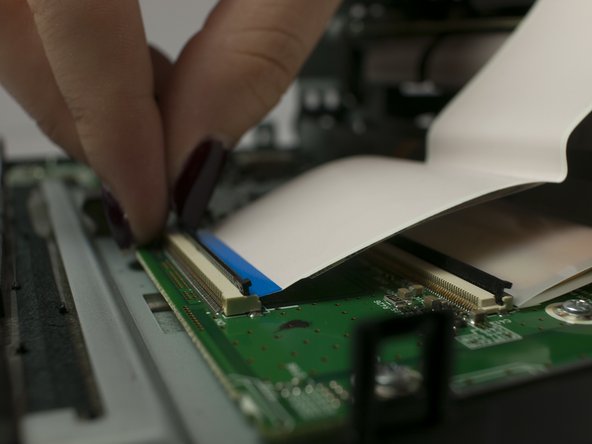
Disconnect Video Out/Rear View Camera cable from circuit board.
-
Remove the Video Out/Rear View Camera cable retaining clip using after removing 0-64 x 3/16" machine screw using a Phillips #0 screwdriver.
-
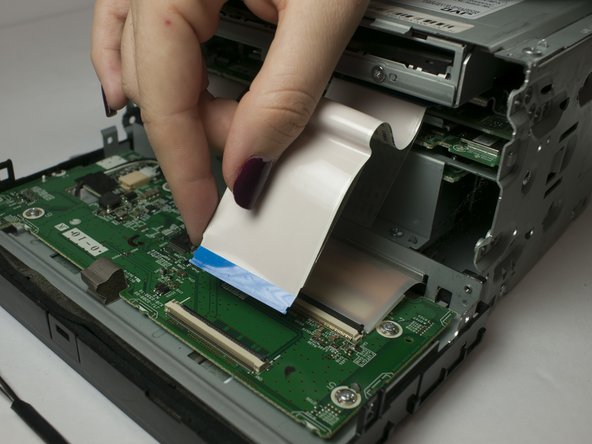
Withdraw Video Out/Rear View Camera cable from rear panel.
-
-
-
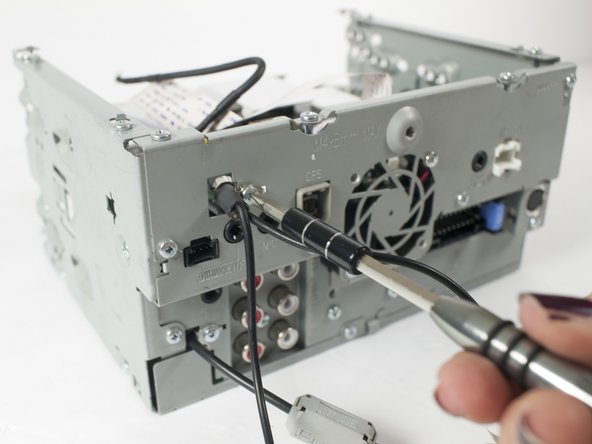
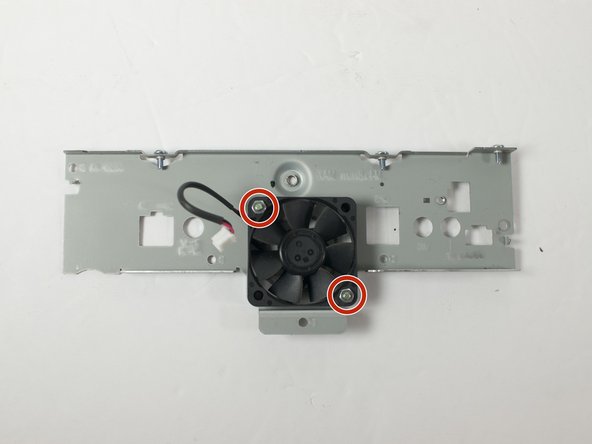
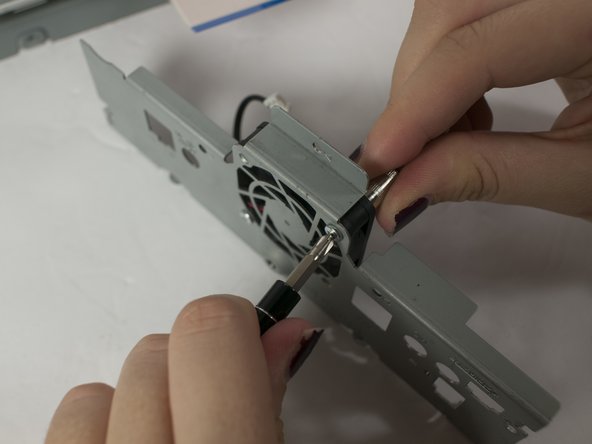
Remove the two 1-64 x 1/2" machine screws and the retaining nuts that fasten the cooling fan to the rear panel using the Phillips #0 screwdriver and the 5/32" socket.
-


To reassemble your device, follow these instructions in reverse order.
To reassemble your device, follow these instructions in reverse order.
팀

Linn Benton Community College, Team S1-G6, Johnson Fall 2018 Linn Benton Community College, Team S1-G6, Johnson Fall 2018 회원
LBCC-JOHNSON-F18S1G6
3 회원들
안내서 8개 작성하였습니다